
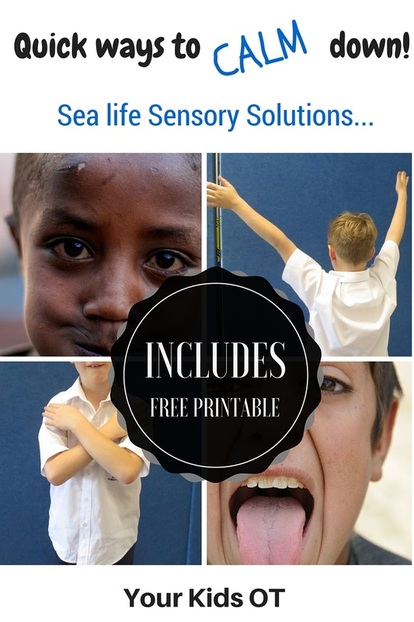

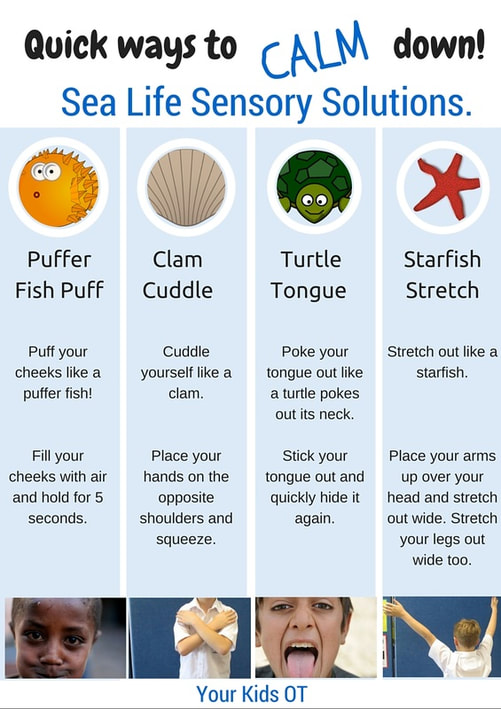
We all want calm kids! Let's face it, we want calm parents, teachers and OTs too! Here are some quick ideas to help your child (or self) to calm down! Inspired by the sea, I have called these my Sea Life Sensory Solutions! 1. Puffer Fish Puff - Puff your cheeks like a puffer fish. Fill your cheeks with air and hold for 5 seconds. Blow quickly or slowly with silly noises. 2. Clam Cuddle - Cuddled yourself like a clam. Place your hands on the opposite shoulders and squeeze. Encourage deep breathing at the same time. 3. Turtle Tongue - Poke your tongue out like a turtle pokes out its neck. Stick out your tongue and quickly hide it again. 4. Starfish Stretch - Stretch out like a starfish. Place your arms up over your head and stretch out wide. Stretch your legs out wide too! Encourage deep breathing at the same time.
These sensory solutions are based on sensory processing theory. Anxiety and stress have been linked with an amplification of tactile or sensory defensiveness as stress is a behavioural response to environmental input*. Anxiety may be both a cause and an effect of the predominance of the protective system**. Tantrums or meltdowns are outward demonstrations of the stress and anxiety within your child. They are responding to their "fight, flight or fright" (sympathetic nervous systems) ... their perceived reality. Read more about tactile defensiveness and sensory processing here and here.
These activities facilitate self regulation through breathing and proprioceptive input into muscles, skins and joints. They may be incorporated into a sensory diet. Read more about sensory diets here. Teach these sensory solutions to your children so they have strategies in their "tool kit" to calm down when the need arises. Teachers may implement these with a whole class. Best of all, I have made these strategies into a FREE PRINTABLE! Simple subscribe to Your Kids OT to claim your copy of "Sea Life Sensory Solutions"! Join our FREE e-newsletter!Subscribe to get your copy of SEA LIFE SENSORY SOLUTIONS! This form collects information we will use to send you our newsletter with our latest posts, products and special offers. Already subscribed? Don’t worry you won’t be added twice! 

Cindy is a registered Occupational Therapist practising in Sydney Australia. She has two young children who are a constant source of inspiration and learning. Cindy loves working creatively to help children to reach their potential, finding opportunities in everyday living and making learning fun. Cindy is the author of the Occupational Therapy blog Your Kids OT.
The information on this site is general in nature. The activities are safe for most children, however, you should consult an Occupational Therapist or health professional to address specific movement, sensory or other medical conditions. 
You may also like:_
References
* Bundy, A, Lane, S.J., Murray, E.A. (2002) Sensory Integration Theory and Practice (2nd Edition) ** Ayers, A. J (1964). Tactile functions: their relations to hyperactive and perceptual motor behavior. american Journal of Occupational Therapy, 18, 6-11

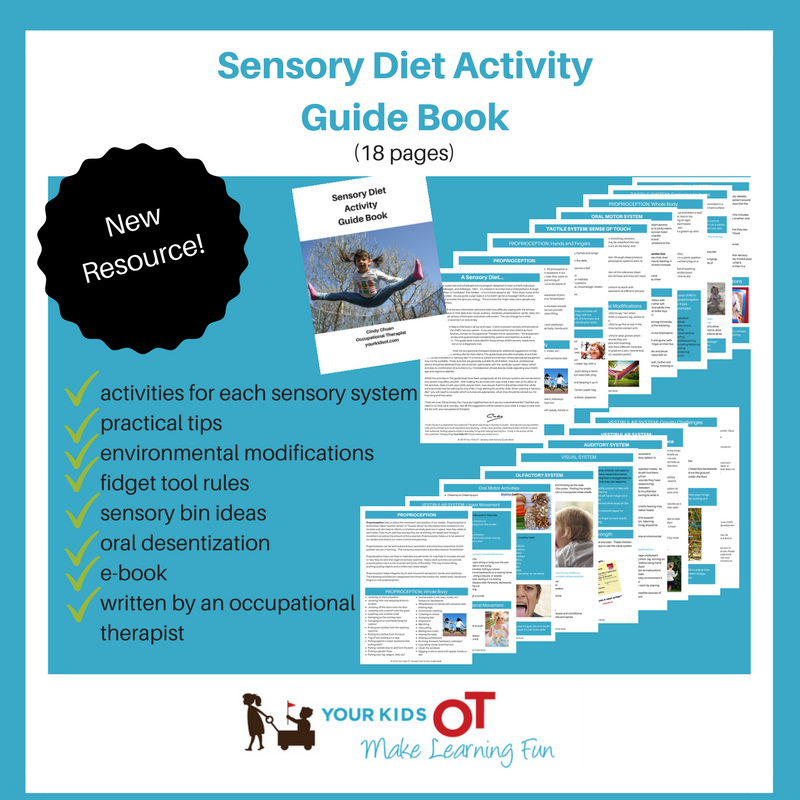
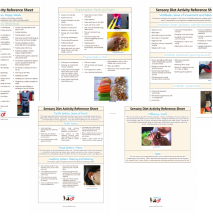
Last year I released a huge "sensory diet activity reference sheet" with over one hundred sensory diet activities listed. This reference sheet was designed to provide therapists, teachers and parents with a resource to try a range of activities with their child to help them to regulate their bodies, when working out an appropriate sensory diet in their regular environments. Read more about sensory diets here.
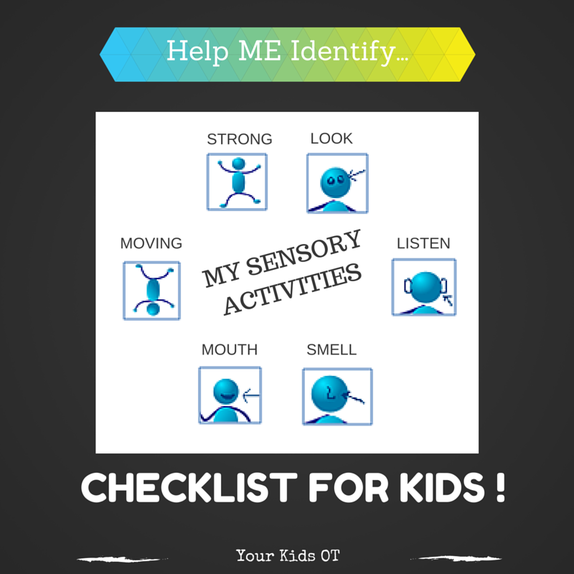
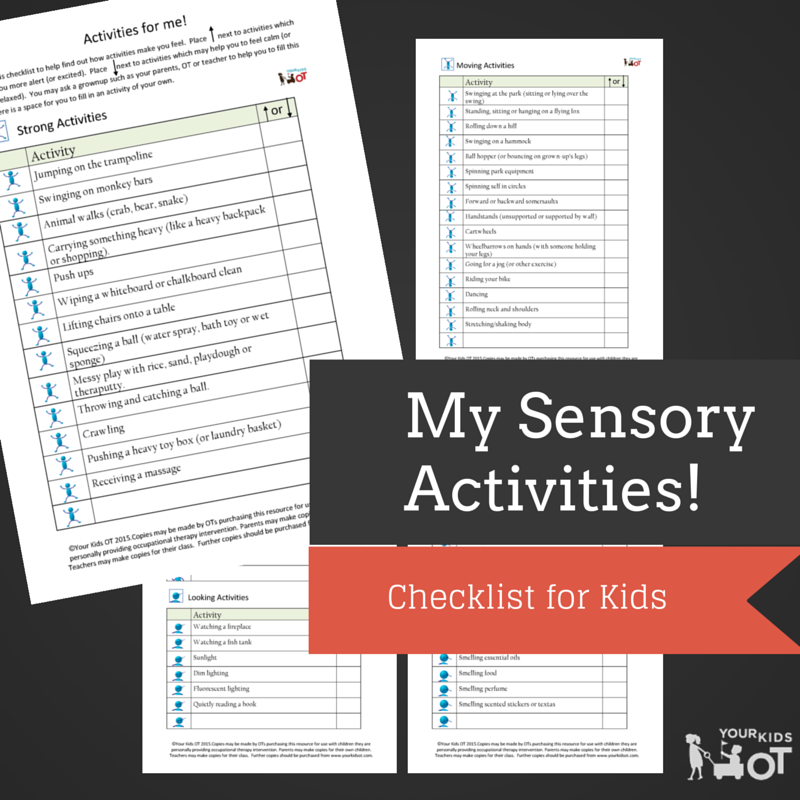
Since writing this reference sheet, I have been working with children who have insight with their own bodies and feelings. These kids can work through questions such as "How do you feel after you jump on the trampoline? Do you feel more relaxed or more alert?" I have also been working through the social skills program Zones of Regulation with these kids. "The Zones is a systematic, cognitive behavior approach used to teach self-regulation by categorizing all the different ways we feel and states of alertness we experience into four concrete zones". The ALERT program with the accompanying book "How does your engine run?" is another self-regulation program which I have been using. You can read more about this program here. I have found that I can combine both sensory activities with these programs to provide "tools" for these kids to help them to self regulate finding both activities which are "calming" and more "alerting". As a result, I have created a tool to help children identify "Activities for ME!" . "Activities for ME! Sensory Activity Checklist for Kids" is a series of sensory based activities which are divided into categories labelled
Children are asked to draw an up arrow next to activities that make them more alert (or excited) and a down arrow next to activities that help them to feel calm (or more relaxed). I would recommend that this tool is used in collaboration with an adult who is familiar with the child (eg. OT, parent, teacher). If an activity is unfamiliar, then it may be an opportunity to trial this activity over a period of time and find out the affect of participating in this activity has on your child. Not all activities will be relevant for all children. There are also blank spaces so that children (or relevant adult) may write in extra activities for each category. Here is a preview of the "Activities for ME! Sensory Activity Checklist for Kids." tool. 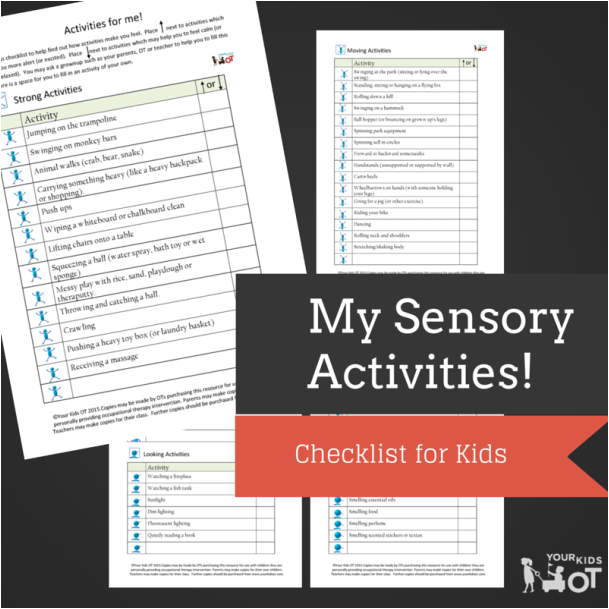

After working through this tool with my students, I then cut up each activity strip and we group the activities into an "alerting" (exciting) pile and a "calming" (relaxing) pile. When using it in conjunction with the Zones, we then identify suitable activities to be used as "tools" for each coloured zone. The tool could also be kept in it's entirety as a reference. It would be interesting to use this tool with the same child after a period of time (eg. a year) to see if there are any changes.
As OTs (and parents/teachers) we can sometimes assume that certain activities will help our kids to relax and others will give them more energy. This assumption can sometimes backfire. If you think about it, as adults some of us will be more energised after a cup of tea and others will be more relaxed. The same could be said for a range of activities such as jogging, having a shower, playing an instrument, etc. I designed this tool to meet a need of mine in therapy practice. If you know of a similar tool then I would love to hear from you. If you use my tool, I would love to hear your feedback too! "Activities for ME! Sensory Activity Checklist for Kids" can be found at the YKOT shop. Thanks for your support. 
Disclaimer: The information on this site is general in nature. The activities are safe for most children, however, you should consult an Occupational Therapist or health professional to address specific movement, sensory or other medical conditions.
You may also like:

Mr 5 has been addicted to "Snakes and Ladders" for the last 6 months. He loves the counting, the turn taking, the thrill of climbing up the ladders, seeing others slide down the snakes and most importantly "winning"! There has been lots of discussion that it is ok to lose and even good sportsmanship to congratulate the winner. Most of the time he gets it, however, he does have a knack for winning!
We have made our own homemade board in a previous school holidays...drawing up 100 squares and using up old stickers to "decorate" the board, glueing on paddlepop sticks and pipecleaners to act as the snakes and ladders. Mr 5 also helped to draw on the paddlepop sticks to make them more like "ladders". There are so many opportunities for fine motor manipulation, pencil control, writing, pincer grip and bilateral coordination if you make your own board. The kids will love to create and will be more inclined to play their OWN board! 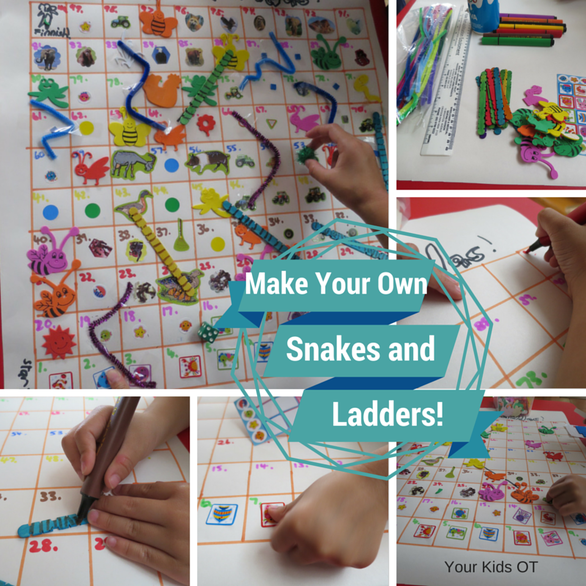
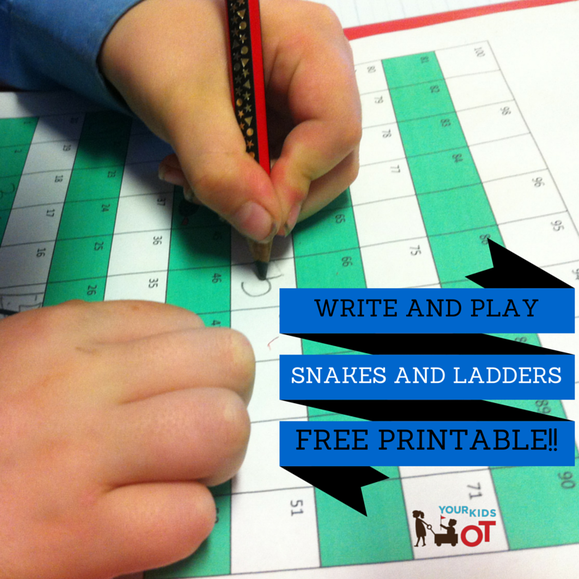
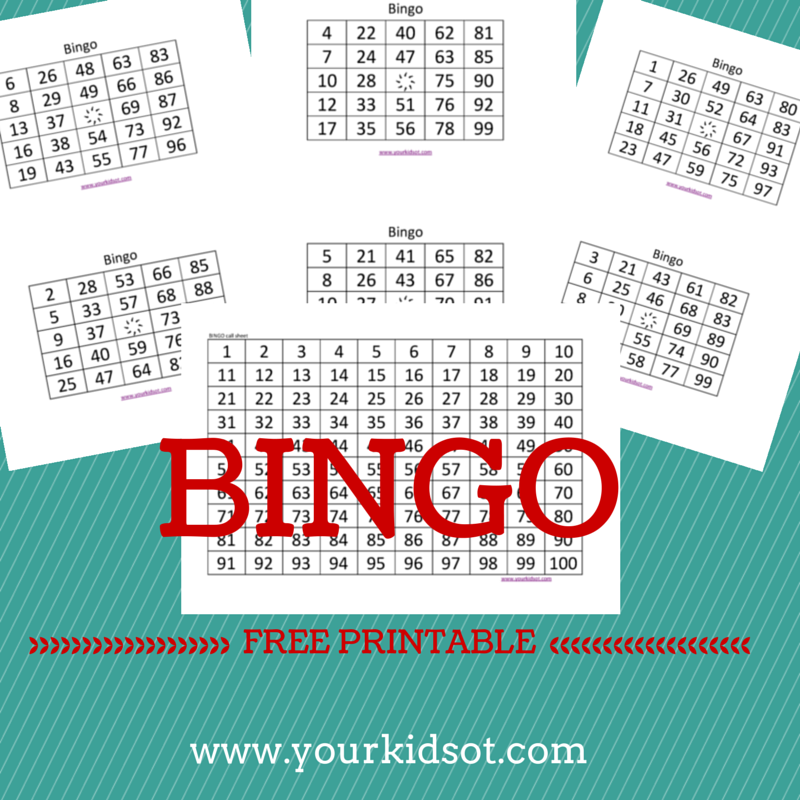
Whilst it is not possible to make such a "detailed" game board in a therapy session, I have made a FREE printable that I use with the kids I see for OT. I encourage writing numbers to fill in the missing ones from the printable as well as drawing some additional snakes and ladders. I love to incorporate play into therapy sessions and there is much more motivation to write numbers on a game (which they can take home) than just writing them without a reason. Download your FREE PRINTABLE Snakes and Ladders HERE! 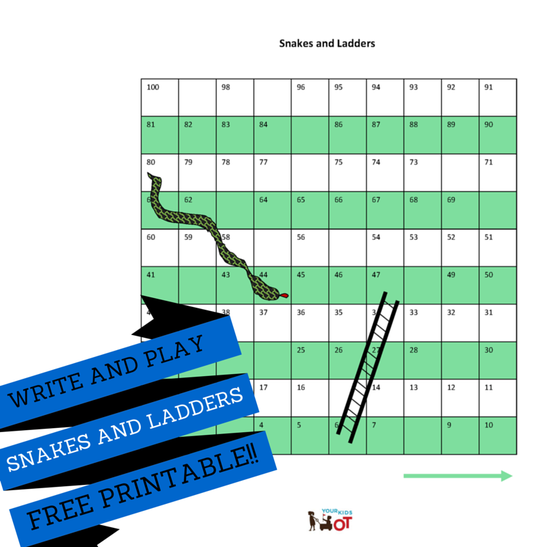
Here is why I love "Snakes and Ladders": * Number recognition and writing - In creating the game ... number writing and pencil grasp may be practised. In playing the game... there are opportunities for number recognition and naming , sequencing numbers and counting out spaces to move. * Fine motor skills - I use small objects such as pom poms, blocks or checkers as our game pieces. Picking up the pieces often requires a pincer grasp. Controlled release is also needed to place the pieces on the correct square. If your child is practising separating the two sides of their hand, then you could get them to hold the dice under their 4th and 5th fingers as they move their marker. A dice is usually used in play and this is great for encouraging the palmar arches of the hand as the dice is shaken prior to rolling. * Visual scanning and tracking - Keeping track of your own game piece and opponents as they move up, around or down the game board. * Social Skills - When playing the game, children need to take turns and wait. They also learn how to "win" and "lose". This may a good opportunity to practise emotional regulation skills if a child has difficulty "losing". * End point - The game is finished when someone reaches 100 on the game board. Having an end point is important for kids who benefit from clear boundaries and structured play. * Children and adults of all ages can play this together. * It's fun and unpredictable! 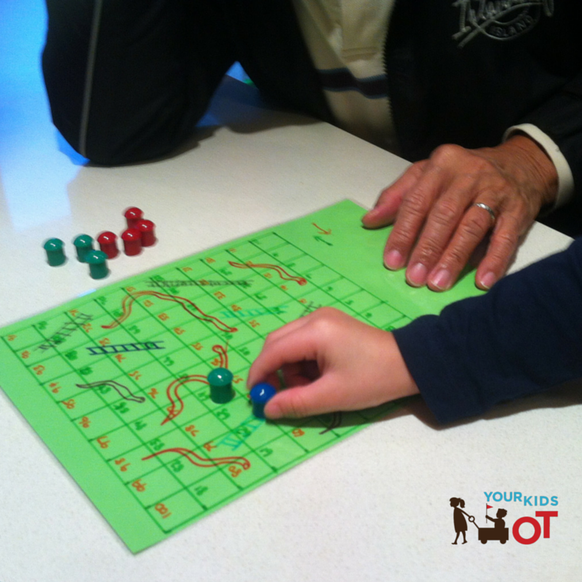
Mr 5 recently taught his grandfather how to play "Snakes and Ladders". I was surprised that he had never played before. It was certainly a heart melting moment for me! Do your kids love "Snakes and Ladders"? Have you downloaded your FREE PRINTABLE GAME BOARD? 
You may also like:
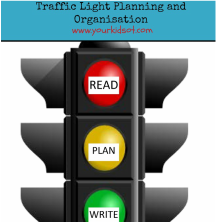
Red light... stop, Orange light... get ready, Green Light...go. Traffic lights are a great way to help kids organise themselves for work whether it be in a therapy session, in the classroom, in the playground or at home. I have created 2 sets of traffic light visual aids to help kids to organise themselves, ie. to help with self regulation. Stop, Think, Do and Read, Plan, Write. 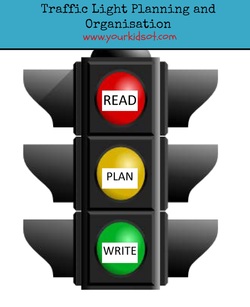 The traffic light visual aids come in a set including "Stop, Think, Do" and "Read, Plan, Write" in 2 sizes. The A4 size is suitable to use as a poster and the smaller size is suitable to be cut up and distributed to several children. You could print off copies for a whole class and paste them into an exercise book, use them as a bookmark or laminate and place on a child's desk. These visual aids may be used in a variety of ways to help your child self regulate.....examples include helping children before they do a writing task, in social situations when they are challenged or distressed, to manage anxiety or anger, exam practise, etc. This may also be of assistance to children who are impulsive. These traffic light visual aids for planning and organisational skills may be purchased from the Your Kids OT shop or Teachers Pay Teachers. I value your feedback here or on the sites where you purchase them. Thanks for telling me and others what you think! Let your colleagues know by pinning this or sharing this post. Thank you for your support of Your Kids OT.  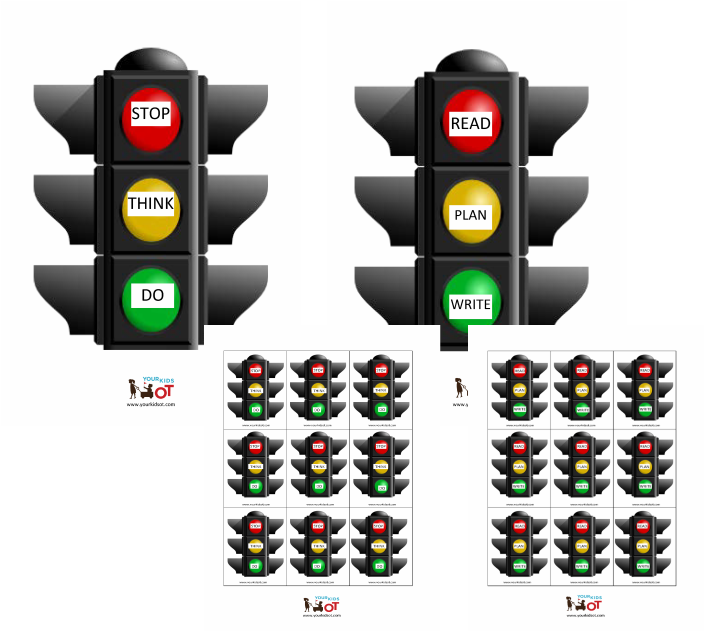 Traffic Light Planning and Organisation. 
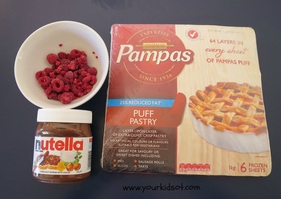
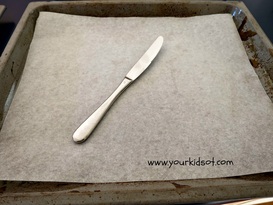
Method 1. Preheat the oven to 210°C or 410°F. 2. Put out the sheets of puff pastry on the bench top for 5 minutes (ie. thaw). 3. Spread a layer of Nutella onto the puff pastry. 4. Sprinkle the raspberries over the Nutella. 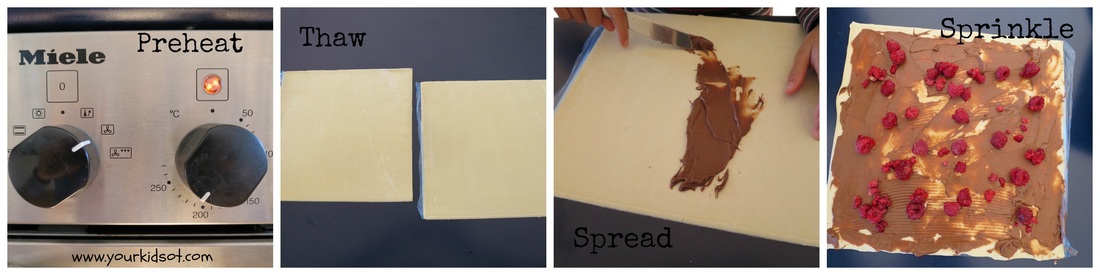 5. Roll up the puff pastry using the plastic sheet to help you (lift and push forward). 6. Cut up the puff pastry into 3cm scrolls. 7. Lay out the scrolls onto the baking tray so the scrolls face up. 8. Bake in the oven for 10 minutes until golden. 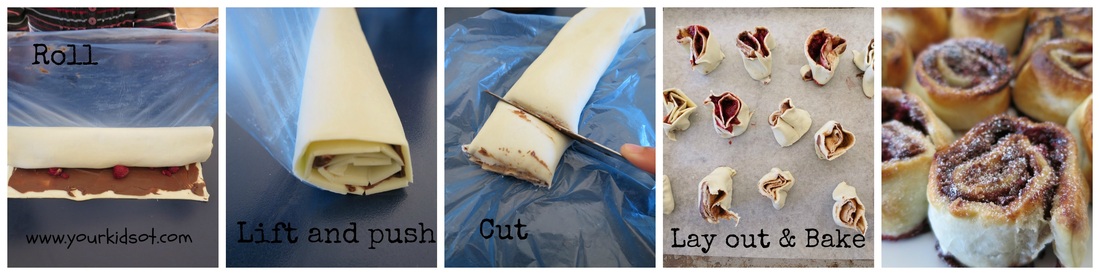 Mr 4 and Miss 7 loved helping to make this recipe! Miss 7 especially loved the rolling with the help of the plastic sheet. Everyone loved eating them {even Mr YKOT}. You will find an extended version of this recipe at the Your Kids OT shop. All recipes here have been designed for kids to do as independently as they can or for children who have a disability. Here is a preview of how the full recipe looks with bigger photographs for each step. Enjoy making and eating these delightful scrolls... Happy Baking!  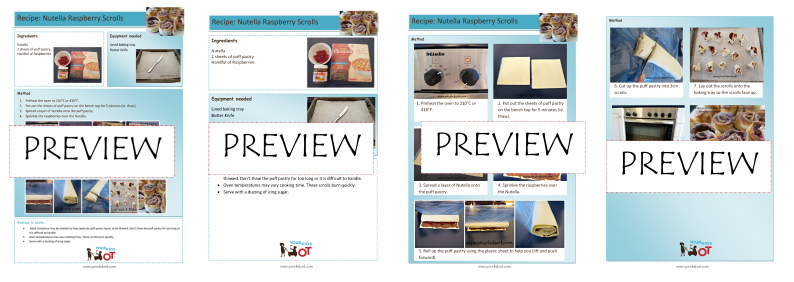 Preview of Nutella Raspberry Scroll Recipe 
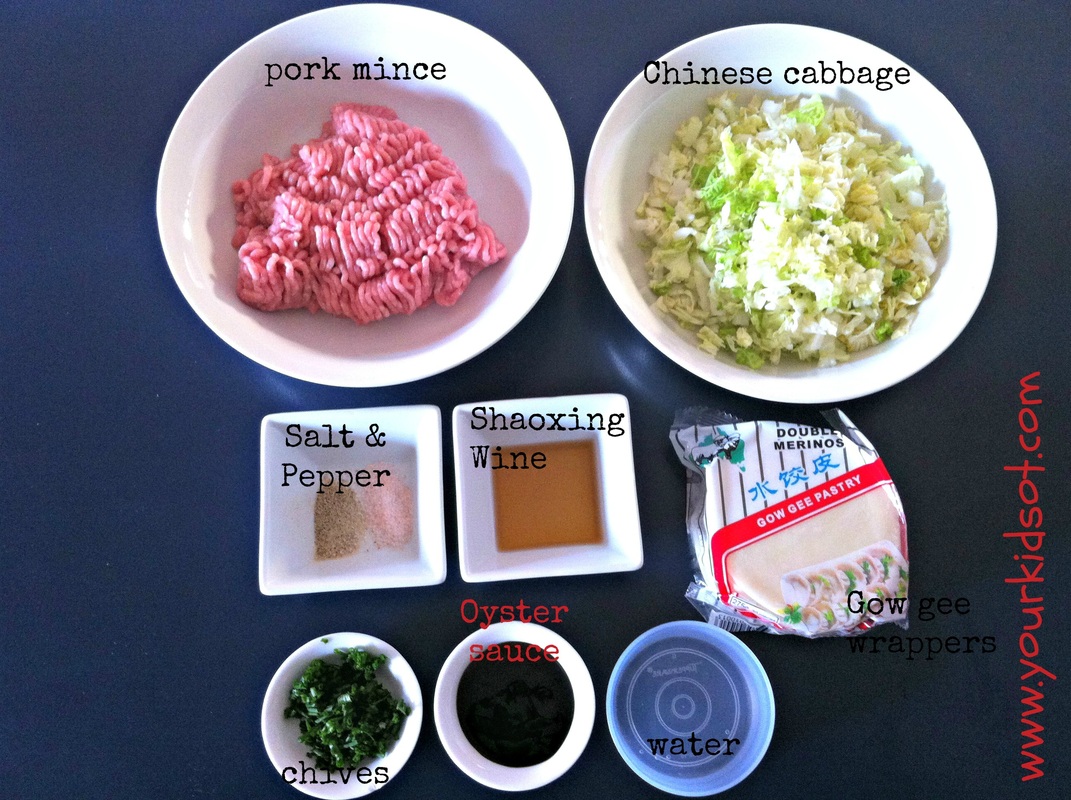
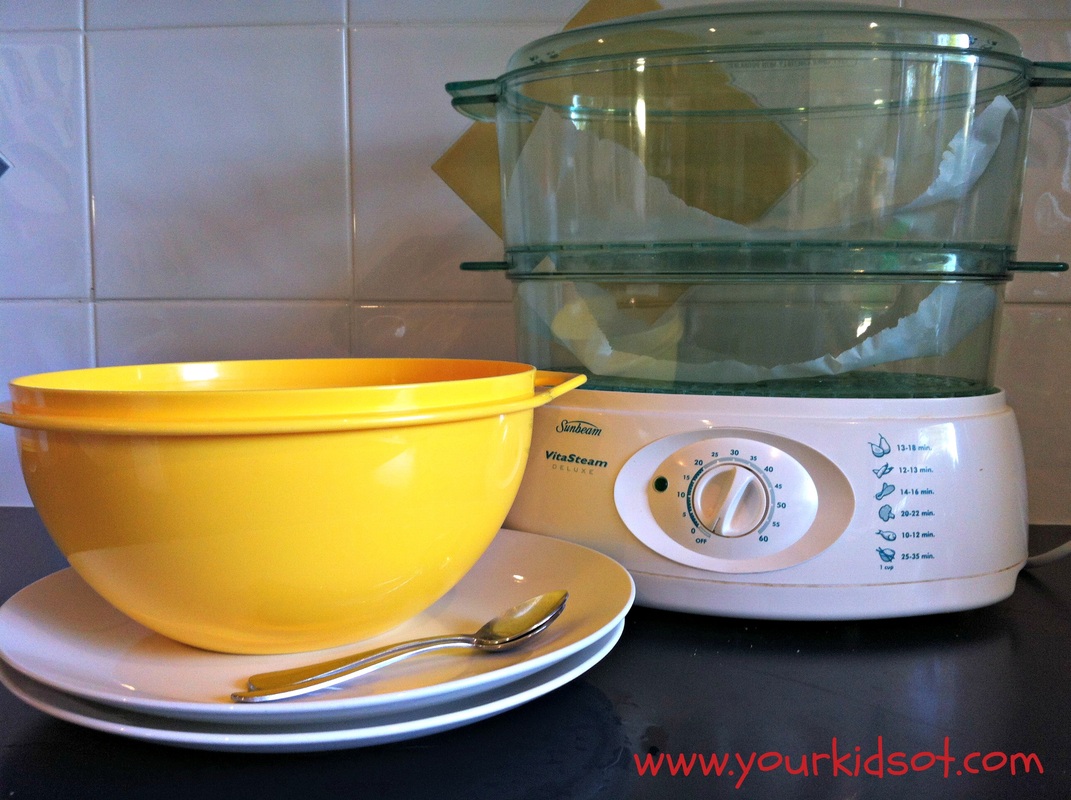
There is a little bit of preparation before starting this recipe - measuring out the ingredients and finely slicing the cabbage and chives. You will be the best judge whether your kids can help with this or not. If you can't find Shaoxing wine, just leave it out. Kids will need supervision during the "steaming" part of this recipe depending on whether you steam on a stove top, steam over or electric steamer like I did. Tongs might be helpful to remove the dumplings after cooking.
Method 1. Place pork mince, Chinese cabbage, oyster sauce, chives and Shaoxing rice wine, salt and pepper into the mixing bowl. 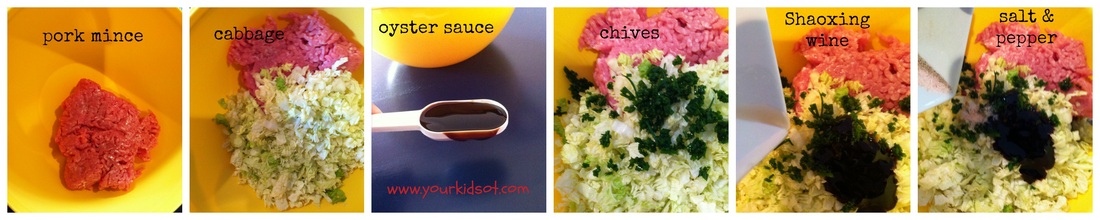 2. Mix with your hands until all ingredients are combined. Wash and dry your hands. 3. Spread out a layer of Gow gee wrappers onto a plate. 4. Place a heaped teaspoon of meat onto a wrapper. 5. Using your finger spread some water on the edge of one wrapper. 6. Fold the wrapper over covering the meat and press down. 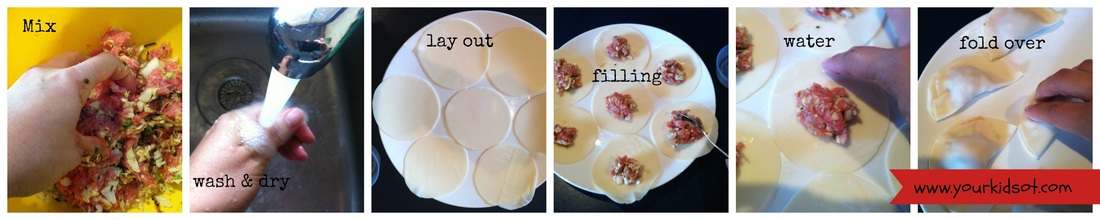 7. Press the wrapper together and pleat. (To pleat pinch the wrapper and fold over, repeat). 8. Repeat steps 3-7 until all of the filling mixture is used. 9. Steam the dumplings in a single layer for approximately 12 minutes. 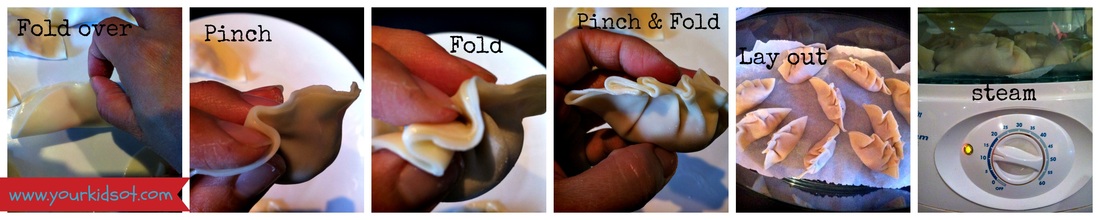 10. Serve dumplings with a dipping sauce or with a noodle soup. 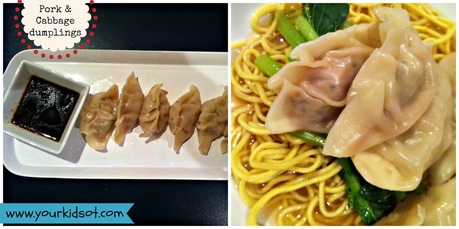 Hmmm... I'm not sure why I said 2 plates but I suppose it means you can lay out more wrappers or maybe it was for the finished dumplings... You can buy ready made dumpling dipping sauce from your local Asian grocery store or supermarket. Grownups might want some chilli sauce too! You can find an extended version of this recipe with photographs for each step at the Your Kids OT shop. All recipes have been designed for kids (with adult supervision) or for children with a disability. Have you made dumplings before? Enjoy!  Looking for more recipes to get your Kids in the Kitchen? Try these...
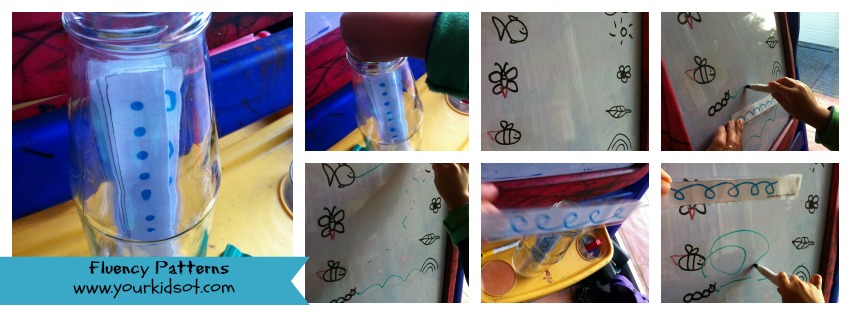
A foundation to writing is being able to control a pencil (or writing tool) with a relaxed hand to form the lines and curves needed to make recognisable letters, numbers or symbols. We often jump in too early trying to teach kids to recognise and reproduce letters and numbers, when they haven't had a chance to master controlling the pencil for lines, curves and shapes. Writing also requires the integration of visual skills with motor skills to piece together how lines, curves and shapes stick together to form a letter or number. Mastering lines, curves and shapes will bring smooth pencil control and fluency is so important with all writing (print and cursive) and drawing. Asking children to draw over "printables" is beneficial for eye-hand coordination and having a visual guide to drawing. {Refer to this post for free pre-writing printables.} However, it is also important that children can draw lines, curves and shapes without visual prompts {which is why I like worksheets that fade the visual prompts like these ones}. It is important for children to "feel" where their arm, hand and fingers are during this movement (kinesthetic learning) as well as plan how to move their arm, hand and fingers to reproduce the pattern. 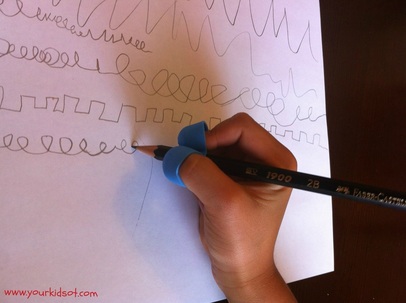 The end of the school holidays and back to preschool for Mr 4. Miss 7 and I are having a "mummy and daughter" day as she still has another week off. What do you think of when I say "Fluency and pencil control"? 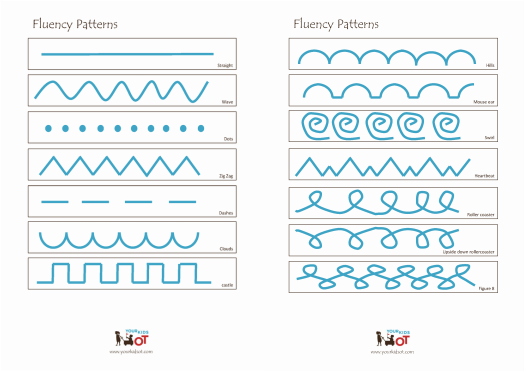 Fluency patterns available from Your Kids OT Shop. I have created a "Fluency Patterns Sheet" which has a set of 14 fluency patterns. Here are some ways you can use this sheet to help your child with pencil control and fluency. Print, cut out and laminate each fluency pattern.
 You can purchase these fluency patterns from theYour Kids OT shop or Teachers Pay Teachers (ps. it costs less than a cup of coffee). Try them today.  Pretend play is an important part of a childhood. It incorporates "conventional imaginative play (play with toys such as dolls and trucks) and symbolic play (ie. play with unstructured objects or inanimate objects)" ~Stagnetti. Pretend play provides children with safe environments to experiment with language, social interaction, solve problems, tell stories, incorporate emotion, use objects, sequence events, role play a character and more. Some children have difficulty with aspects of play mentioned above. An OT can help to assess a child's pretend play skills and assist with the development of these skills. Read more from Karen Stagnetti's website "Children need to Play" at http://www.karenstagnitti.com/ for more information about pretend play. I have developed some "Write and Play" packages to encourage both writing and pretend play. These packages are designed for children requiring extra motivation and opportunities for writing. There may be a specific theme that your child is really interested in and this provides the motivation to write. The "Write and Play" packages will also encourage pretend play. I have developed two themes so far - Airline and Circus themes. Purchase them from the "Your Kids OT Shop", print and cut out the various parts. You might use this in family setting at home with siblings playing together. You might use this a therapy setting with other "pretend" participants. The "Airline Write and Play" package includes-
There are places for your children to write names, dates, places, gate numbers, times, TV shows, movies, games, food options, address, telephone numbers and more! 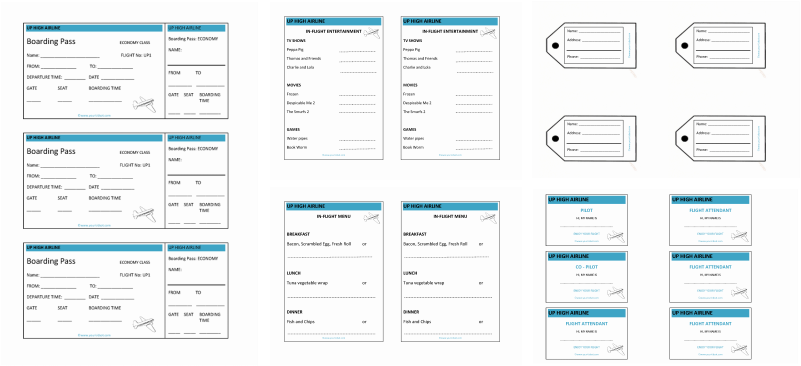 Airline Write and Play package. The "Circus Write and Play" package includes -
There are places for your child to write their name, date of performance, program order and food stall prices. 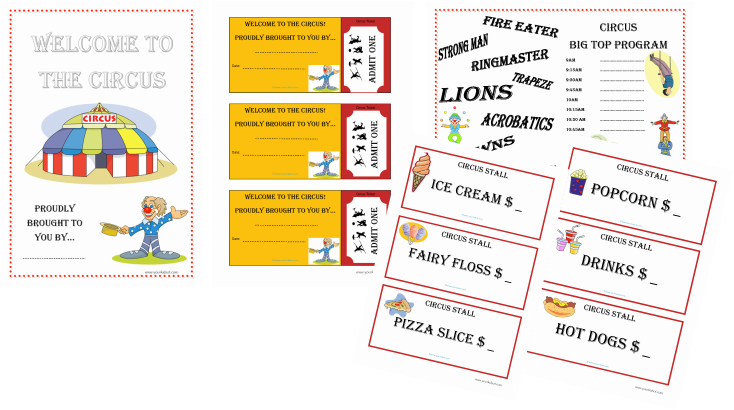 Circus Write and Play Package I have lots of themes in progress... is your child interested in a particular "pretend play" theme? Let me know in the comments below and if I use your child's suggestion, I will send you the package free! I'm looking forward to hearing your suggestions! Visit my shop today for these packages and more.
Did you know that all "red" words in my blogs have a link that you can click?
Thanks for your continued support of Your Kids OT! Do you have a child who is learning their "sight words" for school? Once children begin school (Kindergarten in NSW or Reception/Prep/Pre-Primary/Foundation Year depending on where you live) then reading becomes a priority. Most schools use the Dolch sight words as a part of their literacy program. The Dolch sight word list contains 220 most frequently encountered words in children’s literature. The Dolch sight word list is widely used as a teaching tool for reading, writing and spelling. Many of the Dolch word list cannot be “sounded out” and must be learned by sight, which is why the list is often referred to as “Dolch’ Sight Word List”. Dolch excluded nouns from his main list. As an OT, I like to work with teachers and parents. Since learning sight words is a priority in the early school years, I have developed these worksheets to be used with children as they also learn their sight words. I always check with parents and teachers as to what a student is "up to" as my goal is not usually the reading aspect but the writing component of this activity. This “Box Writing” set of worksheets includes each of the Dolch sight words (ie. 220 words), the box shape outlines for each word and space for writing the word. There are 31 pages included in this set of worksheets. You can purchase this set of worksheets from the Your Kids OT shop. These worksheets may be laminated for durability and used with a dry-erase marker. They then may be used multiple times with one child or with numerous children. Here is sample of the worksheets. 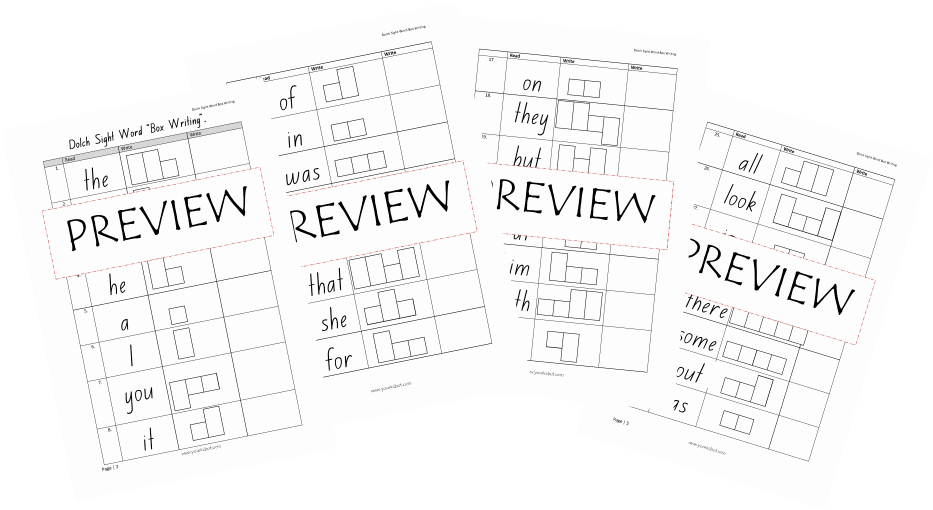 Sample of the Dolch Sight Words "Box Writing" worksheets. “Box Writing” may be used to encourage the development of several skills -
I have also developed a second set of worksheets "Dolch Sight Word Box Writing Match and Write". This set of worksheets encourages your child to match the boxed shaped words with a list of sight words and write them in the appropriate boxes. There are 31 pages in this set of worksheets and you may purchase them from theYour Kids OT shop. Here is a sample of the worksheets. 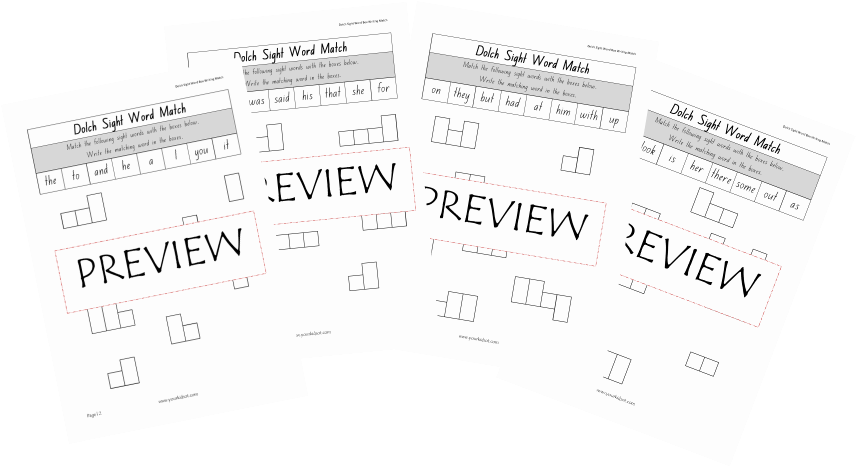 Sample of the Dolch Sight Word Box Writing Match and Write Worksheets. Try these worksheets today! Please take time to browse my other products in the shop. Thanks for your continued support.
Generally I do not attempt to be "cool". There is too much pressure. I do try to make therapy sessions fun and engaging. I try to help my own kids to learn creatively...but "cool"...a tough title to earn....until now! This homemade rewards project will have you as the coolest mum/OT/teacher/dad/grandparent in town. The elements of "winning", of "surprise", of "fun", of "uniqueness" {is that word?}, of "motivating" ... all rolled into one. The best thing is that it is really easy to prepare. 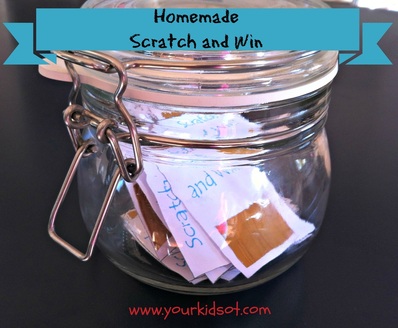
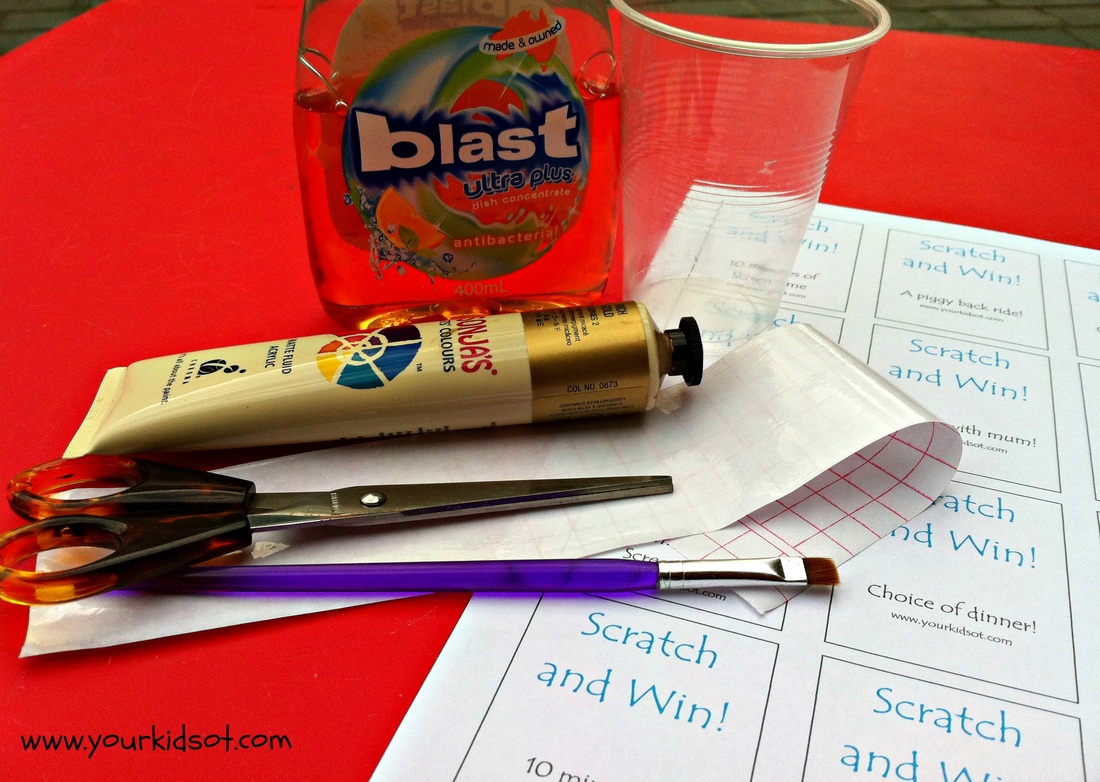
What do you need to do? 1. Mix 1 part dishwashing liquid with 2 parts paints {my measurements were very approximate} in a plastic cup. 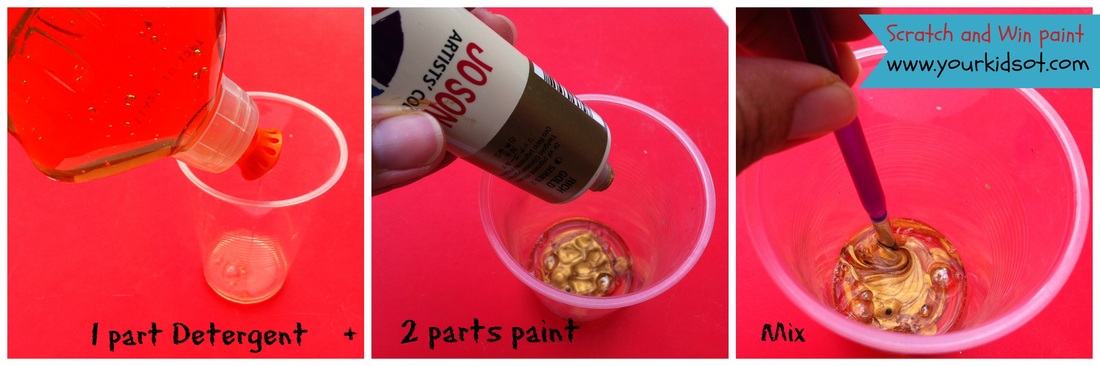 2. Paint the paint mixture onto the contact paper {on the clear side not the paper back}. Wait for it to dry. Paint another layer and allow to dry. {Note: You can use a hairdryer if you are impatient. I also found that the paint in the cup didn't dry out - must have been because of the detergent.} 3. Print the Scratch and Win printable (print here) and cut out the tokens. 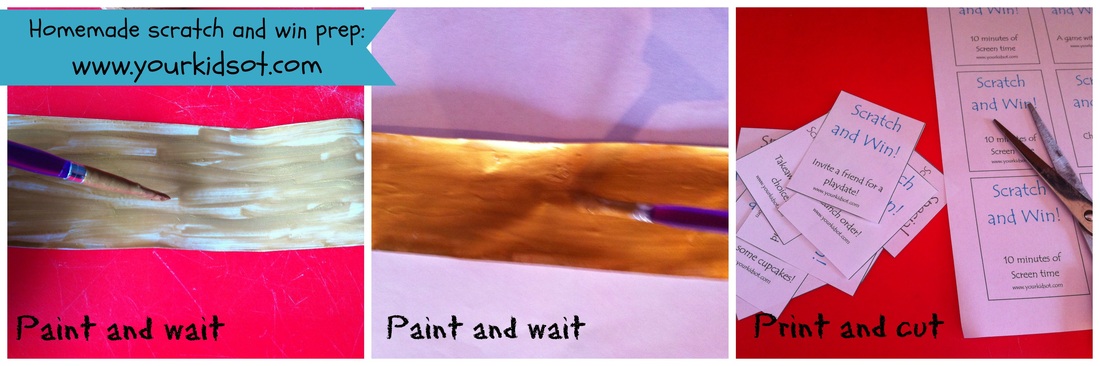 4. Cut out a small piece of painted contact paper {enough to cover up "reward" on Scratch and Win paper}. 5. Peel off the paper back from the contact paper. 6. Stick the painted contact paper onto the "Scratch and Win printable". Repeat on all paper tokens. 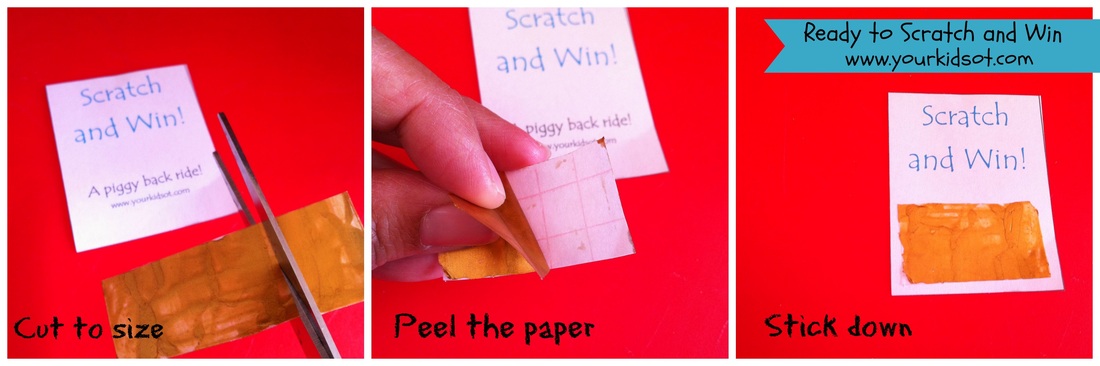 You are ready to play! How to use? Well this is really up to you. The printable includes blanks so that you can edit your "prizes" according to your child. I tried to find "non-food" item rewards for my own kids. I also included a few "Special Scratch and Win" tokens. These included activities that we planned for the school holidays. It is also helpful if you choose prizes that your child will not receive at other times or elsewhere. (Eg. If you give your child a piggy back ride everyday then this won't be very rewarding as a prize that is revealed). I suggest that you have a system for gaining your "Scratch and Win" tokens. This will vary according to your child and what you are trying to motivate them to achieve. For Miss 7, she gains a stamp on the calendar for every time she practices the piano. When she achieves 20 stamps she gets a "Scratch and Win". You may want a quicker time frame for your child. Mr 3 is working on eating his dinner unassisted. He gets his "Scratch and Win" after doing this 5 times. We have also agreed that the prizes can be accumulated and don't have to be claimed instantly {useful when planning weekend or holiday prizes}. I plan to incorporate this into therapy sessions. I think this token based system will be really motivating. The "rewards" I choose for therapy are usually a part of the program that I would have already planned to do, however it may involve some choice by my student. For example, choice between "Writer's Hat" or "Imagistory" ipad apps, choice between scooter board or therapy ball activity, choice of multi-coloured pencil or vibrating pen for writing. It may also include a different posture, for example: on your tummy {on the floor}, sitting on a therapy ball at the table, etc. 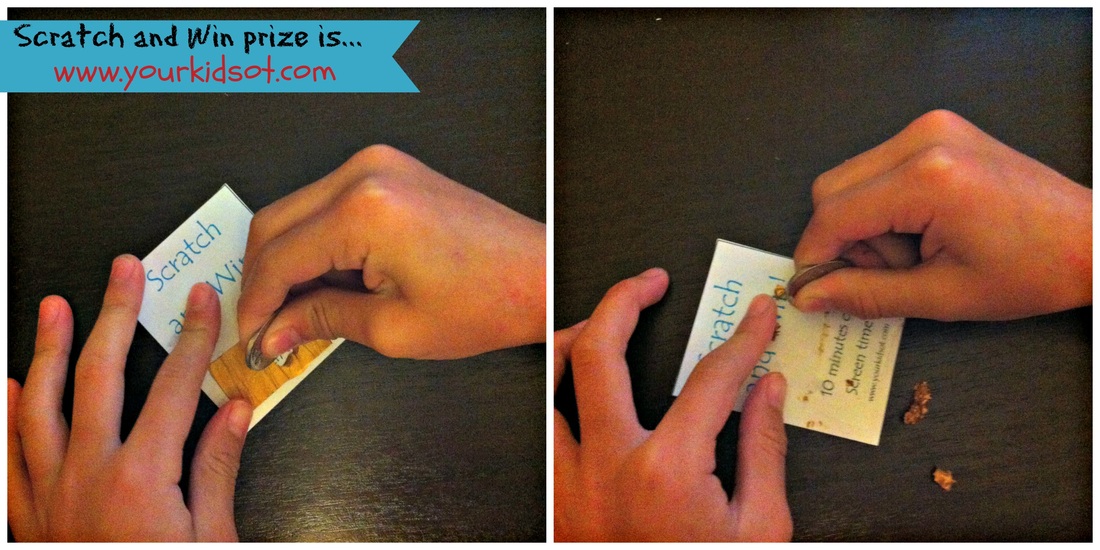 As an added bonus, the actual act of rubbing off the gold paint with a coin is a fantastic fine motor activity. It encourages a pinch grip of the coin and an open webspace (the circle created by the thumb and index finger). See how Miss 7 self corrected in the two photos above to a more open webspace which she found easier to hold the coin and rub out the paint. So are your ready to be "cool". Despite this long explanation, it is very easy to achieve and one small strip of painted contact paper covers heaps of prizes. Have you thought of another way to use this scratch paint? Share your ideas in the comments below!
|
AuthorHi, I'm Cindy and I am an Occupational Therapist. I enjoy working creatively with children to see them reach their potential. Read more about me here. 
SEARCH THIS SITE

Archives
April 2024
Categories
All
Popular Posts

 |


 RSS Feed
Join the YKOT e-newsletter!
Subscribe to get our latest content by email and receive
the SHAPE ROADS PRINTABLE NOW!

Success! Now check your email to confirm your subscription and receive your free printable!
Join our Mailing List!
Subscribe to get our latest content by email and receive
the SHAPE ROADS PRINTABLE NOW as a thankyou!
Success! Now check your email to confirm your subscription and receive your free printable!
Disclaimer: The information on this site is general in nature and should be used for educational and entertainment purposes. The activities are safe for most children, however, you should consult an Occupational Therapist or health professional to address specific movement, sensory or other medical conditions. This blog does not replace formal therapeutic professional advice given by a health professional or medical practitioner. Reviews and endorsements of products will only be made based on my expertise and personal opinion; and deemed worthy of such endorsement. The opinions shared in sponsored content will always be my own and not that of the advertising company or brand. Content, advertising space or posts will be clearly identified if paid, affiliated or sponsored. Affiliate links may be found throughout this website in advertising. This means that if you follow through with a purchase from these links, Your Kids OT will receive a percentage of the sale. Your Kids OT undertakes to meet the requirements of the "Social Media Policy" as published by Australian Health Practitioner Regulation Agency (AHPRA). Further information about this policy can be found here.
Find meFollow me |

|
About me
AuthorHi, I'm Cindy and I am an Occupational Therapist. I enjoy working creatively with children to see them reach their potential. Read more about me here. 
|
Copyright © 2017 Your Kid OT