|
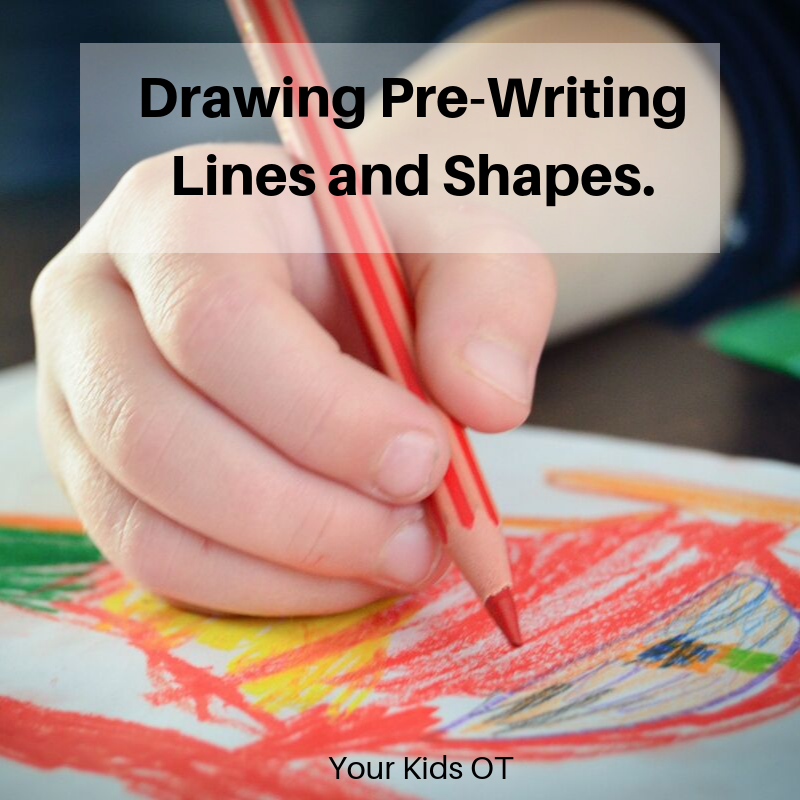
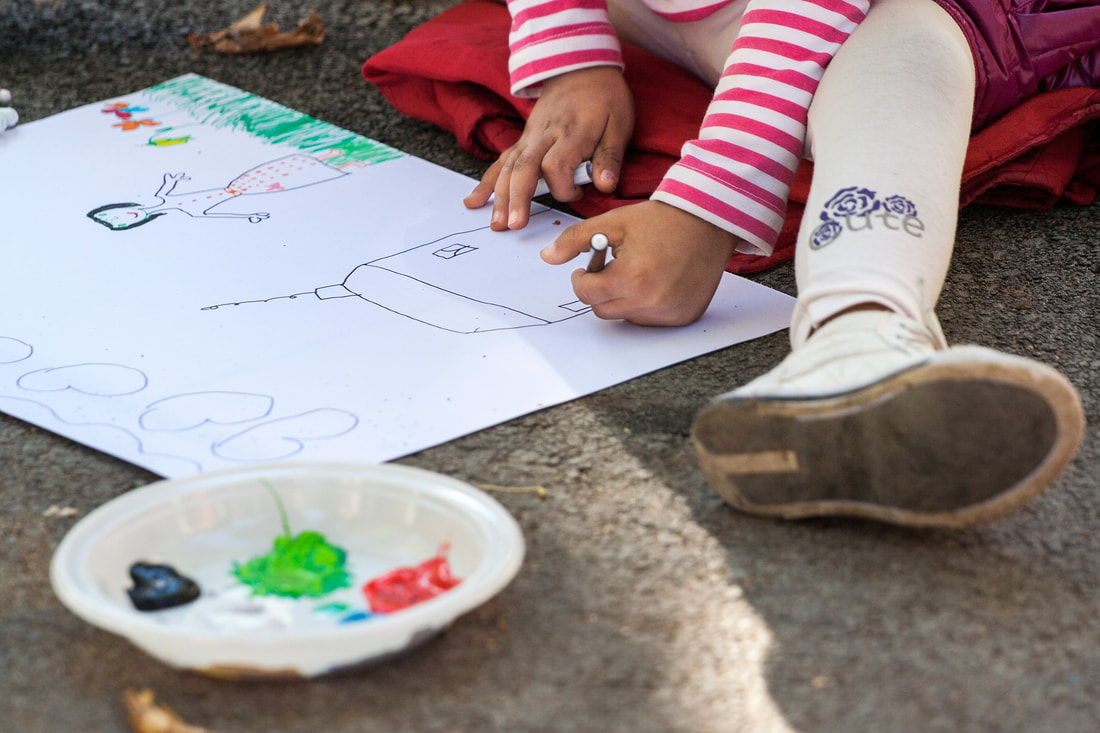
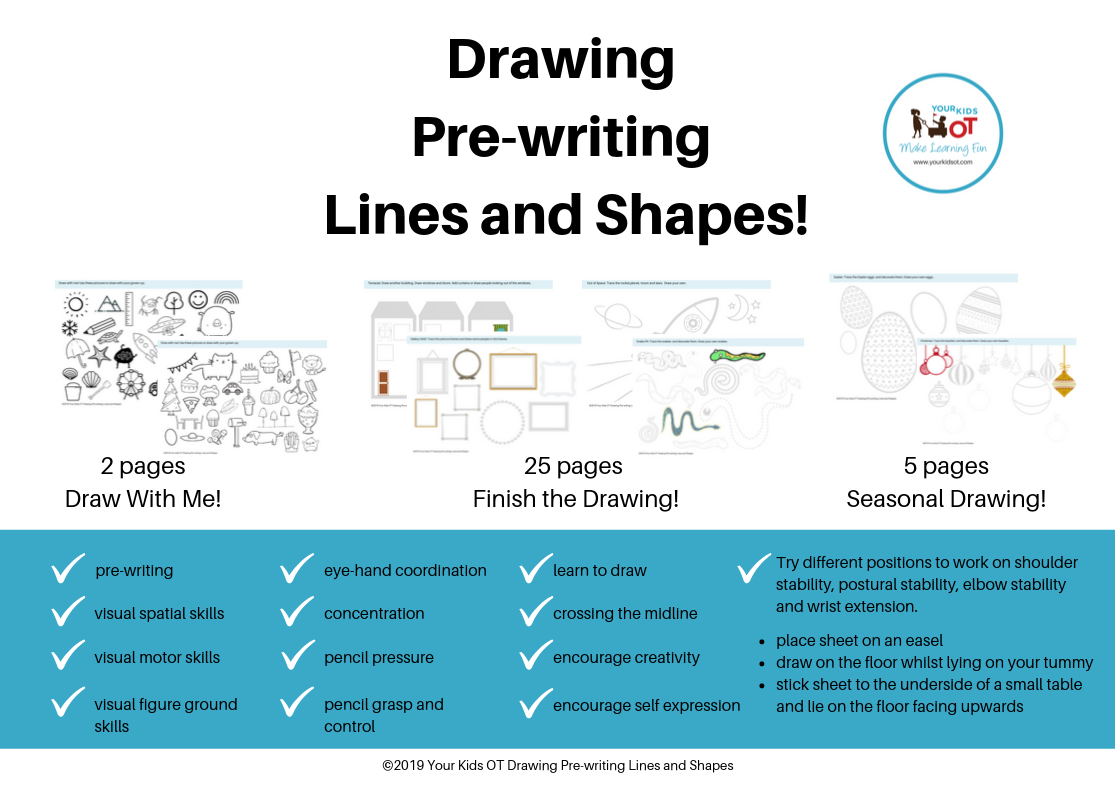
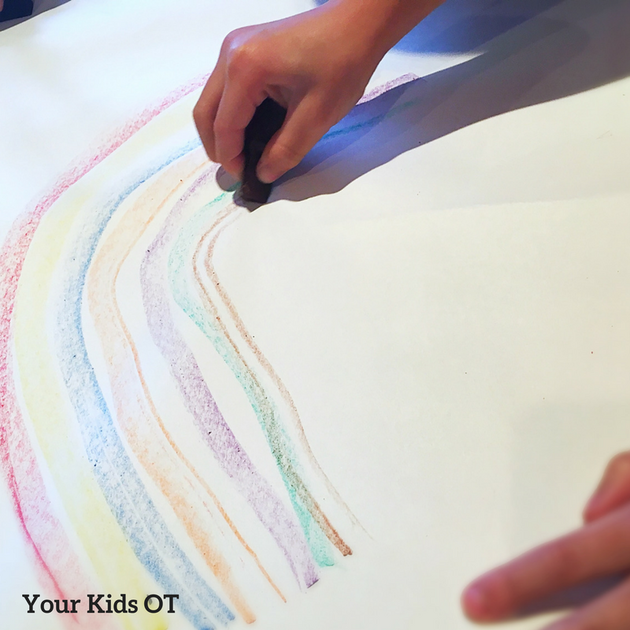
Affiliate links are used throughout this website to promote products I love and recommend. I receive a commission if any purchases are made through these links. Please see my disclosure policy for more details. Kindergartners get little time to play. Why does it matter? This was the title of a recent article that I shared on the YKOT Facebook Page. Read the article here. The concern is the downward pressure with preschools and day care centres feeling like they need to do “school readiness” or even “kindergarten type work” which is very academic and developmentally inappropriate. Parents often are led by child care educators and are impressed by the "school readiness" offered. I have seen it many times over in the places where I visit. 3 and 4 years olds become frustrated that they have to form letters. The educators become frustrated that they children aren't doing what they are told. I become frustrated! Before I get myself into hot water; I will say that this not the case for all child care centres and all preschools... But the downward pressure is real. Occupational therapists believe that there are fundamental skills a child needs BEFORE they start writing. These pre-writing skills include the development of the whole child from postural control, gross motor skills, sensory modulation, strength, body awareness, fine motor and cognitive skills. The preschool years are important for learning through play and developing connections. Connections with their parents, siblings, friends and others in their life. The development of these skills will assist a child with their school readiness and yes this includes dynamic control of a pencil and the visual spatial skills needed to form letters and numbers. As an occupational therapist I encourage the development of pre-writing lines and shapes through drawing. Drawing is a wonderful early childhood experience that is a simple as providing a blank sheet of paper and drawing tool. So many children I see are not provided with the opportunities to experiment and make mistakes. They go from scribbling to writing letters without the important in-between steps of working things out, drawing around shapes (like plates and fingers) and decorating cardboard boxes. Pre-writing generally occurs in a developmental sequence. It begins with scribble and then imitating lines (horizontal, vertical, circle). Further pre-writing lines include diagonal lines, a triangle, a square and cross shapes. Have a look at my fluency patterns for more ideas ---> FLEUNCY PATTERNS. Modelling is a wonderful way to show children how to experiment with lines and shapes. Children learn through participation how lines can be orientated in different ways to achieve different outcomes. They learn that with some control they can depict things from their every day experiences. You don't need to be an artist. Simple lines and shapes is the perfect place to start. Take your child's lead as to their interest. Do they like trains - draw a few rectangles for carriages and circles for wheels; encourage them to draw lines and shapes to decorate them or draw straight lines for train tracks. Do they like rainbows and unicorns - experiment with different colours to fill a page with a large rainbow. Not sure where to start? I have created a printable resource that includes "draw with me" pages of some simple images and 30 pages to "finish the drawing". The full "DRAWING PRE"-WRITING LINES AND SHAPES" printable set encourages your child to experiment with lines and shapes to complete differently themed pages. The themes include drawing snake patterns, a gallery wall, hats, ice cream and more. There are 25 themed pages with an additional 5 seasonal themed pages. You may show your child how to draw certain lines and patterns. Encourage them to experiment with size (draw something wider, draw it longer, draw it smaller), experiment with colour and experiment with different drawing implements. Whilst your child may enjoy colouring these pages, this was not the intention. Colouring encourages pencil control, however drawing lines and shapes will encourage visual spatial awareness which is beneficial for future writing. "Drawing Pre-writing Lines and Shapes" provides opportunities to trace, draw and experiment. Do encourage your child to go beyond tracing and colouring… and to experiment with drawing! It may be purchased from the YKOT shop or via Teachers Pay Teachers. Do you enjoy drawing with your child? What is your favourite thing to draw together?  Cindy is a registered occupational therapist practising in Sydney, Australia. She has two growing children who are a constant source of inspiration and learning. Cindy loves working creatively to help children to reach their potential, finding opportunities in everyday living and making learning fun. She is also addicted to making printables (even when they take a long time to complete). Cindy is the author of the Occupational Therapy blog Your Kids OT. Read more articles from Your Kids OT at https://www.yourkidsot.com/blog Cindy is a member of the Functional Skills for Kids Therapy Team. They have together published THE HANDWRITING BOOK, THE SCISSORS SKILLS BOOK and THE TOILETING BOOK. The information on this site is general in nature. The activities are safe for most children, however, you should consult an Occupational Therapist or health professional to address specific movement, sensory or other medical conditions. You may also like:
Affiliate links are used throughout this website to promote products I love and recommend. I receive a commission if any purchases are made through these links. Please see my disclosure policy for more details
What a treat! It was like Christmas for me!
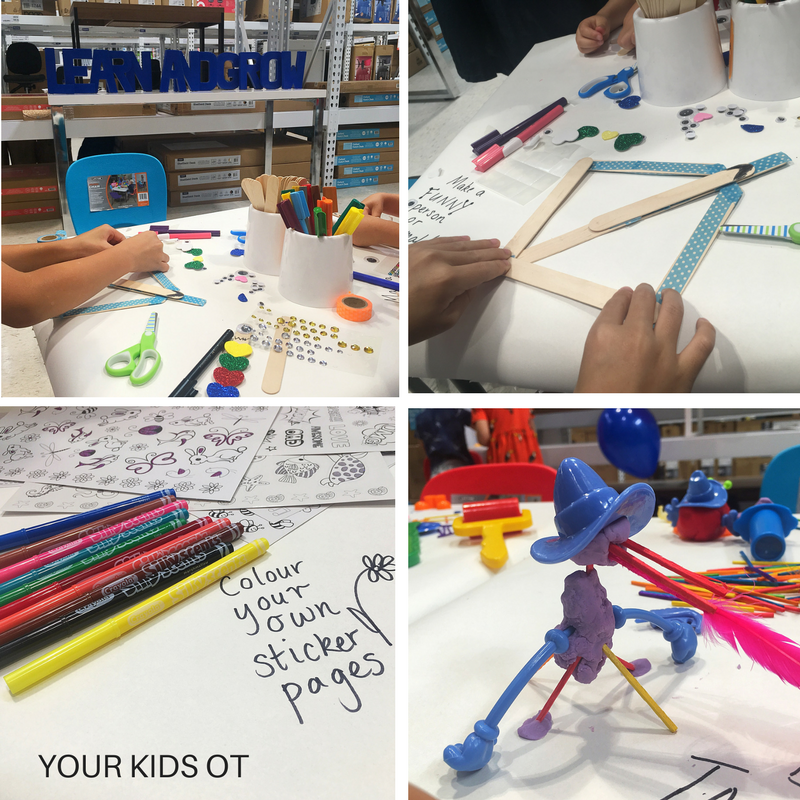
I love a good stationery shop! There is something about office supplies and equipment to help keep me organised that is so exciting! OK before you think... what a sad woman... hear me out! Together with my children, I recently attended Officework's Sydney launch of their new "Learn and Grow" range and it is more than you would expect in terms of office supplies and equipment! What an exciting range of products on offer at Officeworks for children to help them to Learn and Grow. There are over 4000 products in the range and include puzzles, games, chore charts, stickers, posters as well as arts and craft supplies. The Learn and Grow range includes trusted brands such as Ravensburger puzzles, Playdoh, Orchard games, Melissa and Doug, Crayola and more! It also includes a range of Officeworks home brand supplies. One of the best things is the affordability of the products.
We received an awesome "goodie box" from Officeworks to introduce us to the Learn and Grow range. It is wonderful to see children dive straight into their creative ideas when they get their hands on supplies. At the launch Mr 7 made a "bow", lots of "feathered arrows" and a holster to hold those arrows (see the photos above as he began crafting the "bow"). Miss 11 years was keen to get crafting as soon as we got home with our "goodie box". Her choice picks were the large pad of paper, textas fluoro dough and modelling clay.
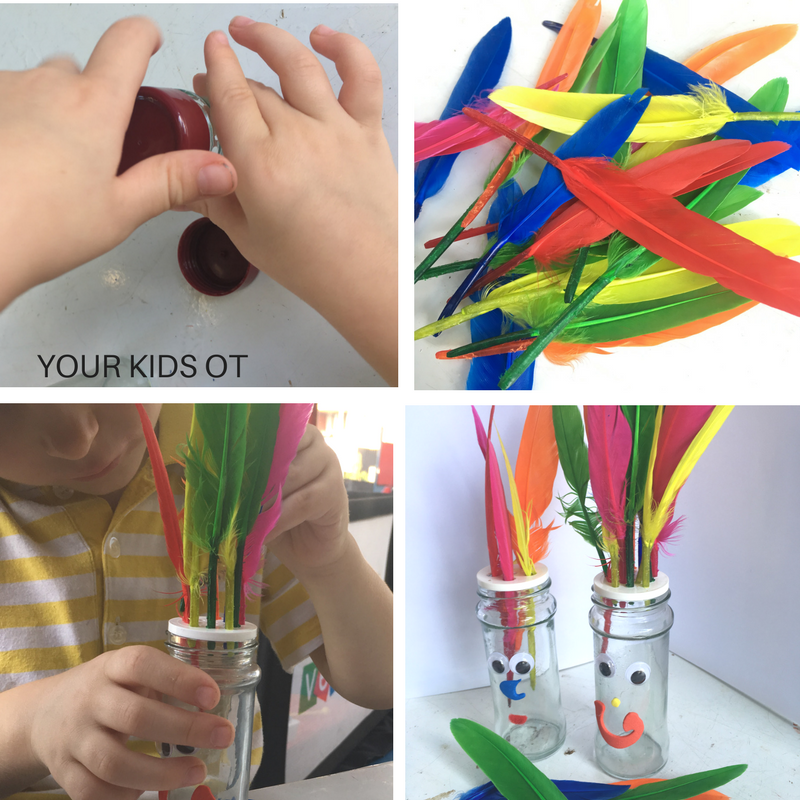
The only problem with the "goodie box" was keeping some of the supplies for myself and my OT kids! Here is one way that we put some of the Officework's supplies into action. Using spice jars, I added some googly eyes, a foam nose and foam mouth (one is actually the letter "G" on the side). My little OT friend helped to unscrew the lid and add "feathers" as hair by poking them into the holes. Whilst a fun colourful activity, there were lots of therapeutic benefits that we were addressing too! We worked on crossing the midline and bilateral coordination (read more about this here), fine motor skills and a pincer grasp.
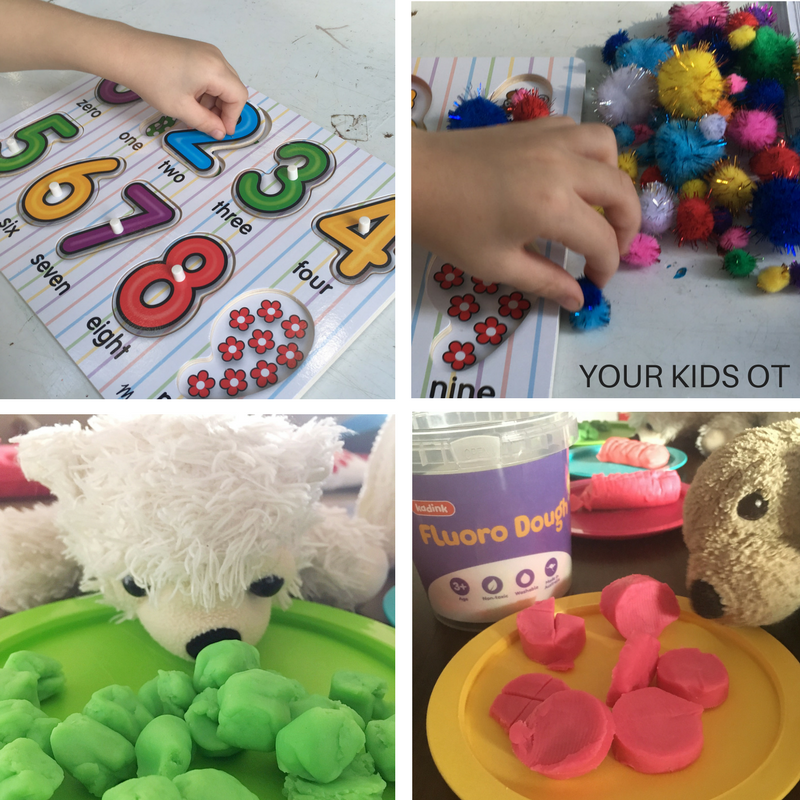
This vibrant number peg puzzle (by Melissa and Doug) was another way we worked on a pincer grasp. Hiding under the numbers were pictures to help with number identification and counting. We used pom poms to continue working on a pincer grasp and crossing the midline too.
Later I added an extra level of difficulty by asking this child to hold onto a pom pom with his third/fourth and fifth fingers whilst using his thumb and index finger to pick up the pom poms. This skill is called the separation (or disassociation) of the two sides of the hand is an important fine motor skill for handwriting, scissors, buttoning and other functional tasks (read more about this here).
Playdoh and any other "dough" materials are such a wonderful sensory tool for hands on learning. It is so versatile and can be used for forming into shapes, letters and in pretend play. You can use playdough to encourage hand strength, fine motor skill development, sensory exploration, finger isolation, bilateral coordination and more! Find more ways to use "play dough" here.
I was truly impressed with the range of products available in the Officeworks Learn and Grow range. I've been a long time fan of the Officework's "smelly" stickers and my OT kids expect these each time I see them (unfortunately none of these in my goodie box). The scent is really strong and brings back memories of "scratch and sniff" stickers that I remember receiving as a child. Find the "Learn and Grow" range in stores or online atOfficeworks (delivery within Australia only). There are so many opportunities for "hands on learning" waiting for your kids. What is your child's favourite way to learn? Am I the only one who likes browsing an office supply store?
Disclosure: I was gifted products from the Officeworks Learn and Grow range for the purposes of a review. Reviews and endorsements of products will only be made based on my expertise and personal opinion; and deemed worthy of such endorsement. The opinions shared in sponsored content will always be my own and not that of the advertising company or brand.
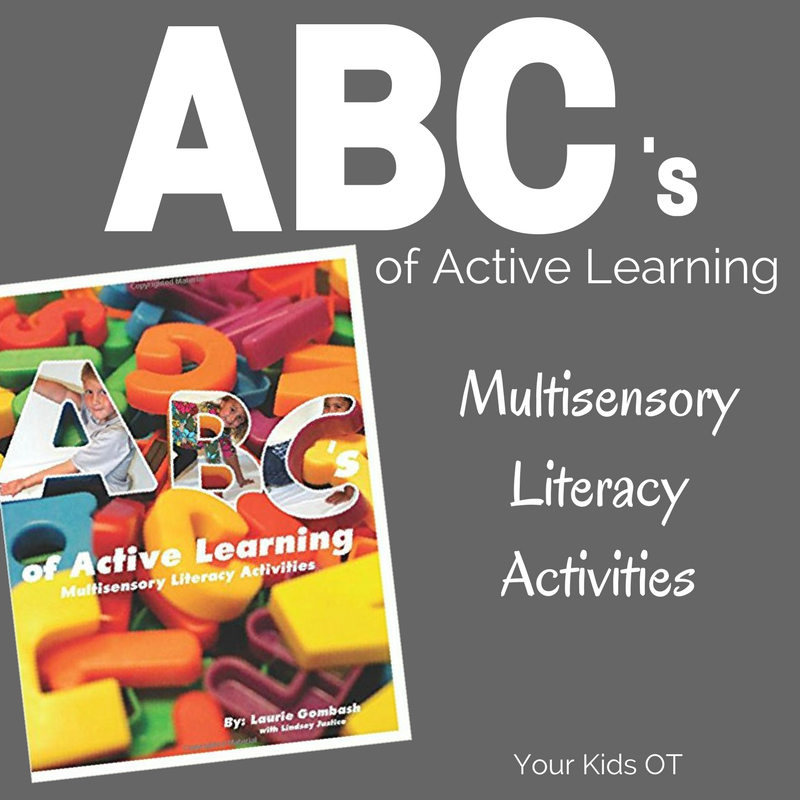
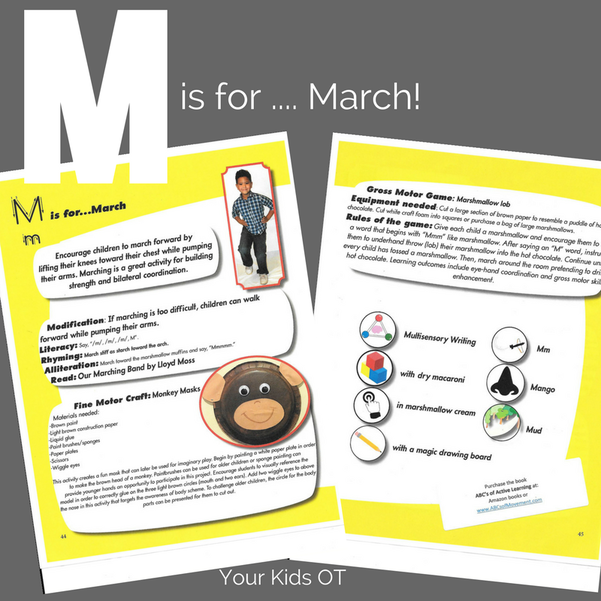
You may also like: Today on the blog, I would like to introduce Laurie Gombash! Laurie is a physical therapist who loves to teach the alphabet through movement and a range of multi-sensory activities. To capture an array of learning variability gives children an opportunity to learn in ways they understand through their senses. Laurie is sharing her latest book, ABC's of Active Learning© with us today! What an exciting resource that would be valuable for anyone working with young children! Thanks for this opportunity to guest blog and tell everyone about my new book, ABC’s of Active Learning©. It's the same 26 letters with a multi-sensory twist that provides a lively and engaging teaching and learning experience! As parents, caregivers, practitioners, or teachers, we realize the importance of early literacy development, but how do we continue to find creative ways to present critical learning skills? More importantly, how do we capture the motivation of our learners who come to us with different strengths and areas in need of continued development? The ABC’s of Active Learning© targets the whole brain through movement activities, organized games, multi-step crafts, as well as multi-sensory pre-writing activities that can be used and graded for learners of all abilities. With the rise of technology dominating so much of the young child's time, this tool takes learning back to the basics, providing organizing movement activities that help to establish a child who is ready to be an active participant in his or her learning! For example, for the letter M, Our Marching Band by Lloyd Moss is the suggested read.
To challenge children’s phonological awareness, encourage them to say the words that start with the “M” sound. Learning outcomes from Marshmallow lob include eye-hand coordination, phonological awareness, and gross motor skill enhancement. All activities are designed to be fun and motivating, while simultaneously providing rich multi-sensory input, improving motor development and learning. This book can stand alone or be a supplement to The ABC’s of Movement® activity cards. To purchase these products or to find out further information refer to www.ABCsofMovement.com.
Magnets are so fascinating for kids! How do they work? What makes them attract or repel something?
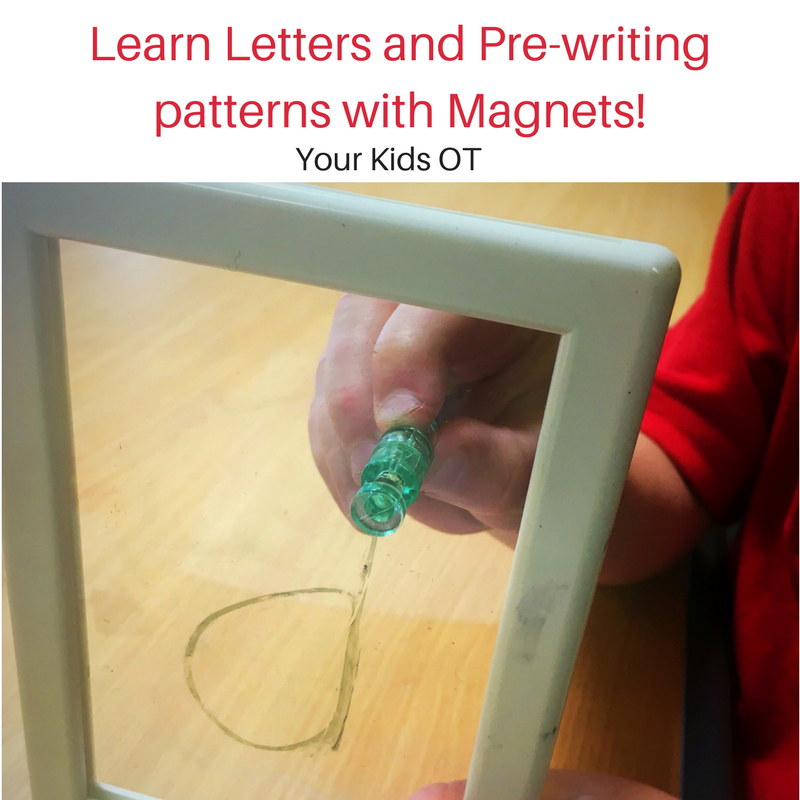
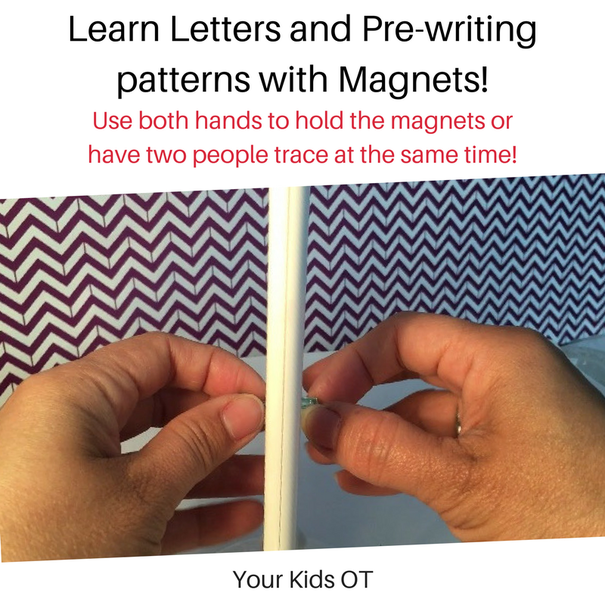
Using the fascination children have with magnets ... I created a fun way to learn pre-writing patterns and learn letters too! What do you need? * two-sided plastic frame (I use this frame from IKEA and took out one of the plastic sheets) * magnets * whiteboard markers (and eraser) * felt/glue (optional) The felt and glue are optional. I added a small piece of felt to my magnets to prevent scratching the plastic frame. What do you need to do?
I hope you enjoy this video showing you what you need and what you need to do to learn pre-writing patterns and letters with magnets!
Note: The last time I included a video in my blog post, my loyal newsletter subscribers couldn't see it! Please also find the video available on You Tube at this link !
Why I love this activity!
This activity has so many great benefits! * Pincer grasp - Encourage your child to hold the magnet between their thumb and index finger. * Separation of the two sides of the hand - Encourage your child to tuck away their 3rd, 4th and 5th fingers. * Wrist Extension - As this frame is vertical; your child's hand will naturally be placed in a position of wrist extension. * Bilateral coordination - Encourage your child to use their dominant hand to hold and move the magnet, whilst using the non-dominant hand to hold the frame. * Visual Tracking - Your child should naturally watch the magnet as it traces the pattern, shape or letter. If they can't track visually - check out my variation below! * Shape and letter formation - Use this activity to teach pattern, shape and letter formation as your child will "feel" their hand moving in space as each letter is formed (spatial awareness). This learning through movement is called "kinesthetic" learning. Children can also learn the planning involved with forming patterns, letters and shapes. You may want to add a verbal element so that your child may repeat this to help with understanding the steps involved. The verbal prompt may also help them to plan when they form these patterns, shapes and letters on their own. The development of these skills are so important for handwriting on paper! This activity provides an excellent way to build "handwriting" skills without having your child "just write" for practice. It provides multi-sensory learning, is "novel" and fun! It is really quick to set up (once you gather your supplies). It is also transportable ... perfect for the mobile therapist!
Variations
For more activities to promote the development of fine motor skills; see this page with a list of my articles on this subject! Does your child love magnets? Do you have an IKEA nearby? I would love to hear if you make any further variations to this activity idea!
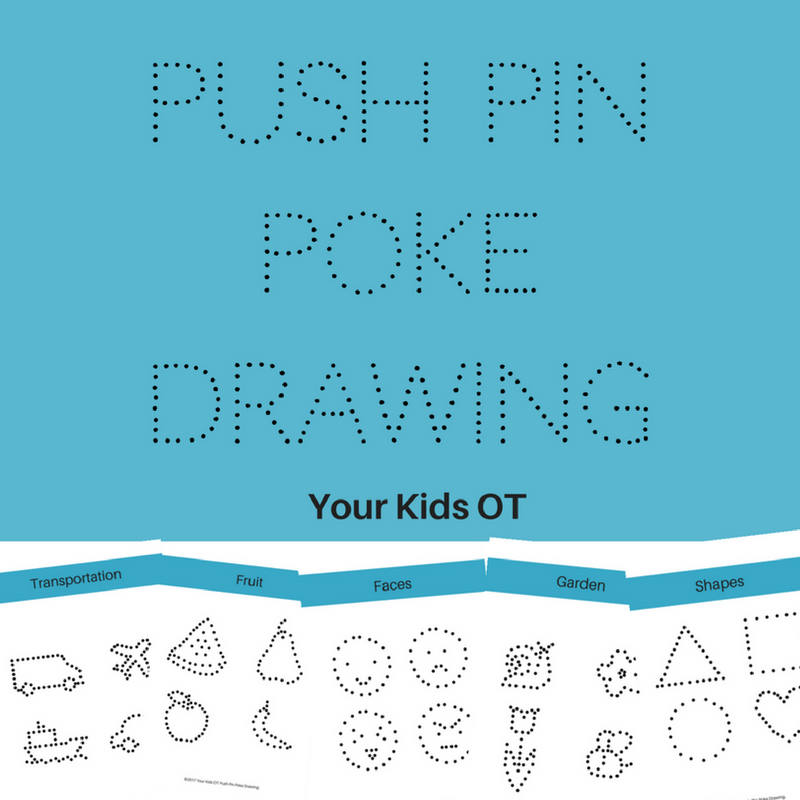
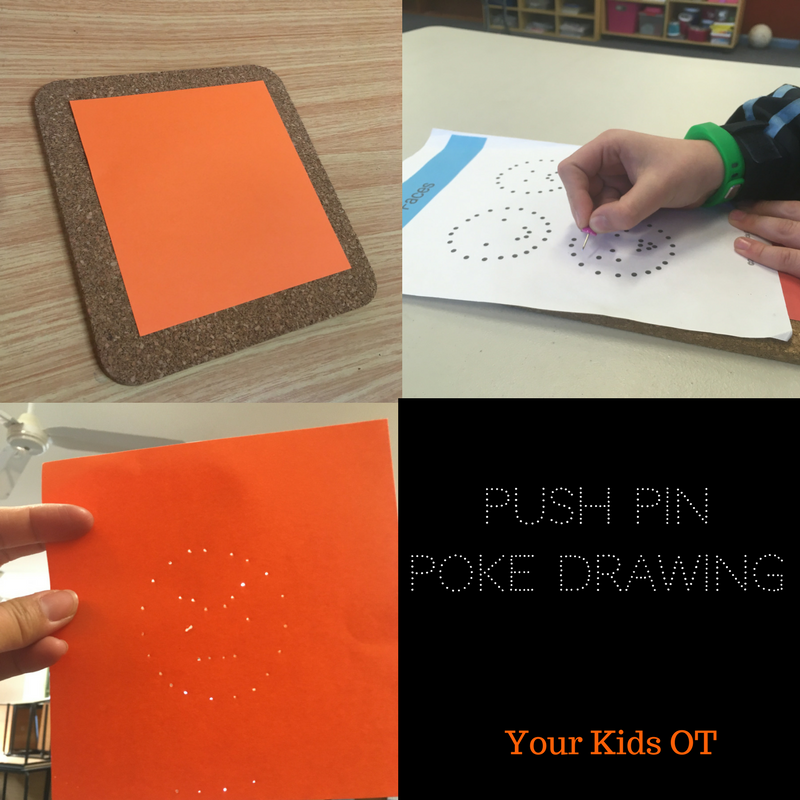
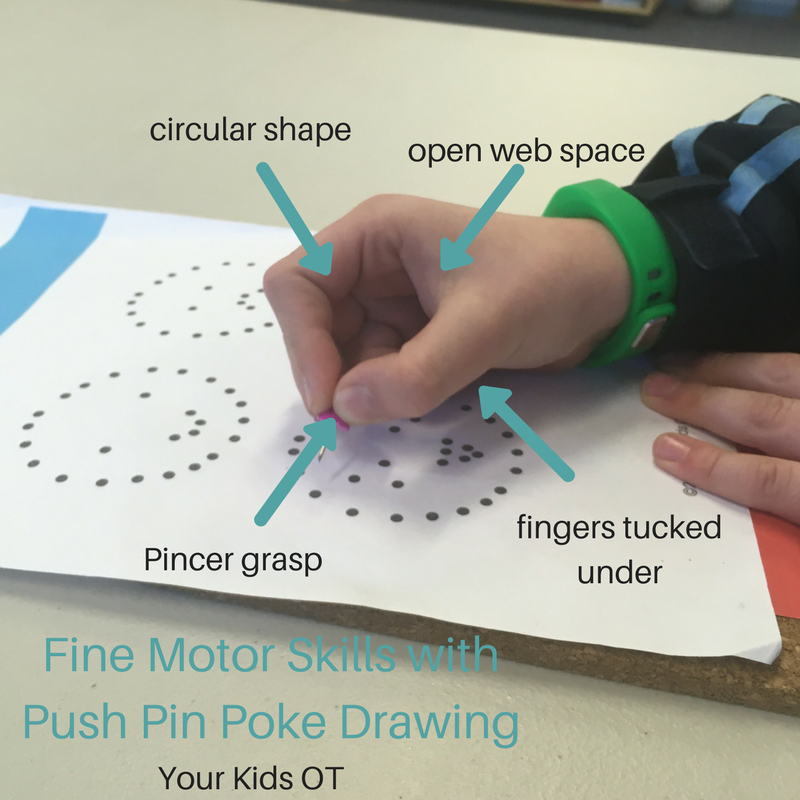
Push pins! You may have some handy for your bulletin board but have you used them to draw? OTs love to use "push pins" as a tool for fine motor skill development, especially for encouraging a pincer grasp! Read on to the find out all the great therapeutic benefits of this activity. But first, what do you need to do?! 1. Get your templates at the Your Kids OT shop! Print them off. 2. Put a piece of paper over a cork mat. 3. Place the chosen template page over both the paper and cork mat. 4. Use a push pin to poke small holes onto the template page. Use the non-dominant hand to support the pages so that it doesn't move. Encourage your child to pinch the push pin so that they are not squeezing too hard. They need to apply just enough pressure to poke a small hole (not too hard otherwise the push pin stays in the cork mat). 5. When all the holes for the picture have been "poked", hold the paper up to see the picture. Kids love to see their created picture and many of my OT kids have place their pictures on their bedroom windows as art! Therapeutic benefits! There are so many skills that can be achieved with "push pin poke drawing"!
All these skills are needed for complex hand tasks such as writing, drawing and cutting. They are important "pre-writing" skills and can help with the development of an efficient functional pencil grasp as well as helping with the fluent control of the pencil needed for writing. Did you read my recent article about my favourite fine motor toys needed for pencil grasp and handwriting? This activity is suitable for a wide range of ages. I have used this with preschool-age children (about 4 years of age) and primary school-age children. They have all loved it! Supervision of the "push pin" is advisable so it may not work in a whole-class environment. You could try toothpicks or bamboo skewers instead! This activity is so much FUN! Don't take my word for it, you will have to try it out! Don't forget to get your templates from the Your Kids OT shop! Also available from Teachers Pay Teachers. Have you tried "push pin poke drawing?!
You may also like:
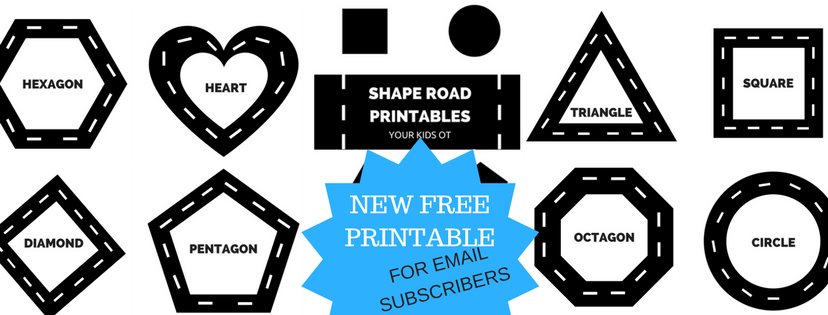
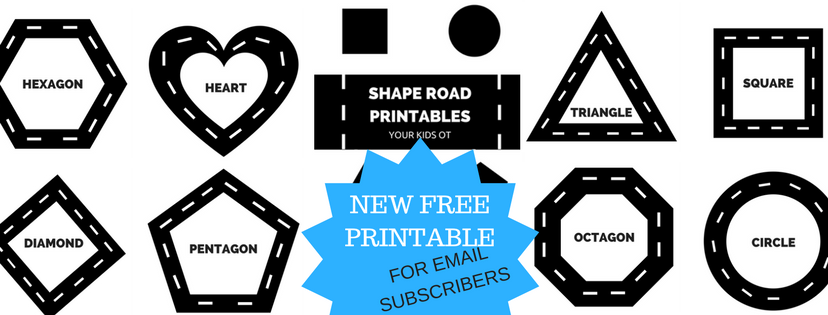
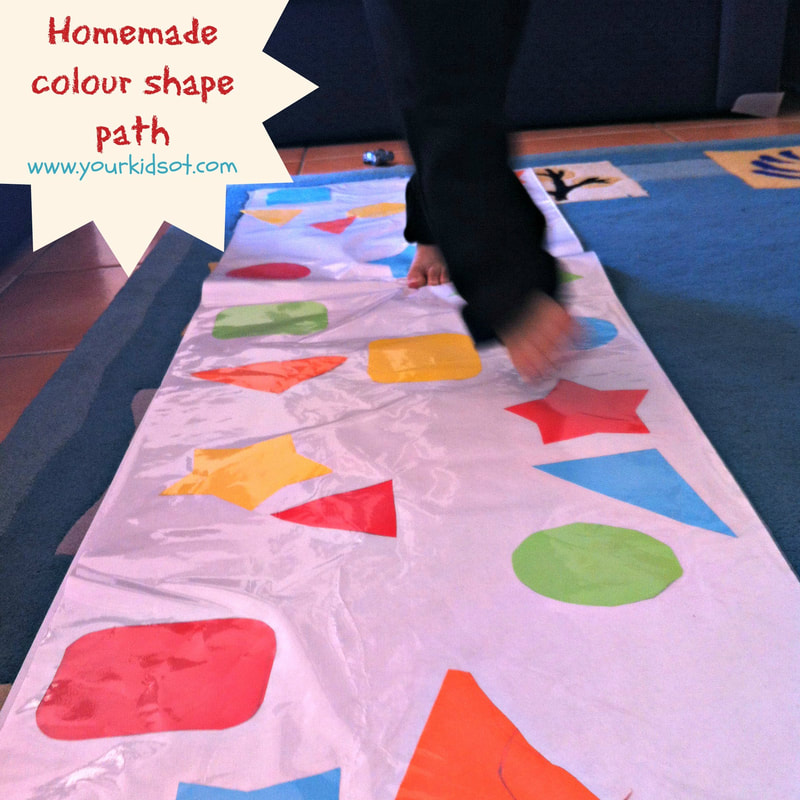
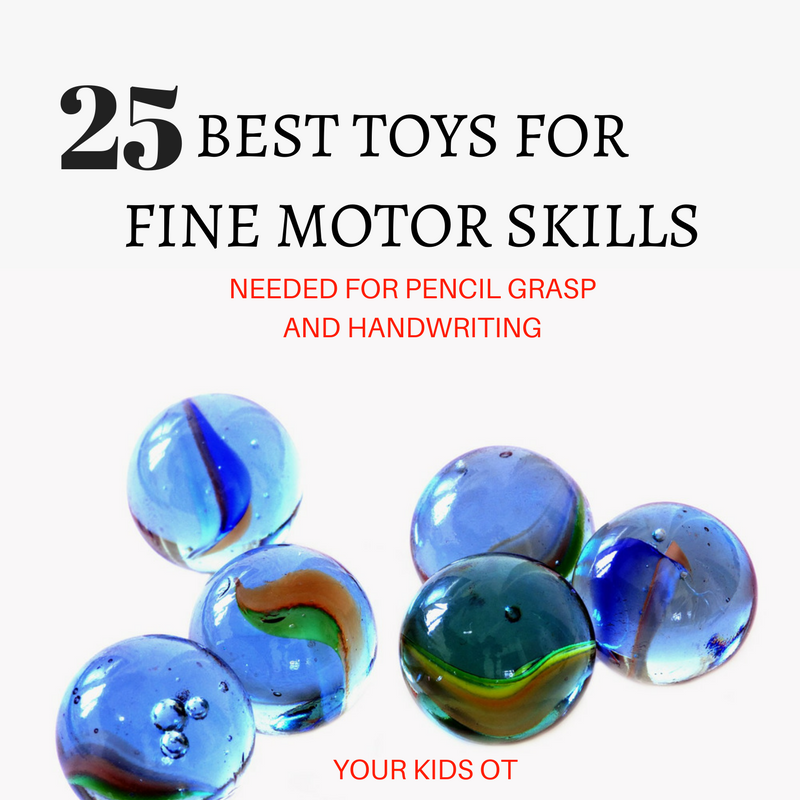
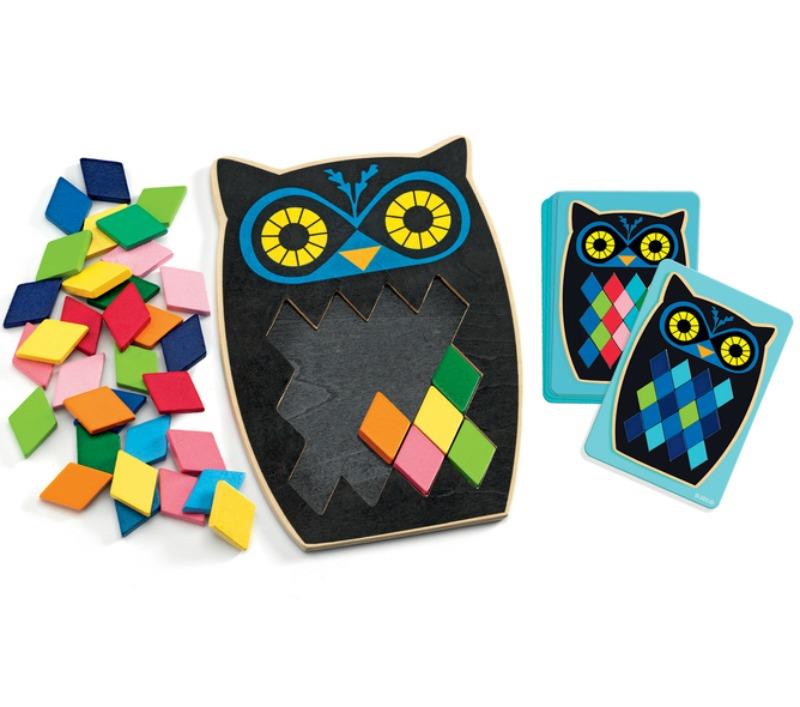
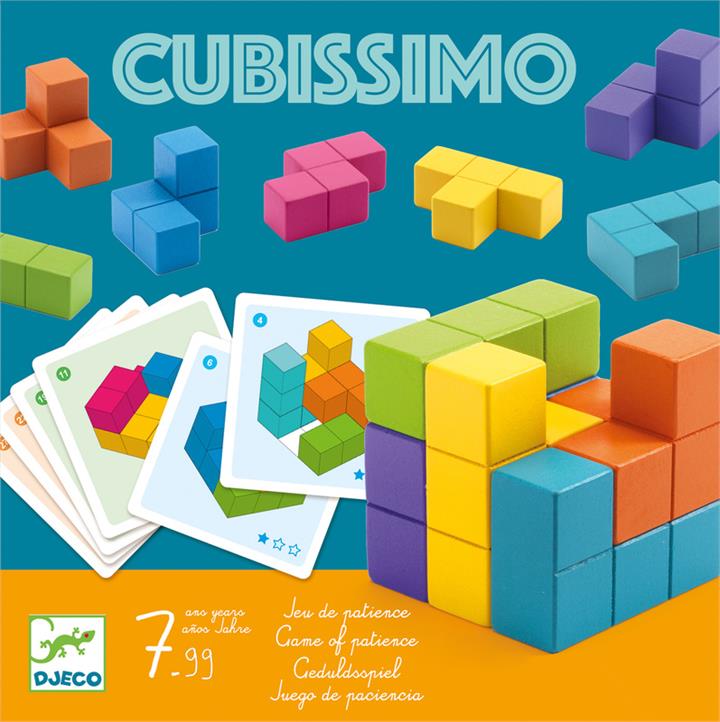
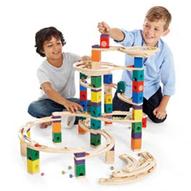
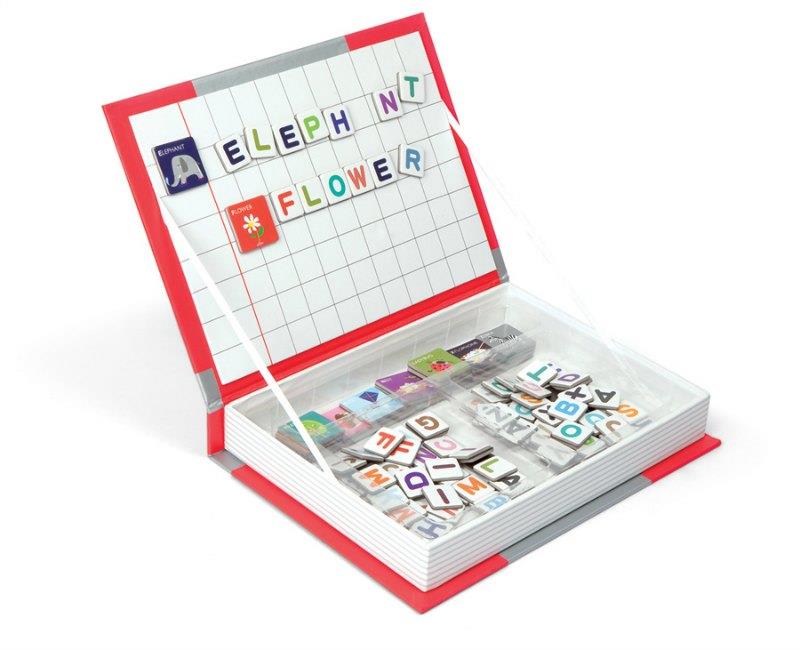
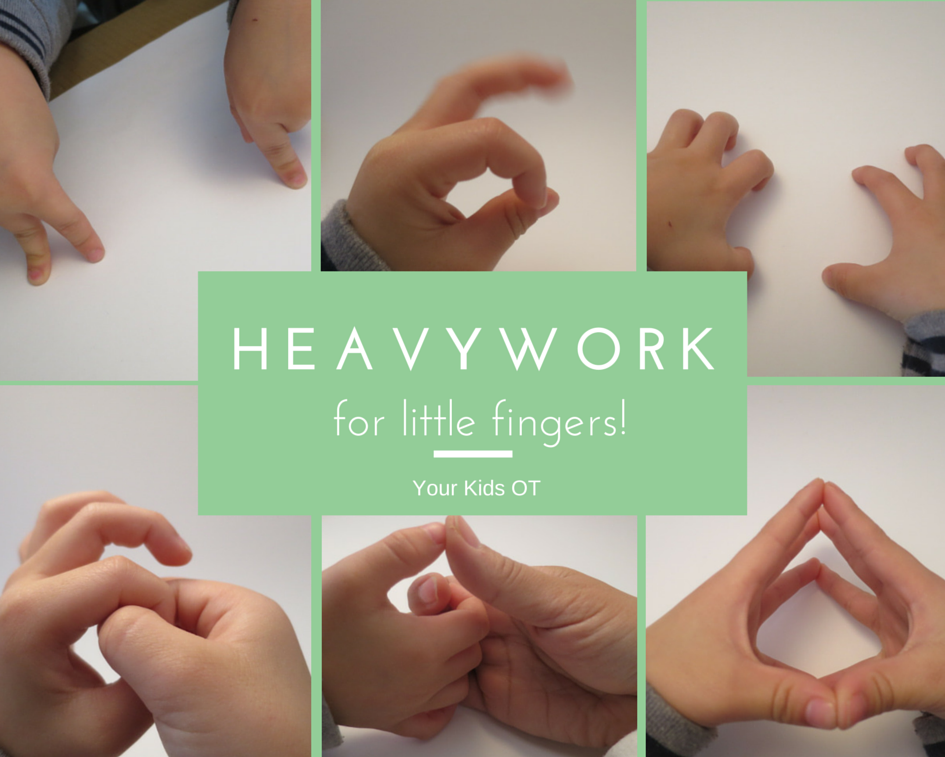
Toys are a BIG thing for occupational therapists! Maybe we are just BIG kids that never quite grow up (Peter Pan style)? We get excited when we see new products released. We get thrilled when we see old products re-used or re-purposed. We are nostalgic about our old toys. We are curious to see how children "play". We love seeing children use their imaginations and interact with each other. We are fascinated when children use "non-toys" as "toys"! AND We love to see toys which help guide child development! This may be fostering curiosity, problem solving, creativity, cause and affect.... or developing skills (fine motor, gross motor, visual motor, sensory motor, etc)! But what fine motor skills are important with pencil grasp and handwriting? As occupational therapists, we are looking for more than a child's ability to play with Legos or pick up sultanas! These are the common examples that get shared with us in relation to fine motor skills. A child's ability to hold a pencil (ie. pencil grasp) and then use the pencil fluently and effectively may be influenced by a number of skills. Before we look at the hand and fine motor skills, we also need to consider the development of bilateral coordination skills (using both sides of the body in a coordinated way), being able to stabilise the body during writing and having the right posture (read about this at Miss Jaime OT). Important fine motor skills for pencil grasp and handwriting. • Pincer grasp - This is the neat "pinch" achieved between the thumb and index finger. Read more about this HERE. • Thumb opposition - This refers to the ability of the thumb to rotate and reach to touch all other fingertips of the same hand. Read more about this from The Inspired Treehouse HERE. • Palmar arches - This refers to the arch formed when we "cup" our hands and is related to the loops of blood vessels which are found in our hands. Read more about this from Irvine USD Special Education Preschool HERE. • Separation of the two sides of the hand - This the use of the thumb, index and third fingers of the hand whilst maintaining stability in the fourth and fifth fingers of the hand. Read more about this HERE. • Wrist stability and extension - This is the position of the wrist so that it is resting on the table and slightly extended so that the fingers can be used to control the pencil. This is one of the reasons as occupational therapists, we love to encourage working on a vertical surface or use of a slope board if necessary. • Hand strength - This refers to the contraction of the hand muscles to grasp a pencil to control it without fatigue or pain. Read more about hand strength HERE. • In-hand manipulation - This refers to the ability to move items around in the hand using precise finger movements and includes translation, rotation and shift. Read more about this in THE HANDWRITING BOOK. This is a list of MY favourite toys that help children in the fine motor skills they need for an efficient pencil grasp and fluent handwriting. 1. Wind-up toys. 2. Bubble Wrap 3. Travel-size toys (eg. connect four, battleship, mastermind) 4. Stick toys (eg. Kerplunk, Pop-up Pirate) 5. Wikki stix 6. Tweezer/tong games (eg. avalanche, Operation, ) 7. Squeeze Toys (eg. bath toys, claw activaters, popper toys, roll tongue animals etc) 8. Beads and lacing toys (eg. FILO, HAPE wooden beads) 9. Dice games (eg. Snakes and Ladders, Monopoly, etc) 10. Trigger finger games (eg. Hungry Hippos, jumping frogs) 11. Finger Lights 12. Playdough or putty games (Refer HERE for ideas!) 13. Finger puppets 14. Spinning tops 15. Elastic Band Toys (eg. loom bands, Thumbs up, etc) 16. Toys with small suction pads (eg. Squigz, Stik Bot, Oogi) 17. Screwdriver, nuts and bolts toys 18. Eye droppers 19. Mosaic tile games (Moza Blop - see photo) 20. Peg boards 21. Marble games (eg. Tricky Fingers, marble runs, marble maze) 22. Magnetic boards (eg. Magnatabs, Marbletick, magnetic drawing boards) 23. Stamps with ink pads 24. Stickers 25. Trigger toys (eg. small water pistol, pinball) Don't forget to look around your home for "loose parts"! "Loose parts" might be anything from buttons, toothpicks, pom poms, paper clips, sticks, elastic bands, coins, etc. These make great "tools" for fine motor play. Use them over my "Shape Roads" (which you can receive by subscribing HERE) or "Letter Roads" (read about this HERE). What are your favourite toys for the development of fine motor skills?
Disclosure: Affiliate links are included in this article to promote products that I recommend. Reviews and endorsements of products will only be made based on my expertise and personal opinion; and deemed worthy of such endorsement. The opinions shared in sponsored content will always be my own and not that of the advertising company or brand. You may also like:
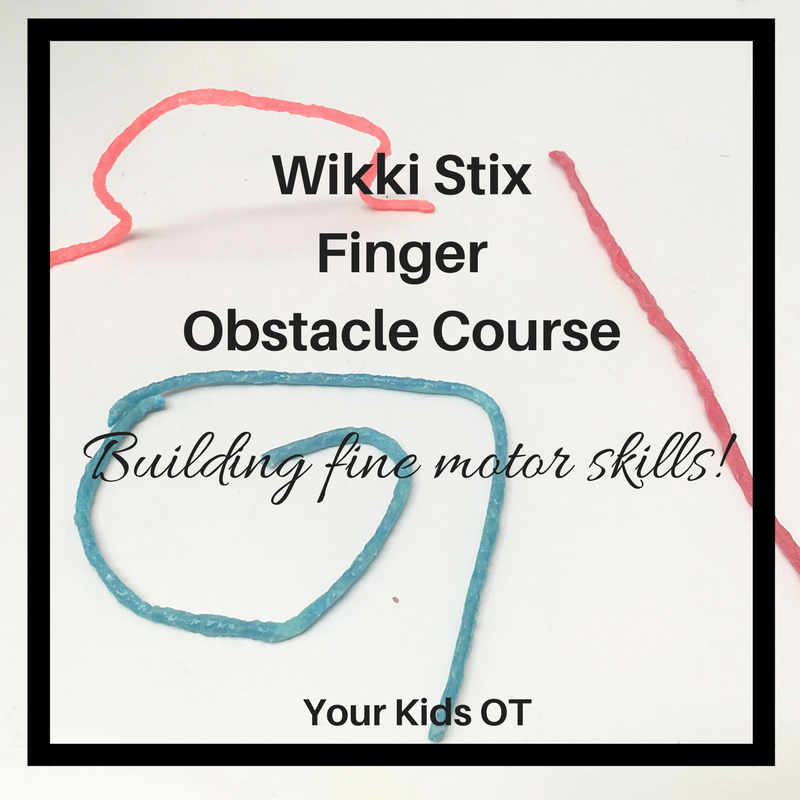
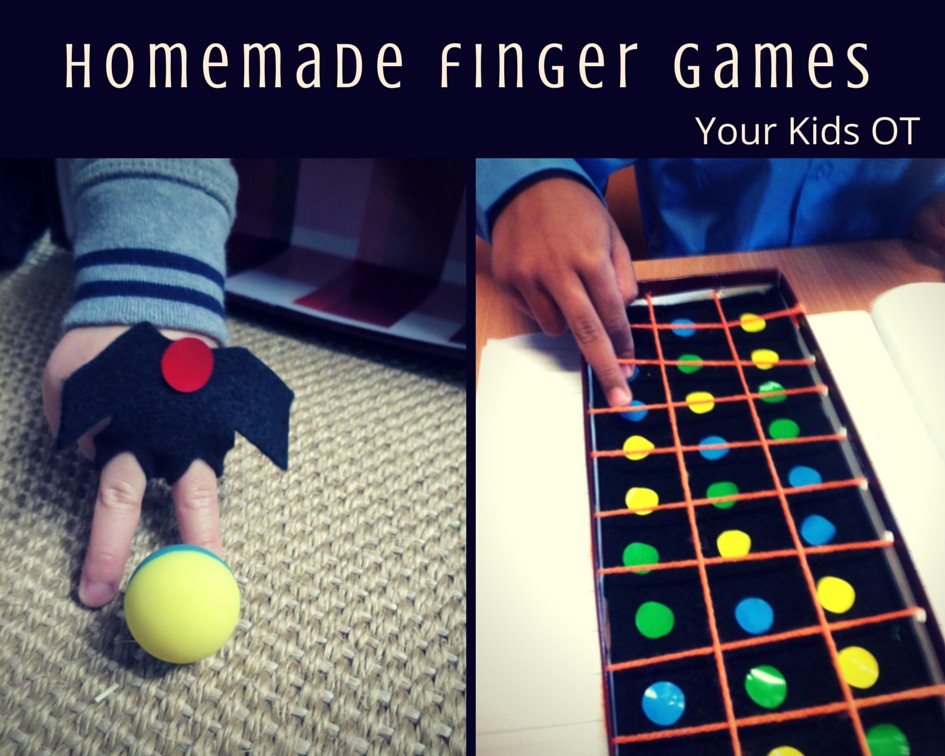
Affiliate links are used throughout this website to promote products I love and recommend. I receive a commission if any purchases are made through these links. Please see my disclosure policy for more details. "Are they made from EAR WAX?" No they are not! Wikki Stix are made of hand-knitting yarn enhanced with a microcrystalline, food-grade non-toxic wax (and not ear wax like one of my little friend thought)! These soft little colourful sticks are pliable and stick on just about any surface, can be lifted and re-stuck again. Bend the wikki stix in any shape. Make 2D or 3D shapes. Join several together. Wikki stix make the perfect tool to use for learning and developing fine motor skills. They can be used in a variety of ways! We love to make "finger obstacle courses"! Watch the video to see a finger obstacle course in action! You tube link - https://youtu.be/6k-Md6XgH54 We love making finger obstacle courses (remember this one made with a shoebox lid?)! Little hands can work on the manipulation and planning involved to set up the obstacle course. Fingers then push and press into the table, leap and perform to complete all sorts of obstacles. You could target finger isolation, thumb opposition, manual dexterity, motor planning, eye-hand coordination, crossing the midline, bilateral coordination and more! Stay connected with more great tips and ideas for working on fine motor skills coming soon! Have you made a Wikki Stix Finger Obstacle Course? Try it! You may also like:
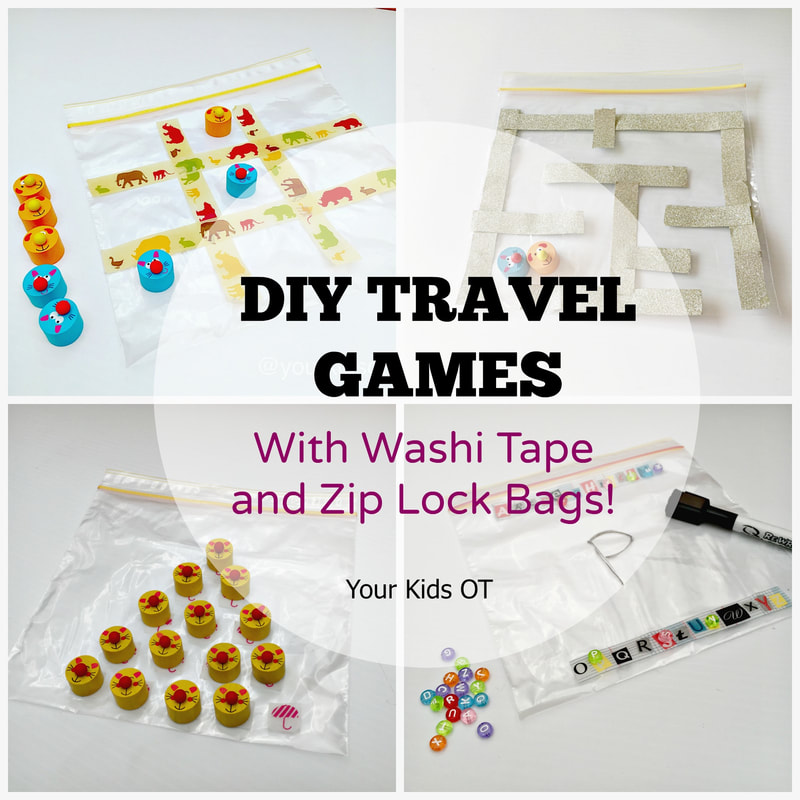
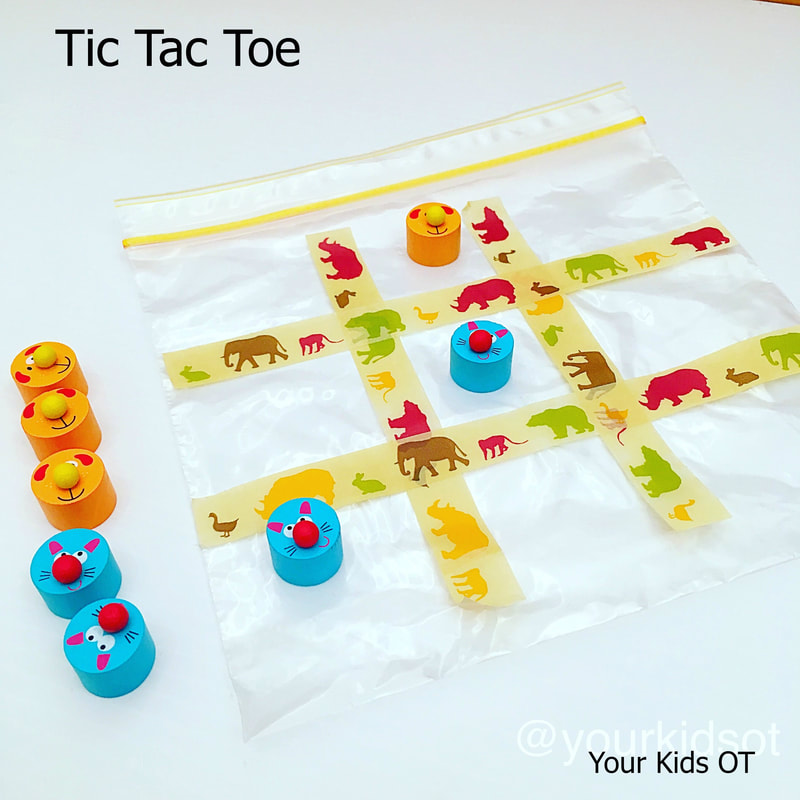
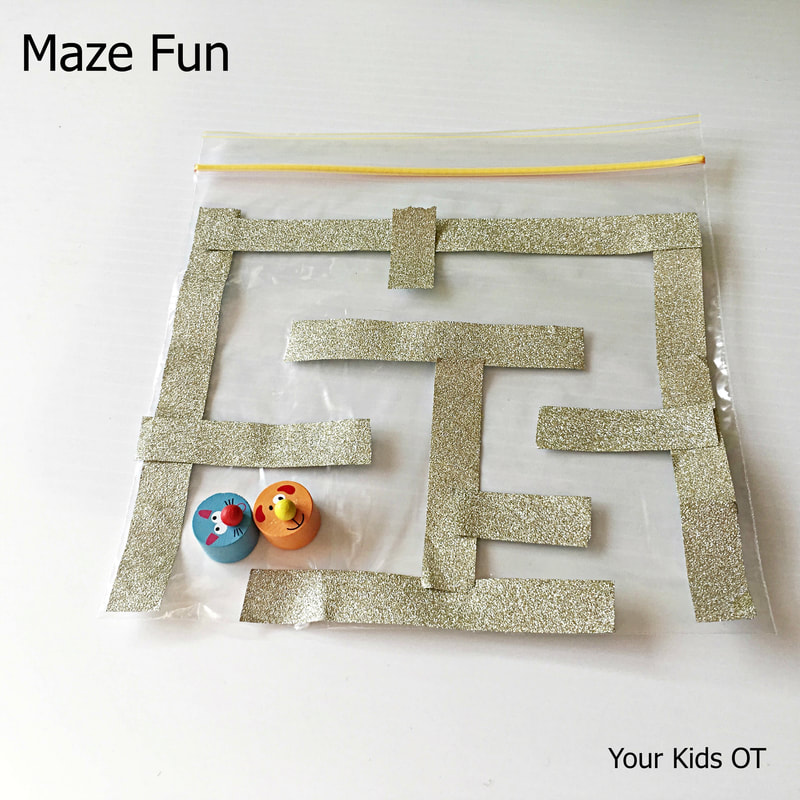
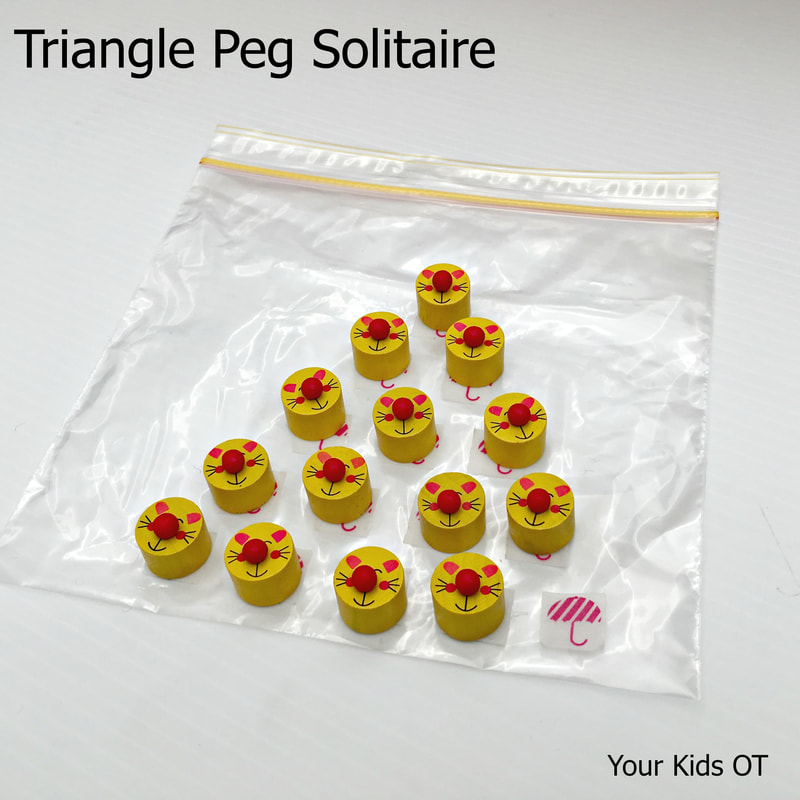
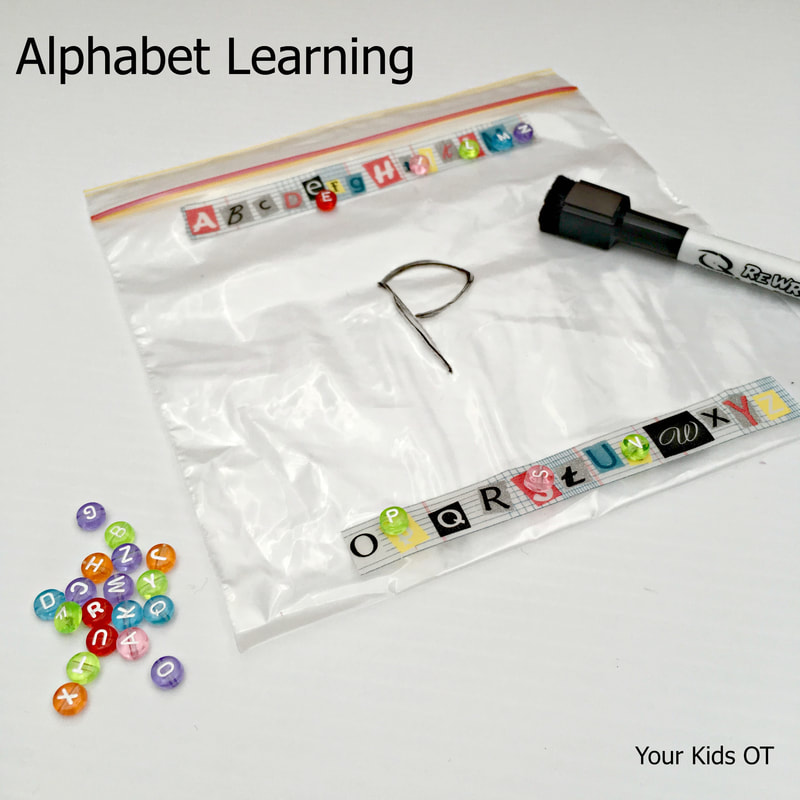
Ever struggled to entertain your kids on a long haul flight or doctor's waiting room? or maybe you are a mobile therapist looking for new ideas that are light and easy to carry?! Here are some quick easy DIY travel games that you can make with your favourite washi tape and some zip lock bags to keep your kids entertained and learning at the same time! The surface of the zip lock bag is the playing surface and all the small parts can be stored in the bag after playing! So neat and convenient, ready for travel! 1. Tic Tac Toe (or noughts and crosses). You will need a zip lock bag, 4 strips of washi tape and 8 small counters (four of each type). Simply lay your washi tape strips to form the tic tac toe board and you are ready to play! Can't get any easier than that! My cute counters came from an old game we weren't using anymore, however you could use small pebbles, buttons, pom poms or any other "loose parts". Tic tac toe is such a great game for kids to work on motor planning and turn taking. You can encourage a pincer grip with the counters too! 2. Maze Fun You will need a zip lock bag, washi tape cut into strips and some counters. Design a maze on your zip lock bag using washi tape. You could make one like the one I have made or you could make a shape or a road too. The best thing about washi tape is that is repositional. Change the maze after you play! If you have an older child, they may be able to come up with their own design. You could use counters to go through the maze or you could make the washi tape the path to follow. Draw some black lines down the middle of your tape and you have a road for a little car to drive down. Draw some line across the washi tape and you can easily create train tracks! Mazes are such a great way for kids to work on visual motor planning and tracking. They can work on problem solving too if the maze is too hard for them. And you guessed it, encourage a pincer grasp with the counters or loose parts that you use! 3. Triangle Peg Solitaire You will need a zip lock bag, 15 small squares of washi tape and 14 counters. Start this game by assembling the counters like the photo above with the bottom right hand square empty. To play the game, you may move a counter to "jump over" one other counter onto an empty square. Pick any counter next to continuing "jumping over". Play ends when you can't move (ie. you don't have a counter to jump over). The aim of the game is to have the least counters left over. This game is perfect for older kids who may be challenged to one counter left after making all moves. This game will be addictive, as your child will want to try again to beat the number of counters they have remaining. It is a good problem solving and visual planning game (whilst working on that pincer grasp). 4. Alphabet Learning. You will need a zip lock bag, alphabet washi tape (or write on plain washi tape with permanent marker), alphabet beads, whiteboard marker and eraser. Alphabet beads are easy to find in hobby or craft stores or you may even find them in your local discount (dollar) store. Have your child match the beads to the washi tape for alphabet recognition and learning alphabetical order. You could also put in a small tub of playdough so that the beads could be pushed into the playdough. Use a whiteboard marker to write the letters on the zip lock bag and have an eraser (or a tissue will work) to rub out the letter. Change it up and use lower case letters, numbers or spell out sight words or spelling words! The benefits of this activity are self explanatory! Educational with a touch of fine motor manipulation! Yes you guessed it, this also works on pincer grasp but you can also work on pencil grasp and letter formation too! Do you want to see these games in action? Watch this video I put together (be kind as I'm still learning about video editing!). If you are reading this in your email, please click on the title of this blog so that you watch this video via your internet browser! Looking for more amazing travel games? Today. I'm linking up with some of OT blogging friends to bring you more! Make sure you check out their ideas and follow them too!
Let me know if you try out my DIY travel games made with washi tape and zip lock bags! No crafting experience required! Happy playing!
You may also like:
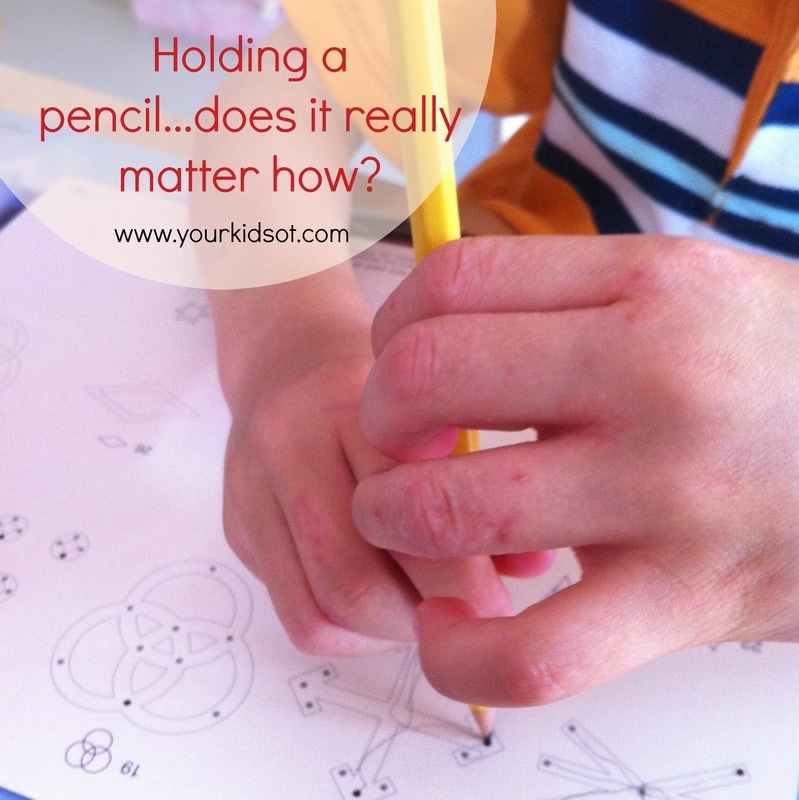
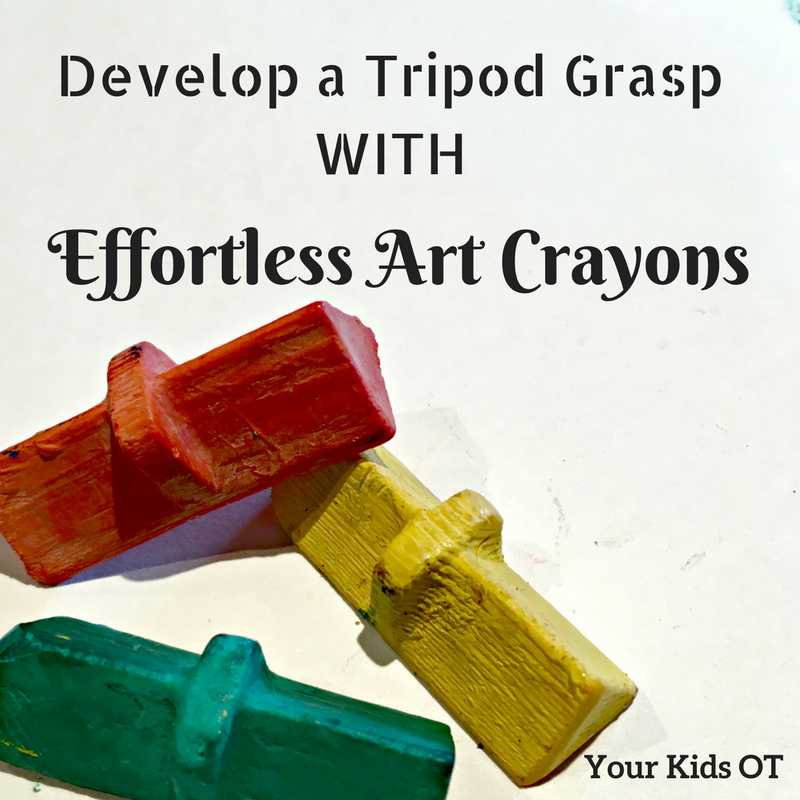
Encouraging a tripod grasp and a child's interest in drawing can be difficult. As an occupational therapist, I am often asked to see these children to help them with their first steps in holding a "drawing implement" and to help them to make meaningful marks on the page. We use the term "tripod grasp" to describe a grasp of the pencil or crayon with three fingers of the hand (thumb, index and third finger). Ideally, movement and control of the implement also comes from the muscles of these fingers. By about 4 years of age, a child can be encouraged to use a tripod grasp. Not sure if your child is holding the pencil or crayon the way they should be? Refer to this article HERE which talks about developmentally appropriate pencil grasps, inefficient and functional grasps. Introducing "Effortless Art Crayons" by Two Sparrows Learning Systems. "Effortless Art Crayons" are a uniquely shaped crayon which was originally designed with input from an occupational therapist. They are short triangular shaped crayons that may be used at either end. There is also a small raised section in the centre which may be used to assist grip (but doesn't need to be). This unique shape works well for children of all ages. I found that the young OT kids whom I see (who are yet to develop a tripod grasp), held these crayons comfortably. I encouraged these children to "pinch" the crayon, although the triangular shape lends itself to be held with one finger on each surface (ie. a tripod grasp). There are six points of contact of the crayon to the page from the triangular ends, rather than the traditional one rounded end of a crayon promoting success in those beginning to marks on the page. The crayons glide along the page easily, which explains the "effortless" in the name of this crayon. Children do not need to exert much pressure onto the page which is really helpful if they have poor hand strength and poor control. Read about more tips for those who have difficulty with pencil pressure HERE. We also found that the crayons could draw a controlled thin line or a thicker shaded line (the "art" aspect of the crayon). My daughter, Miss 10 years especially enjoyed using these crayons to create! According to her, they are the "best crayons ever" as they give her the control that she would otherwise have from pastels or coloured pencils but with the shading and depth of colour of a crayon. {I have a feeling that I may have lost this set of crayons to her!} Two Sparrows Learning System is a family owned business owned by Nancy and Jason. Nancy is a former special education teacher. The company vision is to "create learning products for all ages and abilities that are intuitive, inclusive, and environmentally conscious in design". The "Effortless Art Crayons" are their first product and are hand made from 100% recycled crayons! This is a terrific initiative where old crayons are collected (and saved from being dumped in our environment) to produce these unique products. "Effortless Art Crayons" are currently only available for shipping in the USA, however follow Two Sparrows Learning Systems on Facebook or Instagram to be kept up-to-date with new products and initiatives. What is your favourite crayon for those developing a tripod grasp? Have you tried these?
Disclosure: This product was gifted to Your Kids OT for the purposes of a review. Reviews and endorsements of products will only be made based on my expertise and personal opinion; and deemed worthy of such endorsement. The opinions shared in sponsored content will always be my own and not that of the advertising company or brand. You may also like:
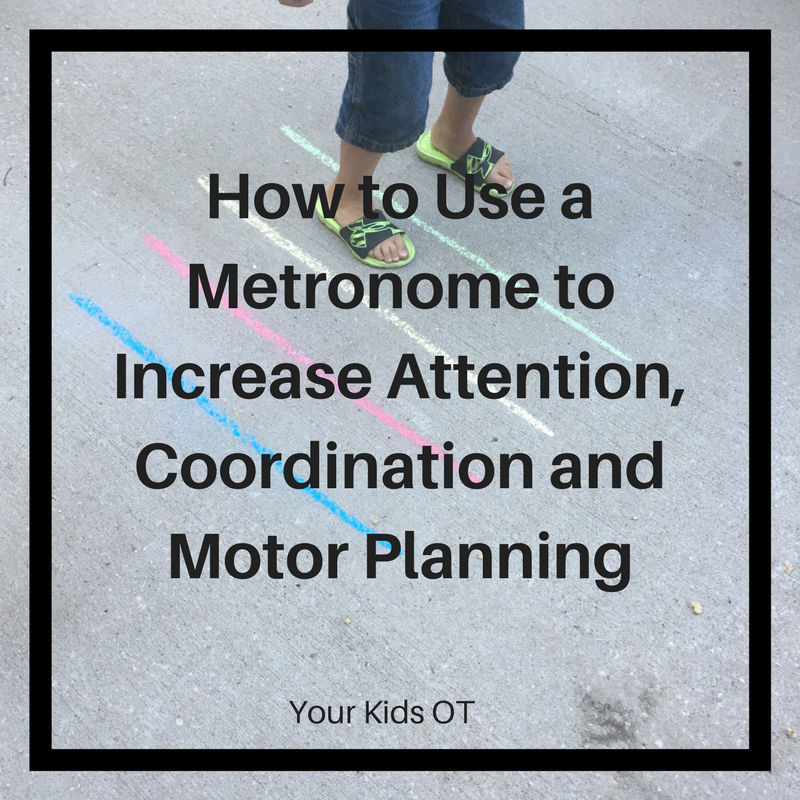
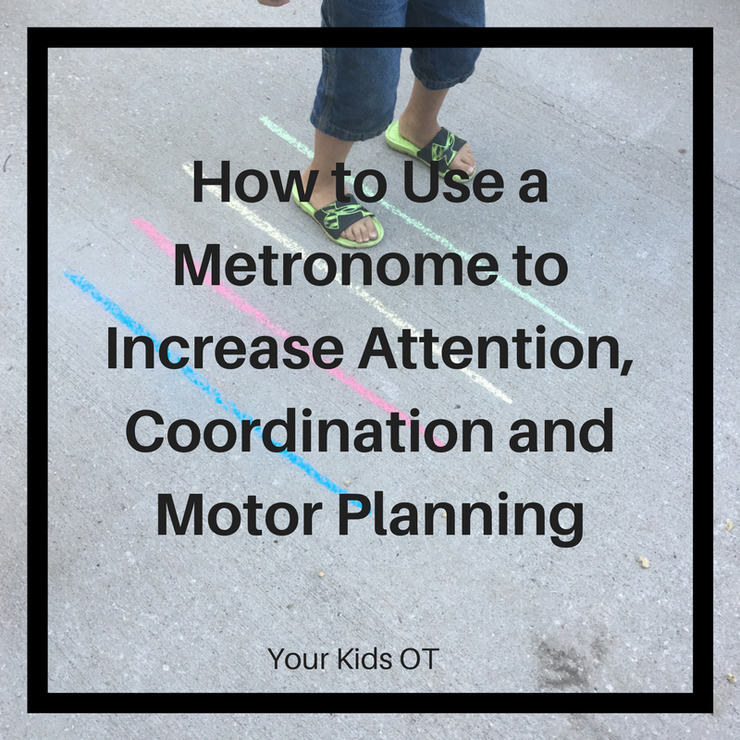
How to Use a Metronome to Increase Attention, Coordination and Motor Planning {Guest Post}31/7/2017
What a privilege to have another guest blogger with us today at Your Kids OT! I feel like I am a student constantly learning from others and love reading what other OTs are doing in their practice! Today on the blog, I would like to introduce Casey who is an occupational therapist whom I "met" on Instagram! She shares so many creative ideas! Today, Casey shares with us "how to use a metronome to increase attention, coordination and motor planning". Be sure to follow the links through to her you-tube videos which provide a great demonstration of her activity suggestions here! Have you used a metronome in your OT practice? Have you considered using it in the classroom or at home?
The metronome creates a beat. This beat can be utilized at various speeds providing auditory input for the neurological system to process. Creating a sensorimotor activity that uses the beat (clapping on beat, stomping a foot on beat, bouncing a ball against the wall on beat) causes the brain to process and communicate messages between multiple senses It makes the brain process all of the messages passing through to get in rhythm! Think about listening to a teacher, taking notes, while maintaining posture in a chair. Or listening to your coach tell you how to adjust your stance, while holding bat in proper position in the batter's box and readying yourself for the next pitch. Multiple avenues of brain communication are needed to complete these tasks in congruence. What better way to exercise the attention, focus and motor needed to do this than to add some rhythmic auditory input. Here are some examples:
What I love about this - is it is so easy to implement! This is not just an idea for therapists! Parents, teachers, paras... anyone working with kids YOU can try this too. I love implementing these activities for brain gym/brain breaks to stimulate the body and brain! They would be great activities to do during the school day or before homework! I hope this inspires you and gives you a fresh idea to implement in your home school or therapy session! Ready to Grow - Casey
You may also like:
|
AuthorHi, I'm Cindy and I am an Occupational Therapist. I enjoy working creatively with children to see them reach their potential. Read more about me here. SEARCH THIS SITE
Archives
June 2024
Categories
All
Popular Posts |
Join the YKOT e-newsletter!
Subscribe to get our latest content by email and receive
the SHAPE ROADS PRINTABLE NOW!

Success! Now check your email to confirm your subscription and receive your free printable!
Join our Mailing List!
Subscribe to get our latest content by email and receive
the SHAPE ROADS PRINTABLE NOW as a thankyou!

Success! Now check your email to confirm your subscription and receive your free printable!
Disclaimer: The information on this site is general in nature and should be used for educational and entertainment purposes. The activities are safe for most children, however, you should consult an Occupational Therapist or health professional to address specific movement, sensory or other medical conditions. This blog does not replace formal therapeutic professional advice given by a health professional or medical practitioner. Reviews and endorsements of products will only be made based on my expertise and personal opinion; and deemed worthy of such endorsement. The opinions shared in sponsored content will always be my own and not that of the advertising company or brand. Content, advertising space or posts will be clearly identified if paid, affiliated or sponsored. Affiliate links may be found throughout this website in advertising. This means that if you follow through with a purchase from these links, Your Kids OT will receive a percentage of the sale. Your Kids OT undertakes to meet the requirements of the "Social Media Policy" as published by Australian Health Practitioner Regulation Agency (AHPRA). Further information about this policy can be found here.
Find meFollow me |
About me
AuthorHi, I'm Cindy and I am an Occupational Therapist. I enjoy working creatively with children to see them reach their potential. Read more about me here. |
Copyright © 2017 Your Kid OT






 RSS Feed
