|
OT is fun!
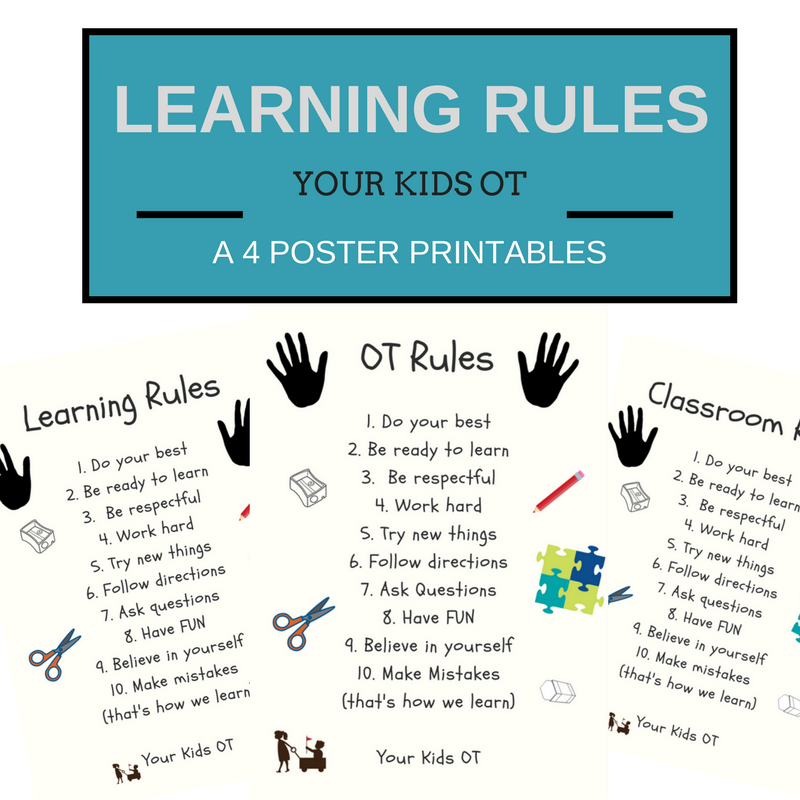
OT is work! OT can be frustrating! OT is learning! OT is rewarding! Kids who participate in occupational therapy sessions may have a range of feelings. They may feel all of the above in one session! Kids come to OT because they need help. They want or need to learn something (because sometimes mum, dad or a teacher want them to learn something)! Learning can be tough especially when mistakes are involved. I wanted to encourage the kids who see me for OT with some "learning rules"! I shared these on social media last week and had a great response!
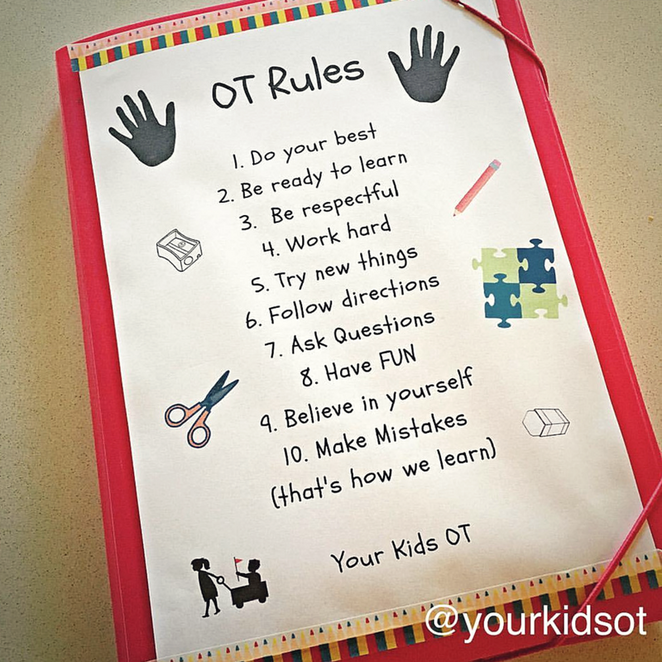
These rules are so much more than "OT rules"! They are a learning contract between myself and the kids that I see. We will do these things together.
We will do our best. We will be ready to learn. We will be respectful to each other. We will work hard. We will try new things. We will follow directions (or give them in a way that takes into account their learning style). We will ask questions (including asking for help). We will have FUN! We will believe in ourselves. We will make mistakes (because that's how we learn)! These "learning" rules are suitable for the classroom, home, therapy clinic .... for learning in life! We are all life long learners and these posters may motivate you as the teacher, therapist or parent! I have now made these posters available in the Your Kids OT shop. OT rules remains a FREE printable. You can also obtain the classroom and generic learning versions in the shop. What is your favourite "rule" for learning?? How do you motivate your kids to learn?
You may also like:
Do you fidget?
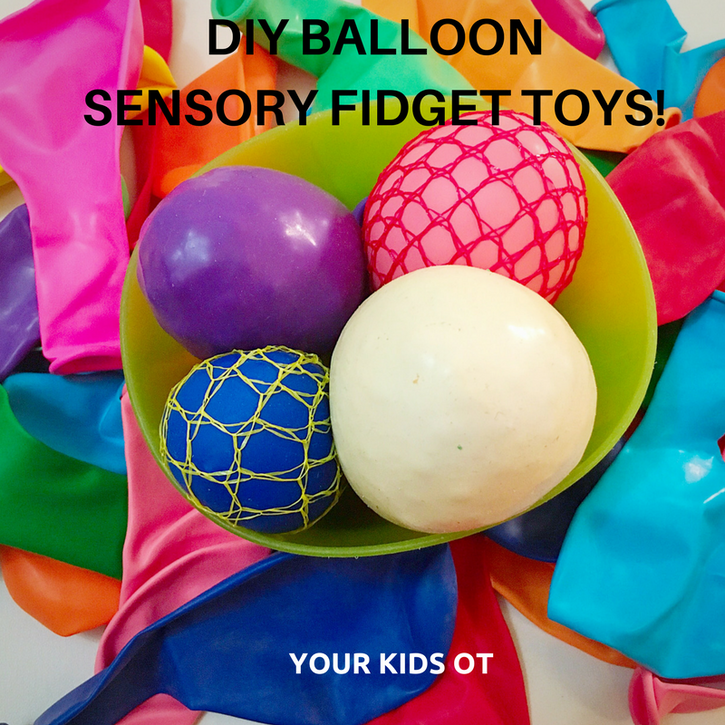
Do you chew your pencil, tap on a table, tap your foot, move in your seat, twirl your hair? Fidgeting is a movement that you may not even be aware of until someone points it out to you. People (both children and adults) may fidget whilst they are concentrating on a conversation, listening to a teacher or watching TV (just some examples). Some children with sensory seeking behavior need ways to intentionally fidget so that they can obtain the proprioceptive input to help their bodies regulate and calm down. Have you seen balloon fidget toys before? I have been wanting to make these for a long time and have finally made them! They are so awesome to squish and squeeze! There are lots of recipes on the internet, but I found two really simple (and dare I say fool-proof) ones that I have "tweaked" for you to try! Water Beads Balloon Fidget What you will need: 1. Balloon 2. Water beads (fully grown) 3. Funnel What to do: 1. Give your balloon a stretch and blow into it (just to stretch it). 2. Deflate your balloon and attach to the end of the funnel. 3. Push the water beads into the funnel and into the balloon. You may need to move them down the neck of the balloon with your fingers. 4. Fill your balloon to the desired size then tie a knot to secure them. 5. Squeeze! Your kids will love scooping water beads to put into the funnel, then pushing the water beads into the funnel with their fingers. The perfect finger isolation activity! Note: Inspiration for these balloon fidgets came from Karina Garcia's You Tube channel. She uses transparent balloons which are so cool!
Baking Soda and Conditioner Balloon Fidget
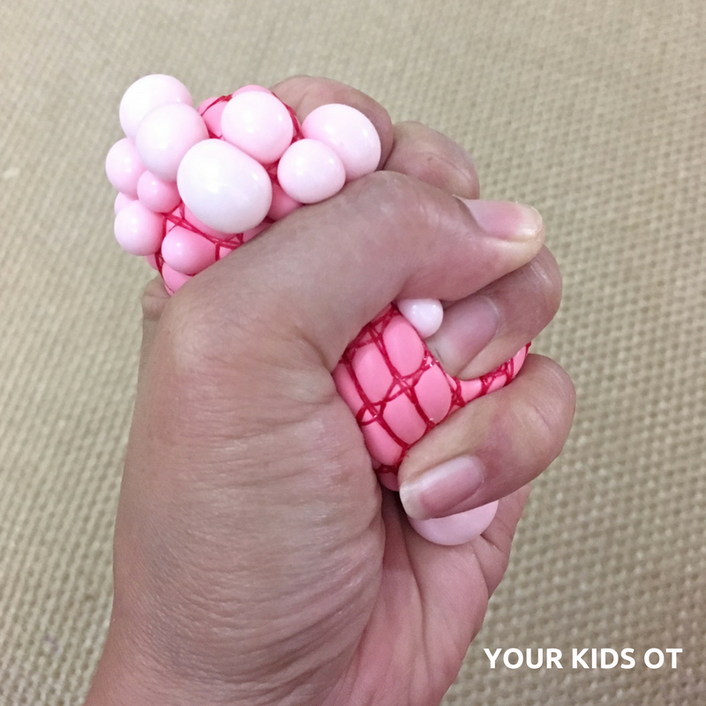
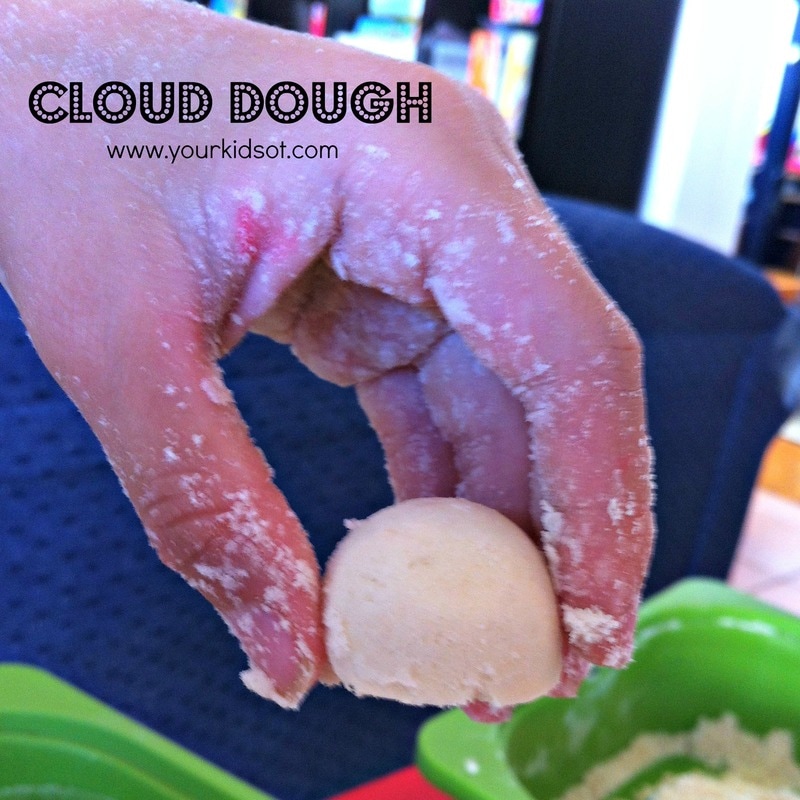
What you will need: 1. Baking Soda (aka. bicarbonate soda) 2. Hair conditioner 3. Balloon 4. Plastic fork or spoon 5. Funnel 6. Bowl 7. Elastic Band 8. Netting from fruit or vegetables 9. Matches or lighter What to do: 1. Pour your baking soda (I used 300 g to make 2) into a bowl. 2. Slowly add a little hair conditioner to the baking soda and mix together with the spoon. Continue to add the hair conditioner and mix until you get a sloppy thick icing consistency (see video for consistency). 3. Give your balloon a stretch and blow into it (just to stretch it). 4. Deflate your balloon and attach to the end of the funnel. 5. Push the baking soda mixture into the funnel and down into the balloon. You may need a plastic fork or spoon to help push it down. 6. Fill your balloon to the desired size then tie a knot to secure them. 7. Cut some fruit/vegetable netting to the desired size. Singe the ends of the net with a lighted match just to stop any fraying. 8. Secure the netting over the balloon with a rubber band. 9. Squeeze and play! Your kids will love helping you mix the baking soda and hair conditioner together. You could play with this as "cloud dough" until you are ready to fill the balloons. Make sure you get a reasonably wet consistency for to put into the balloons (it will still work if you don't but you might not get the bubbles popping out of the net). Once ready to play, your kids (and any adults around) will love squeezing these over and over again! Note: Inspiration for these balloon fidgets came fromAira Tan's You Tube Video. Have a look at my video to retrace the steps and see how squishy they are!
Use of these balloon fidget toys should always be supervised especially over time with the wear and tear of the balloon. The length of time each balloon will last, will depend on the quality of the balloon and how often it is played with. You could try adding a second balloon over the first to provide some longevity. These balloon fidgets are not suitable for children who are mouthing toys and objects. They are also not suitable for children under 12 months of age.
These balloon fidgets provide sensory input for a child who needs to fidget. They also make great ways to warm up your child's hands ready for writing or cutting. They are perfect little stress balls and they are also heaps of FUN! I love these balloon fidgets! I hope you do too! Have you made a balloon fidget yet? Let me know if you try one of these! Don't forget to share this article with your friends and family if you think they will like these balloon fidgets too! Thanks,
You may also like:
Last week we looked at the gross motor skills involved with page stabilization. If you missed it, catch up on it here (Gross motor skills needed for page stabilization during writing)!
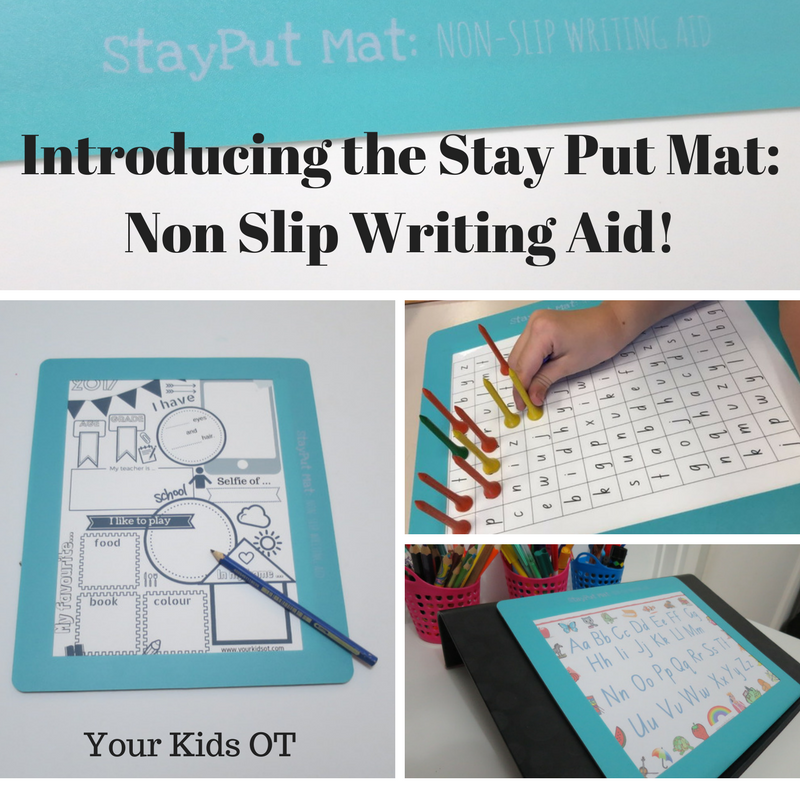
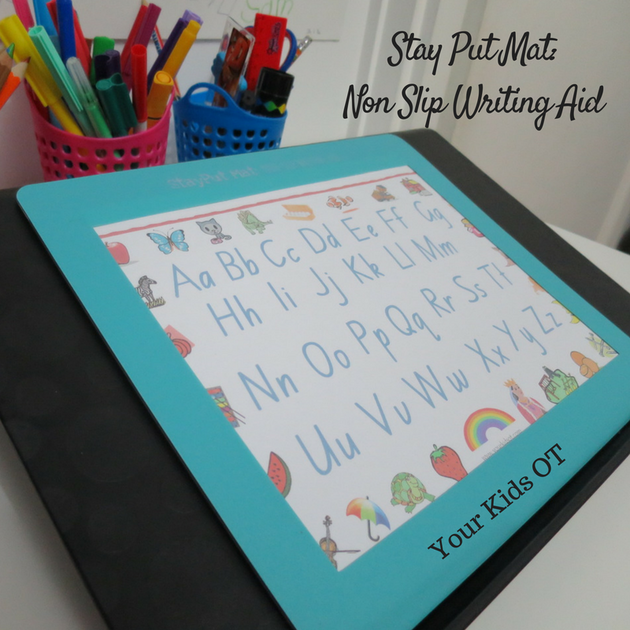
But what if your child is still struggling to hold their paper whilst they write or draw? I was recently introduced to the Stay Put Mat: Non Slip Writing Aid! The Stay Put Mat:Non Slip Writing Aid was designed by a mom to help manage slipping papers on a table. The Stay Put Mat:Non Slip Writing Aid consists of a magnetic frame made on a non-slip base. It is durable and lightweight and easy to transport around (so important for a mobile OT)! I have been testing the Stay Put Mat:Non Slip Writing Aid in my OT sessions and these are my favorite ways to use this non-slip mat!
I especially love how the page does not get marked with use in the Stay Put Mat. There are no tape marks or blue-tak stains. There are no rips, tears or creases either!
Who would benefit from use of the Stay Put Mat:Non Slip Writing Aid?
The Stay Put Mat:Non Slip Writing Aid provides an innovative attractive way to compensate for difficulties with page stabilization. It would benefit:
Occupational Therapists will find this mat invaluable! For more information bout the Stay Put Mat: Non Slip Writing Aid, visit the website "STAY PUT MAT"! Have you tried this mat?
Disclosure: This product was gifted to Your Kids OT for the purposes of a review. Reviews and endorsements of products will only be made based on my expertise and personal opinion; and deemed worthy of such endorsement. The opinions shared in sponsored content will always be my own and not that of the advertising company or brand.
You may also like:
Affiliate links are used throughout this website to promote products I love and recommend. I receive a commission if any purchases are made through these links. Please see my disclosure policy for more details.
Put your left hand on the page and have your right hand do the "writing".
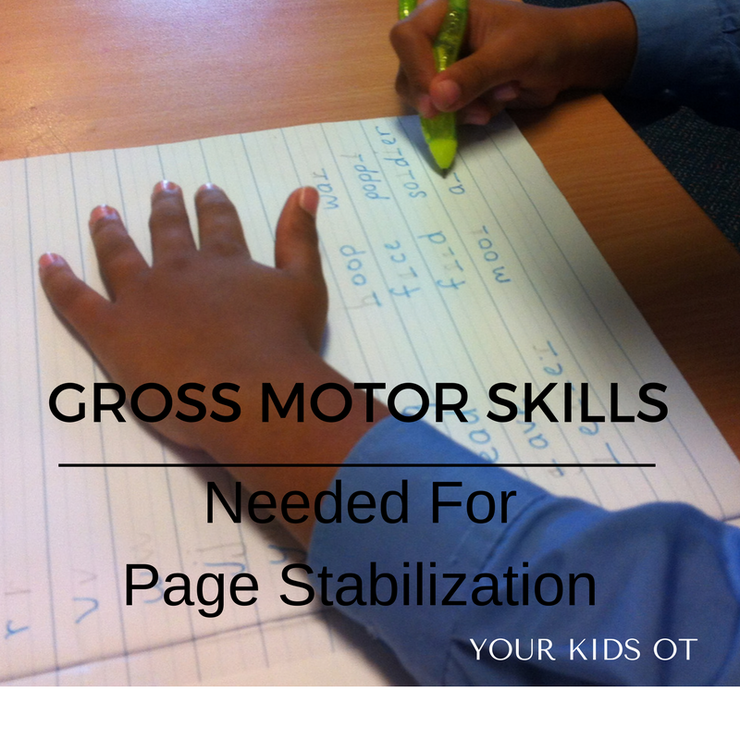
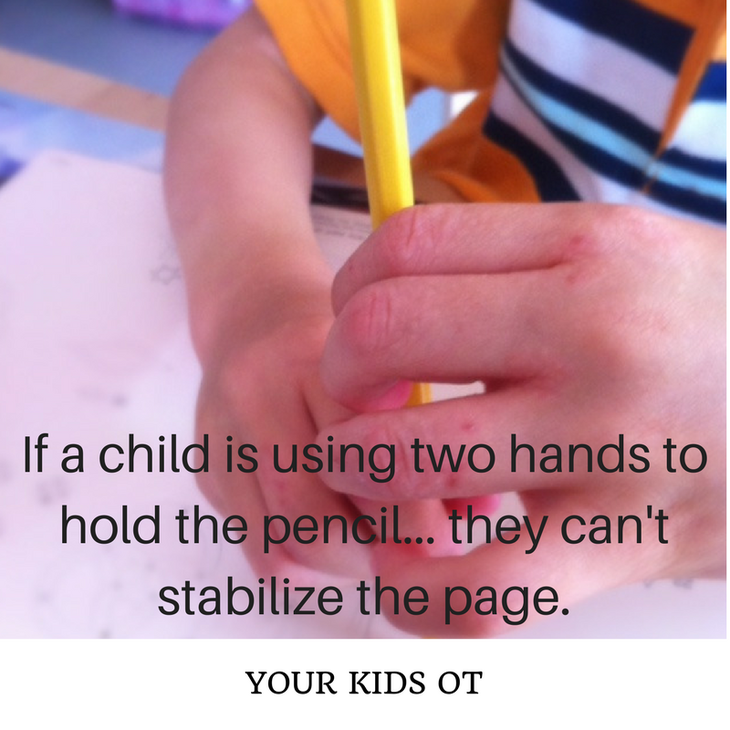
Hold the page not your head. Don't let your page wiggle! Do these phrases sound familiar to you? There are some kids who can't seem to hold their page still on the table. The paper flies off the table, moves as it is being written on or even gets crumpled under their hand. This makes drawing and writing really tricky! Ideally at the table, children use their dominant hand to hold a writing implement and use their non-dominant hand to stabilize the page they are working on. They provide just enough pressure so that the page does not move. The dominant forearm also rests on the page with their fingers and hands controlling the pencil. Did you know that the ability to stabilize a page on the table may be due to core muscle weakness, poor bilateral coordination and poor shoulder stability? How??? Core Muscle Weakness Core muscles can be considered "as the sturdy central link in the chain connecting your upper and lower body".* Core muscles describe both the muscles which assist with stability as well as those which enable trunk movement. ** What you might see in the classroom:
Core muscle strength can be developed through a wide range of activities. Organized sports such as swimming, basketball, gymnastics etc will assist with fitness and regular strengthening activities. Children can also develop core muscle strength through traditional exercises such as sit ups, push ups, holding a plank position, squats to stands, etc. Through play activities, children can build core strength without realising it. These might include using a hula hoop, pushing heavy wagons, crawling through tunnels, climbing on ropes, jumping on a trampoline, pulling a sibling on a towel, an obstacle course of pillows, relays in the yard picking up various objects to carry, riding a bike, etc. Bilateral coordination Bilateral coordination/integration is the ability to use both sides of the body at the same time in a coordinated way. What you might see in the classroom:
Read more aboutbilateral coordination HERE or obtain a copy of the bilateral integration reference sheet with over 50 activity suggestions HERE !
Shoulder Stability
Shoulder stability refers to the ability to contract (pull together) the muscles on either side of the shoulder joint to hold the shoulder steady. This allows the arm to be held in different positions while the forearm and hand do an activity. *** What you might see in the classroom: A child with poor shoulder stability may use their whole arm to control their pencil rather than using their fingers.
Shoulder stability can be developed with tummy time and crawling (for all ages)! Read more about this HERE! For further activity ideas to assist shoulder stability have a look at OT MOM LEARNING ACTIVITIES SHOULDER GIRDLE EXERCISES FOR KIDS! Do you have a child who struggles to stabilize the page on the table during writing? Do they have difficulties with any of these gross motor skills?
Disclosure: Affiliate links are included in this article to promote products that I recommend. This means that if you follow through with a purchase from these links, Your Kids OT will receive a percentage of the sale. Reviews and endorsements of products will only be made based on my expertise and personal opinion; and deemed worthy of such endorsement. The opinions shared in sponsored content will always be my own and not that of the advertising company or brand.
References:
* Publications, H. H. (n.d.). The real-world benefits of strengthening your core. Retrieved February 07, 2017, from http://www.health.harvard.edu/healthbeat/the-real-world-benefits-of-strengthening-your-core ** Khadir, S. A., Knight, K., Bras, S., Rhule, V., & Pagare, V. Core stability - Physiopedia, universal access to physiotherapy knowledge. Retrieved February 7, 2017, from http://www.physio-pedia.com/Core_stability *** Royal Children's Hospital Melbourne, 2005. Occupational Therapy Kids Health Information: Shoulder Stability and Control. Retrieved February 07, 2017, (n.d.) from http://www.rch.org.au/uploadedFiles/Main/Content/ot/InfoSheet_F.pdf
You may also like:
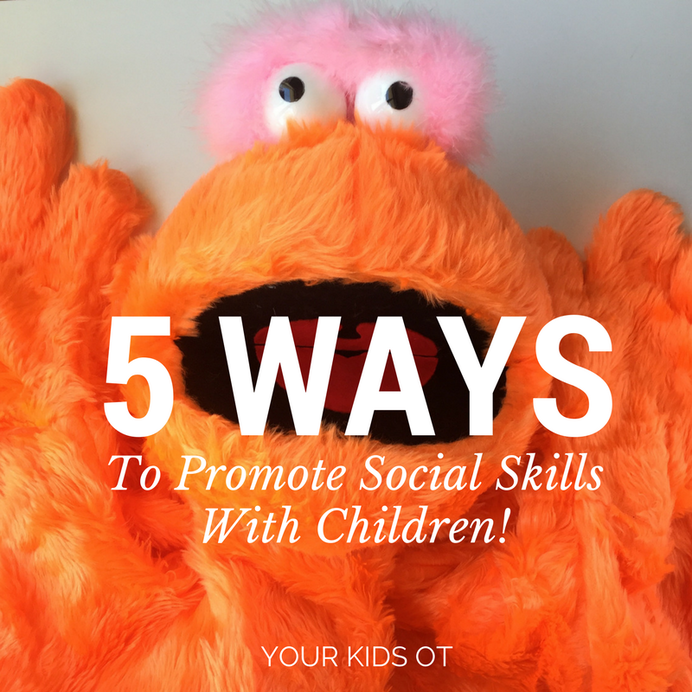
Today I would like to introduce the lovely Fi Morrison from "Mumma Morrison" as a guest blogger to Your Kids OT. Fi is a mother to a gorgeous baby boy (check out her Instagram feed to meet her bub) and a primary school teacher. I recently discovered that Fi taught one of my nieces a few years ago! My niece LOVED being in Mrs Morrison's class! Today Fi is helping us with 5 ways to promote social skills with children! This is a timely article with the recommencement of school here in Australia! Thanks so much Fi for writing this article!
I was sitting in my classroom next to Bryan* and Charlie*, helping them with their maths task, when Bryan snatched Charlie's pencil. Charlie started pointing the finger, crying and yelling, saying Bryan had stolen his pencil (which I obviously knew, because I was sitting RIGHT THERE).
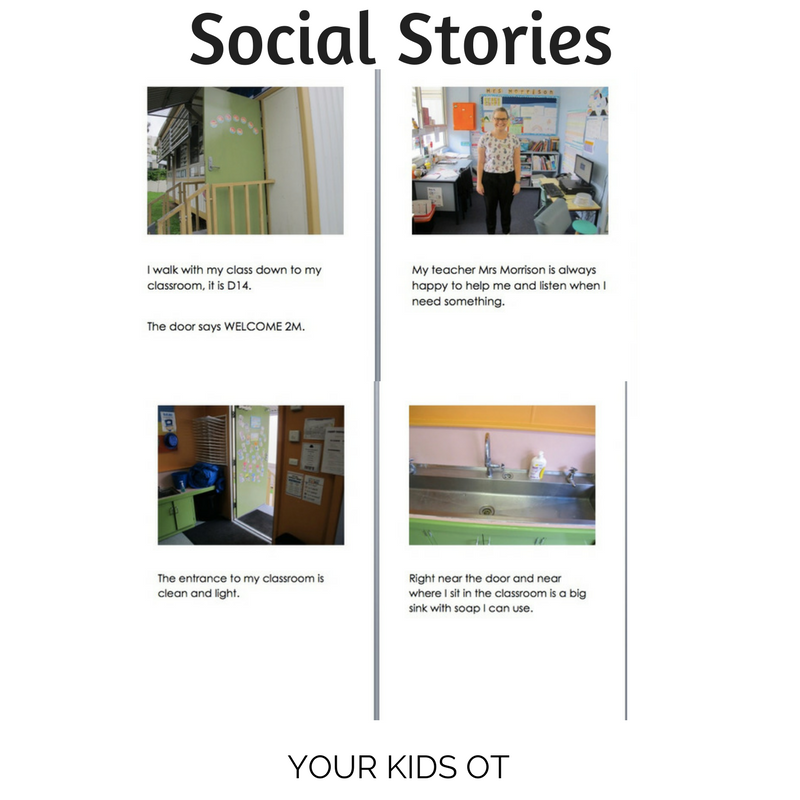
Unfortunately, this is a common occurrence in my life as a teacher, and I'm sure it sounds all too familiar to parents and teachers everywhere. What do we do with those children who fight and bicker, who haven't learnt to share or turn take, and overall drive us bonkers with their antisocial antics? (My pet peeve is dobbing. I had students who would say, “SHE LOOKED AT ME” and it would drive me up the wall!). I think many parents, and teachers, assume that social skills are inherent within children, but it is just not that simple. Social skills, like the majority of other skills, need to be taught to children and reinforced. While practice might not make perfect, it surely does make progress. If you have been struggling with social issues with your child at home, or in a social or educational setting, these activities can help to improve their social skills and teach them the right way to deal with particular issues. Social stories Social stories are particularly used by educators for students with ASD (Autism Spectrum Disorder). It is a visual story that describes certain situations or scenarios a child might encounter, and the best way to respond. It is one of the easiest and most effective ways to teach children social skills at home, because it is through the medium of story telling (a family favourite!) that the skills are reinforced. For example, I had a year 2 student, Stacey*, in my class last year who had ASD and Anxiety. To support her transition to year 2, we created a social story by taking photos of our classroom, her peers, meeting spots and play areas around the school for her to be acquainted with, then bound the book into her social story. You could do something similar for a social situation your child struggles with. Take a photo of the situation in the wrong way (for example, pushing someone) and of the right way (standing next to each other, talking). Write captions for the story about the wrong way and the right way (I will not push someone if I don’t like what they say. I will stand next to them, talk to them and say ‘I don’t like what you said’). For older children, you can turn this into a learning activity and create the story together (which goes hand in hand with role plays, see below).
Role Play
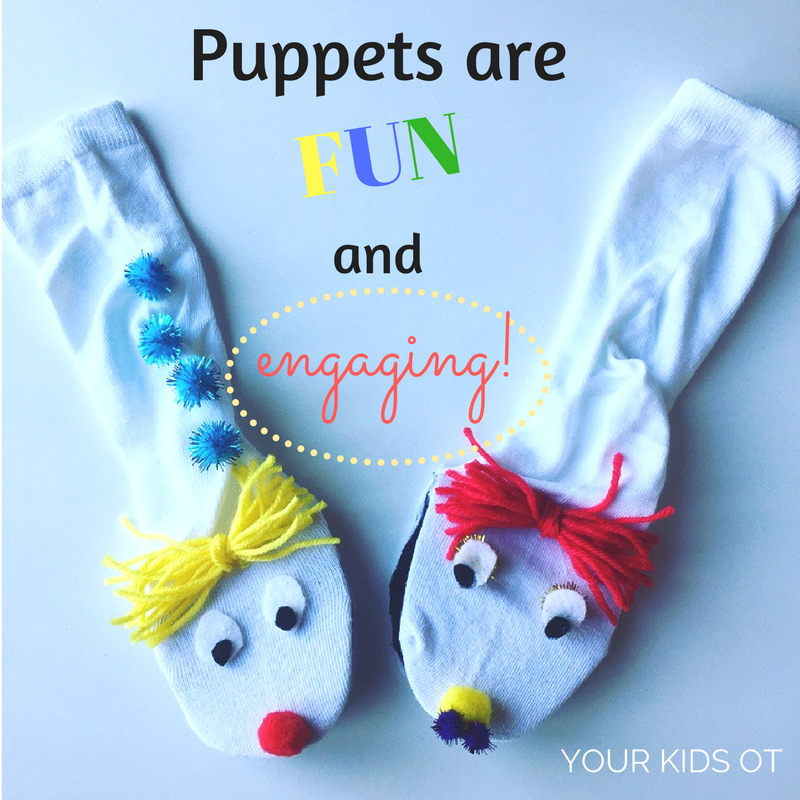
Role playing a situation can be a powerful way for your child to understand how someone might react to a situation. For example, if the situation was ‘Someone has said something mean to you’, work through the situation with your child the wrong way (what shouldn’t we do) and the right way (how can we react to that situation). By getting your child to physically act out and verbally respond to each scenario, and playing off the responses you give, your child can see the impact of their words and their actions on other people. With role playing, however, you will need to be mindful of how you act out certain scenarios. Children might find some scenarios hurtful (such as saying something mean), and you don’t want it to escalate out of control. This might give you a lot more teaching than you were expecting! As a teacher, we need to be mindful about the scenarios we ask children to roleplay (for example, peer pressure to do certain things), however it is a helpful medium for children to develop their social skills and understand how their actions and responses affect others. Social Circle This activity works well with a group of children, and was taught by our Learning Support teacher at school. Children would sit in a circle, and the teacher would ask the children a question about a social scenario (e.g. If the teacher is talking to another student and you want to ask them a question, what do you do?). To monitor the discussion, the teacher would use a soft toy as the ‘talking’ prop, and whoever had the prop could answer the question. The social circle was a great way to promote discussion between peers, bounce ideas off one-another, and extend their thinking in different ways. Puppets Puppets are absolutely by far one of my favourite educational (and play!) resources ever! They are super fun, engaging for children and can promote learning. I used to run puppet workshops for gifted and talented children, and social skills was one of the biggest benefits I would promote for children who attended the workshop. Similar to role playing, puppets can be used as an engaging way to act out certain scenarios for children to respond to. However, puppets have two extra benefits:
Explicit discussion and modelling
As parents and teachers, we should never underestimate the power of a simple explanation from an adult and our own role modeling of the correct response.I would always reinforce this with posters in our classroom to remind the children after our conversation. For example, with our dobbing situation, I sat the children down and spoke about when was an appropriate time to speak with me (if someone was hurt or in danger) and when there was a situation they could resolve themselves (someone using the wrong book for class work). After this, I modeled for them how the children could approach me about a situation, and then reinforced it with a display in the classroom. Social skills are vital for children to learn to help them in a variety of social situations. By teaching and practicing these skills at home, as well as in educational settings, your child will develop the necessary social skills to participate in a variety of social settings both during childhood and beyond. Have you found other ways to develop your child’s social skills?
You may also like:
|
AuthorHi, I'm Cindy and I am an Occupational Therapist. I enjoy working creatively with children to see them reach their potential. Read more about me here. SEARCH THIS SITE
Archives
June 2024
Categories
All
Popular Posts |
Join the YKOT e-newsletter!
Subscribe to get our latest content by email and receive
the SHAPE ROADS PRINTABLE NOW!

Success! Now check your email to confirm your subscription and receive your free printable!
Join our Mailing List!
Subscribe to get our latest content by email and receive
the SHAPE ROADS PRINTABLE NOW as a thankyou!

Success! Now check your email to confirm your subscription and receive your free printable!
Disclaimer: The information on this site is general in nature and should be used for educational and entertainment purposes. The activities are safe for most children, however, you should consult an Occupational Therapist or health professional to address specific movement, sensory or other medical conditions. This blog does not replace formal therapeutic professional advice given by a health professional or medical practitioner. Reviews and endorsements of products will only be made based on my expertise and personal opinion; and deemed worthy of such endorsement. The opinions shared in sponsored content will always be my own and not that of the advertising company or brand. Content, advertising space or posts will be clearly identified if paid, affiliated or sponsored. Affiliate links may be found throughout this website in advertising. This means that if you follow through with a purchase from these links, Your Kids OT will receive a percentage of the sale. Your Kids OT undertakes to meet the requirements of the "Social Media Policy" as published by Australian Health Practitioner Regulation Agency (AHPRA). Further information about this policy can be found here.
Find meFollow me |
About me
AuthorHi, I'm Cindy and I am an Occupational Therapist. I enjoy working creatively with children to see them reach their potential. Read more about me here. |
Copyright © 2017 Your Kid OT









 RSS Feed
