|
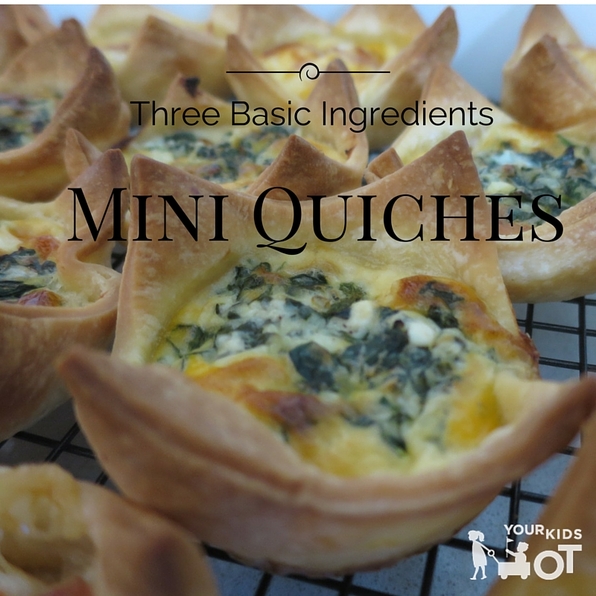
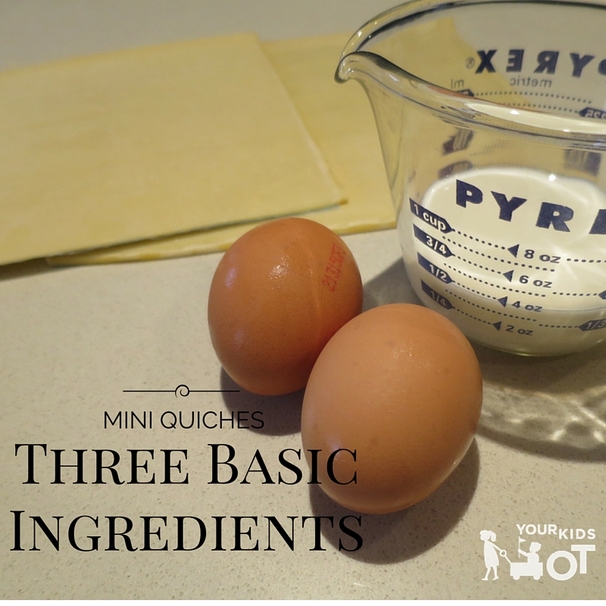
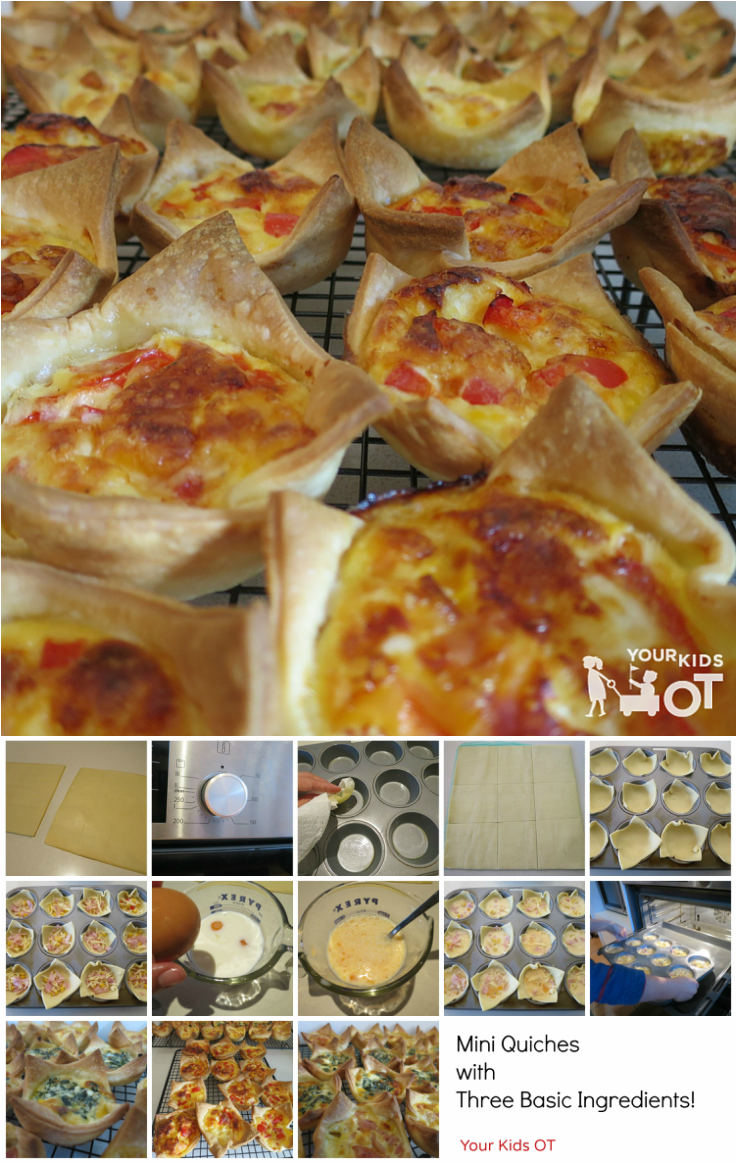
These mini quiches are enjoyed by the whole family! Recipes like this are perfect for encouraging your kids into the kitchen. They are easy to make and perfect for school lunch boxes. These mini quiches use three basic ingredients - milk, eggs and shortcrust pastry. This also makes a great school holiday activity (especially with all this rain we have been having)!
I often thaw out a whole packet of shortcrust pastry and multiply our ingredients to use up all the pastry. They are perfect for a picnic, birthday party or school lunch box! I even have a sneaky sweet way to use up any left over pastry - you will have keep reading to find out what we do!
The fillings are really only limited by your imagination. It is also a good way to use up odds and ends in the fridge.
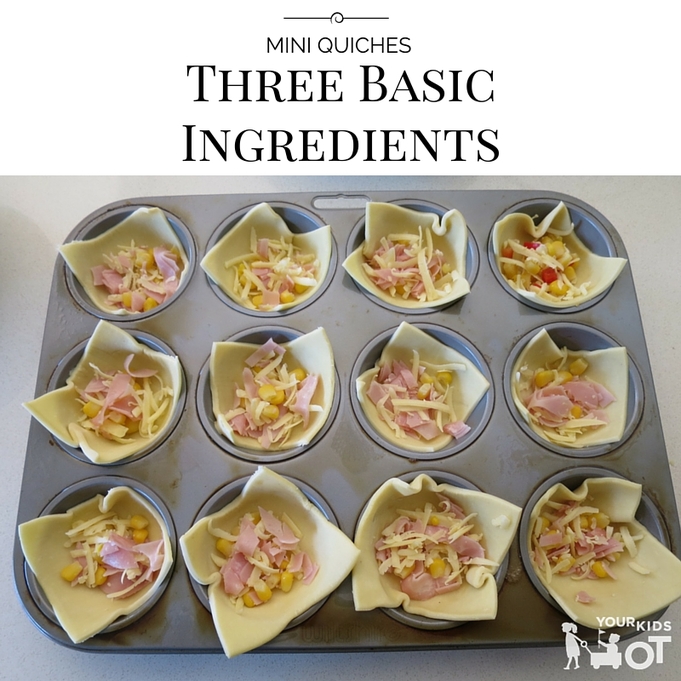
We love these combinations- * ham, cheese and corn * spinach and feta * red capsicum (pepper) and corn * caramelized onion and goat's cheese
Each of these variations will make approximately 12 mini quiches.
Mini Quiches with Three Basic Ingredients Ingredients * 2 eggs * 1.5 sheets of shortcrust pastry * 100 ml milk Filling Ingredients * 1/2 cup grated cheese, 1/2 cup corn, 1/2 cup ham (finely sliced) or * 1 handful spinach (blanched in hot water, finely sliced), 6 tsp feta or * 1/2 cup red capsicum (finely diced), 1/2 cup corn, 1/2 cup grated cheese or * 1 onion (sliced and slowly carmelized in a saucepan), 6 tsp goat's cheese or Equipment needed * small knife * measuring jug * fork * 12 hole muffin tray * oven Method 1. Separate shortcrust pastry sheets and leave on the kitchen bench to thaw for a few minutes. 2. Preheat the oven to 180° C (356°F). 3. Lightly grease the muffin tray. 4. Once thawed, use the knife to cut each pastry sheet into 9 squares. 5. Place one square of pastry into each hole in the muffin tray. 6. Place your chosen filling into each pastry square. 7. In a jug, pour the milk and the eggs. 8. Use a fork to whisk the eggs and milk together. 9. Pour some of the milk mixture into each pastry square. 10. Place the muffin tray into the oven (use oven mitts). 11. Bake for 20 minutes until set. 12. Cool quiches on a wire rack until ready to eat. Notes: You may use a 8cm cookie cutter to cut out circles in the pastry if you prefer. Oven temperatures may vary so baking times may differ. Children will need supervision with use of knives and ovens. Use oven mitts (unlike Mr 5 here who forgot the oven was hot)! These mini quiches may be frozen (in a single layer). Reheat in the oven before serving.
I mentioned you may have leftover pastry. This is how we used ours up!
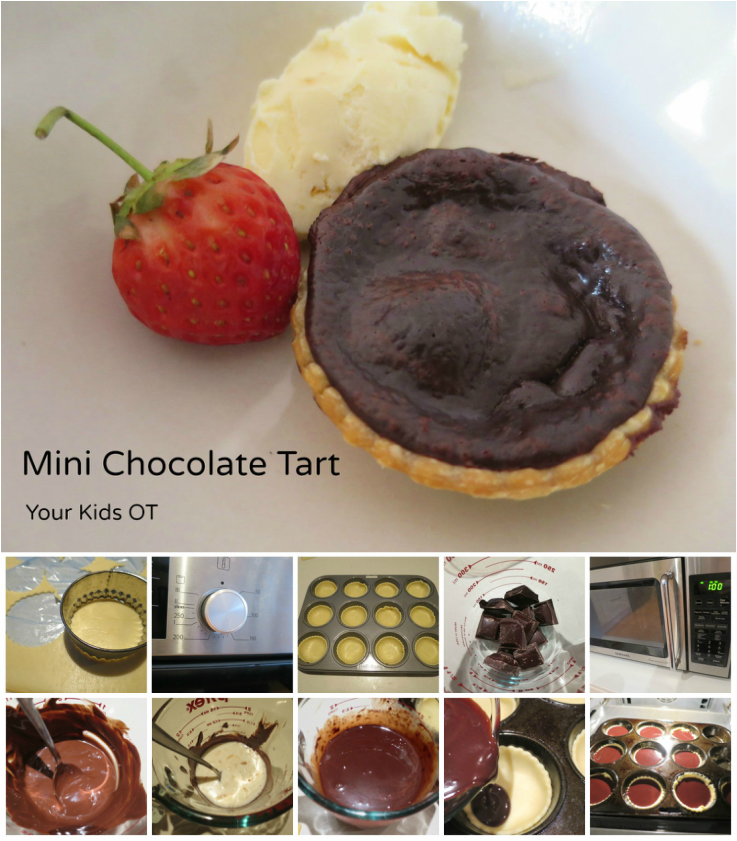
A sweet variation: Mini Chocolate Tarts! Ingredients * 200g dark cooking chocolate * 100ml milk Method 1. Use a cookie cutter (8cm) to cut up leftover thawed pastry. 2. Preheat the oven to 180° C (356°F). 3. Place the cooking chocolate into a microwave safe jug. 4. Heat for one minute in the microwave. 5. Stir the chocolate. 6. Add the milk to the chocolate and stir. 7. Place the pastry circles into the muffin tray. 8. Pour the chocolate mixture into pastry circles. 9. Bake in the oven for 20 minutes until set. Note: Microwave cooking times may vary. Be careful not to burn the chocolate. You may need to heat the milk briefly with the chocolate if it does not combine well. You may want to increase or decrease the filling quantity depending on how much pastry you have to use.
Serve up your chocolate tarts with some icecream and berries....yum! They are great warm or cold.
What is your favourite quiche filling? Savoury or sweet?
You may also like:
September school holidays are here and I am heading overseas very soon. Over the next month this blog will be taking a little slow down whilst I spend some time with my family. The next few blogs are written with holidays in mind!
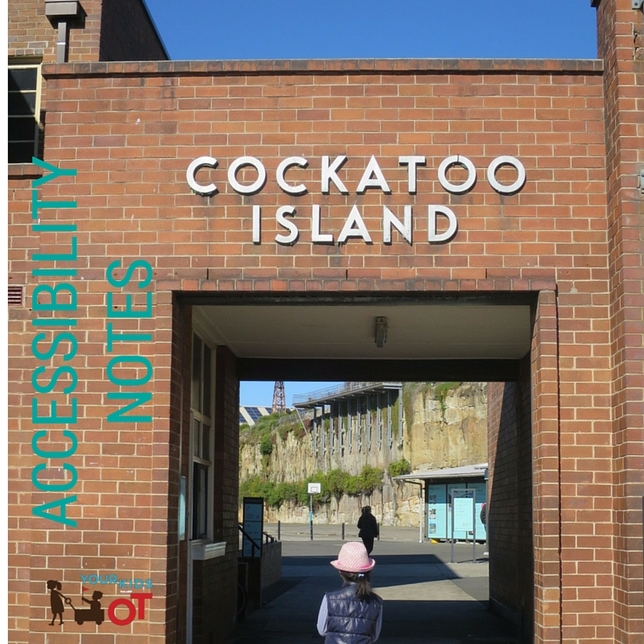
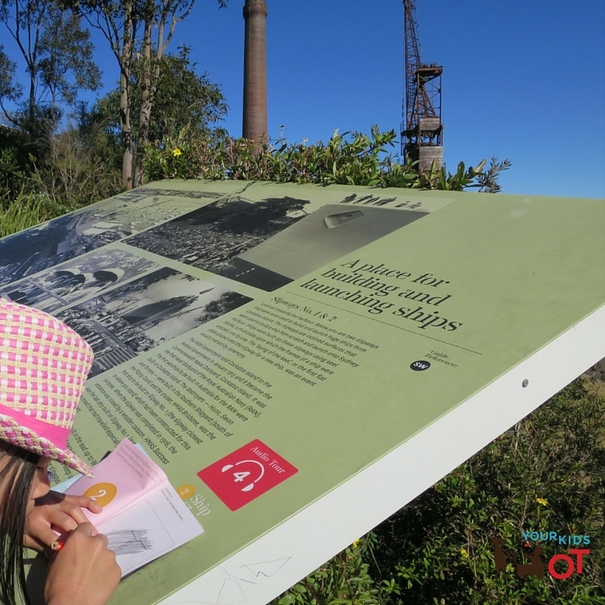
Cockatoo Island is a UNESCO world-heritage listed island just a short ferry ride from Sydney. It is actually a short ferry ride from my house and is one of those places that I have been meaning to visit for years! Miss 8 and I recently went to Cockatoo Island and had a great day exploring! It is a perfect place to explore these school holidays. Cockatoo Island has played a significant part in NSW history including a prison for convicts, an important ship building dock and a reform school for girls. It is now a fantastic museum as well as a venue for various special events throughout the year. It is well worth checking theCockatoo Island events calendar to see what is on when you visit. Cockatoo Island
Cost?
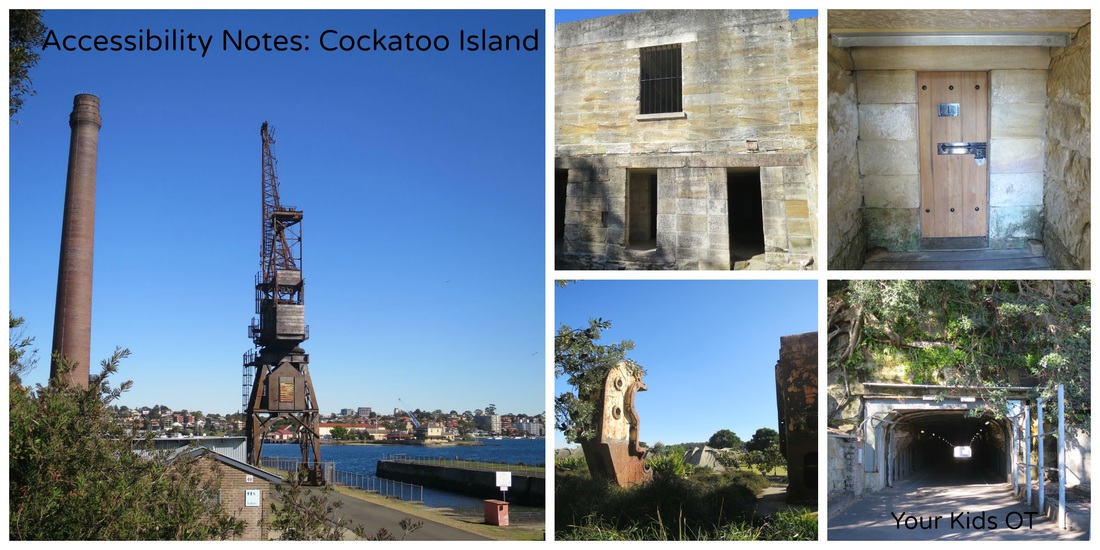
Free entry to the island. Features Exploring Cockatoo Island is easy on your own using a self-guided tour or audio tour ($5) from the visitor's centre. You may prefer to join an organised tour. Most of the island is accessible for wheelchair users and those with mobility difficulties. However, there are some steep sections from the lower island to the upper island. As former industrial site some building are not accessible in the doorways and some surfaces are uneven. There are wheelchair accessible toilets on the island. Besides the stunning view in every direction you look, there are so many things to see on the island. There are massive warehouse buildings, the old dock, tunnels, prison cells, cranes, historical homes and much more. Kids are well catered for on the island with a "convict clues challenge" and a "ship shape challenge". Kids are given a booklet and are asked to collect clues from around the island. The booklets are suitable for children aged 7-12 years old. What a wonderful way to read and learn about the history of the island. Miss 8 enjoyed listening to the audio tour, however, parents should be mindful of the island's sordid past and perhaps listen to the audio segments before letting your kids listen to it. I unexpectantly had to explain "prostitution" that day! Educational resources are also available for school groups.
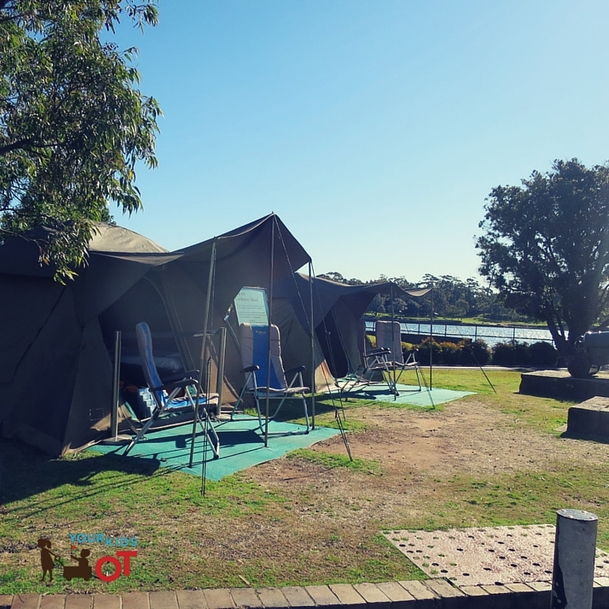
In recent years Cockatoo Island has become known as the perfect "glamping" experience. Glamping allows access to the island with a tent, camp beds, linen, towels, sun lounges, lanterns and a cool box provided. There is a communal toilet/shower block as well as a communal cooking area. There is a wheelchair accessible toilet and shower and the campground is flat. The tents are mounted on top of a timber platform which is a small step off the ground. Therefore the "glamping experience" is not fully accessible, however the small step may be managed by some wheelchair users or those who have a carer to help. Fees apply and further information may be foundhere.
For those who prefer not to camp, the island also offers access to heritage houses and apartments for rent. The heritage houses were once home to Cockatoo Island's medical officer and engineering manager. The heritage house and apartments are beautiful appointed with views of Sydney Harbour. They are fully self-contained, however, they are unfortunately not wheelchair accessible due to their location on the upper plateau of the island and the heritage nature of the buildings themselves. There are a few options for food on the island, however we found the "weekday" menu quite limited. It would be a much better idea to bring a picnic and enjoy the beautiful view of Sydney from any vantage point on the island. There are public barbeques available for use as well. Cockatoo Island is a wonderful place to visit. As most of the island is accessible, your children might like to bring their scooters along to cover the distance of the island. Have you visited Cockatoo Island?
You may also like:
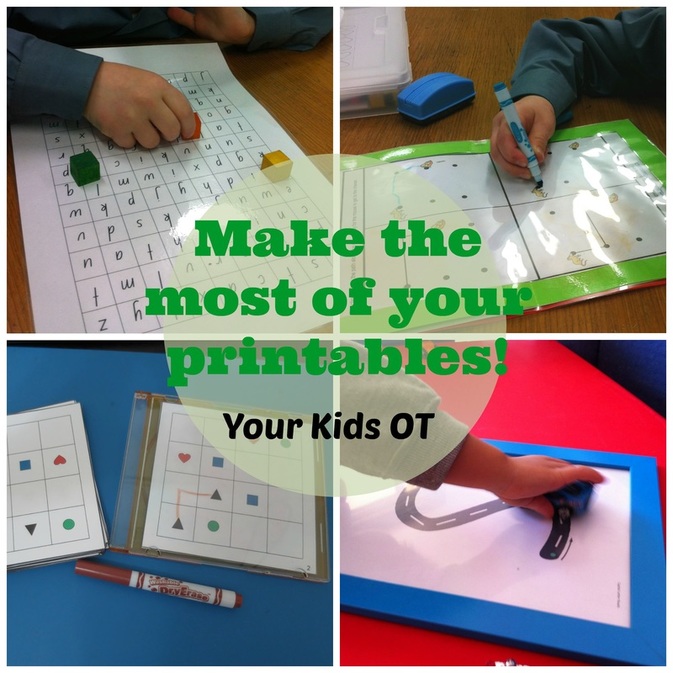
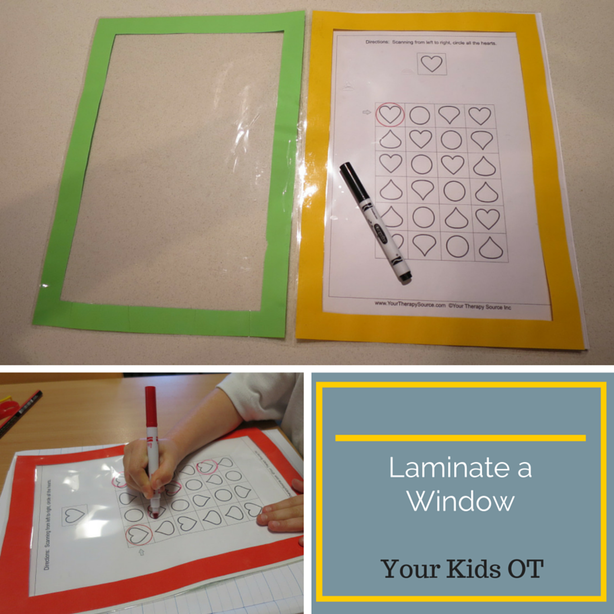
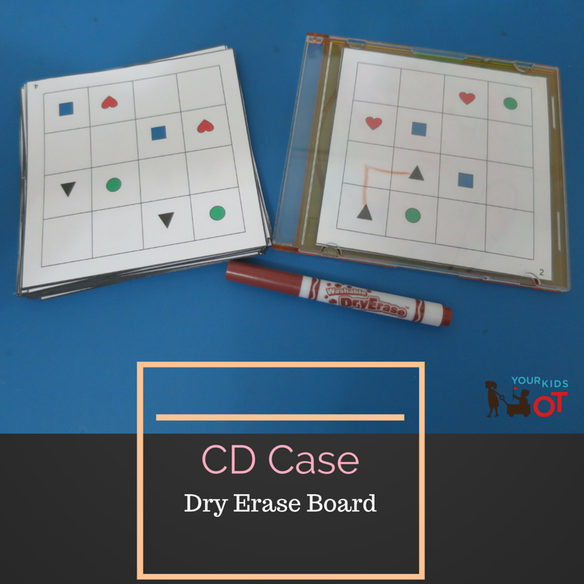
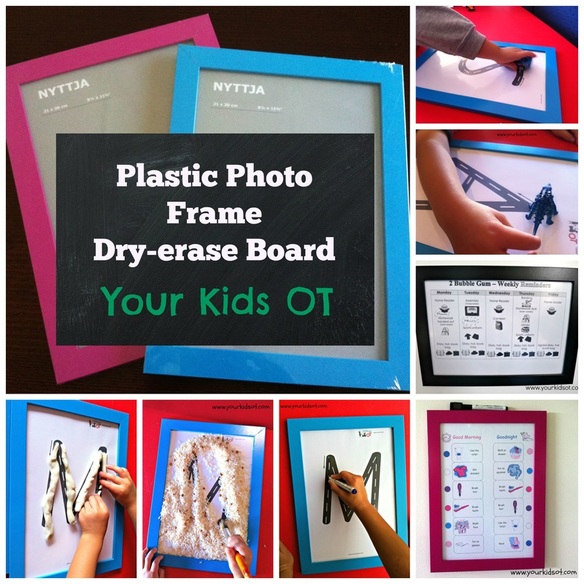
So now you have your favourite printables, maybe these ones or theseones or ones of your own. Printing these off for every child you see is unrealistic (and expensive)! Here are some great ideas to make the most of your printables so you can use them over and over again with one child or multiple children. Each of these options involves using a dry-erase marker to write which can then be wiped clean with a tissue. I use an alcohol wipe when I notice my "page" needs extra cleaning. Try these ideas to make the most from your printables! 1. Laminate each page. - Laminators are a great investment if you are intending to do a lot of laminating. Fantastic way to protect printables as well as visual schedules, reward charts, reference sheets, certificates or anything else you may want to protect. Laminating a page instantly turns your printable into a dry-erase board or playdough mat. 2. Laminate a "window" - Laminating every single printable you have can be time consuming and expensive too! I have made a laminated "window" which allows me to slip in a piece of paper to use. The "window" is made from a frame of coloured paper and this helps visually to draw your child's attention to the page. I join two laminated "frames" together to make my "window". I carry my "laminated window" in my therapy bag and it allows me to use it with multiple children in a day using different printables. Sometimes I will laminate a "window" to give to teachers or parents so they can use some of the printables that I suggest. 3. An empty CD case makes an excellent dry-erase board. They work perfectly with the Connect Puzzle printables by Your Therapy Source that I wrote about last week. CD cases are light and compact. I clip my "connect puzzles" to the CD case with a large bull-dog clip and it is so easy to transport. Kids love the novelty of writing on the CD cover too! 4. A plastic photo frame also makes a great dry-erase board. I have used them with visual schedules at home as well as printables such as Alphabet letter roads. These plastic picture frames were purchased from IKEA. Have you turned your printables into dry-erase boards? What is your favourite idea?
You may also like:
Affiliate links are used throughout this website to promote products I love and recommend. I receive a commission if any purchases are made through these links. Please see my disclosure policy for more details.
If you have been following Your Kids OT for a while, you will know that I love printables. I love creating them, finding them and using them!
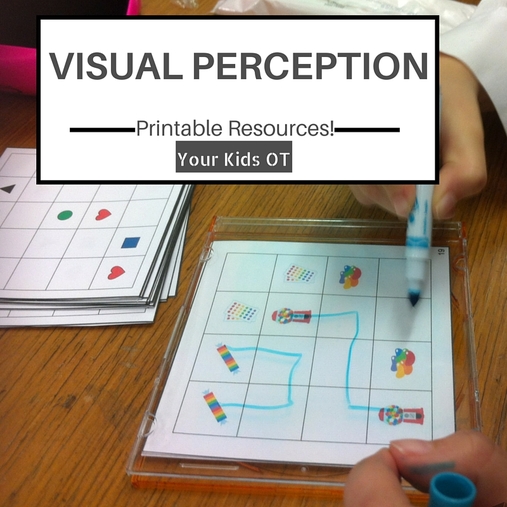
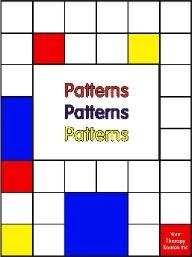
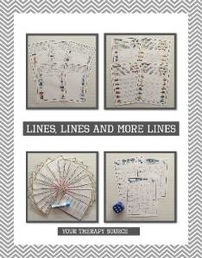
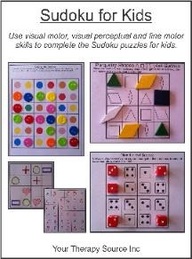
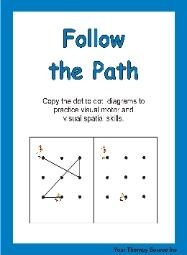
I've been focusing on visual perception over the last few weeks with the launch of my visual perception reference sheet! One of the ways that I support kids I see with working on their visual perception skills is through the use of printables. I make the clinical decision to use printables based on individual children who I see and will integrate the use with other therapeutic activities. I love these visual perception printables from Your Therapy Source. Each picture below will take you to each resource with free sample pages. (Note that Your Therapy Source operates in $US).
Also check out the amazing and comprehensive Visual Motor Collection which includes 18 different resources created by Your Therapy Source!
There are also more great resources here:
Have you got some favourite visual perception printables?
Make sure you check back to the blog soon as I have some great ideas for getting the most from using your printables (using them mulitple times)! You couldsubscribe here to make sure you don't miss an article!
You may also like:
|
AuthorHi, I'm Cindy and I am an Occupational Therapist. I enjoy working creatively with children to see them reach their potential. Read more about me here. SEARCH THIS SITE
Archives
June 2024
Categories
All
Popular Posts |
Join the YKOT e-newsletter!
Subscribe to get our latest content by email and receive
the SHAPE ROADS PRINTABLE NOW!

Success! Now check your email to confirm your subscription and receive your free printable!
Join our Mailing List!
Subscribe to get our latest content by email and receive
the SHAPE ROADS PRINTABLE NOW as a thankyou!

Success! Now check your email to confirm your subscription and receive your free printable!
Disclaimer: The information on this site is general in nature and should be used for educational and entertainment purposes. The activities are safe for most children, however, you should consult an Occupational Therapist or health professional to address specific movement, sensory or other medical conditions. This blog does not replace formal therapeutic professional advice given by a health professional or medical practitioner. Reviews and endorsements of products will only be made based on my expertise and personal opinion; and deemed worthy of such endorsement. The opinions shared in sponsored content will always be my own and not that of the advertising company or brand. Content, advertising space or posts will be clearly identified if paid, affiliated or sponsored. Affiliate links may be found throughout this website in advertising. This means that if you follow through with a purchase from these links, Your Kids OT will receive a percentage of the sale. Your Kids OT undertakes to meet the requirements of the "Social Media Policy" as published by Australian Health Practitioner Regulation Agency (AHPRA). Further information about this policy can be found here.
Find meFollow me |
About me
AuthorHi, I'm Cindy and I am an Occupational Therapist. I enjoy working creatively with children to see them reach their potential. Read more about me here. |
Copyright © 2017 Your Kid OT




 RSS Feed
