|
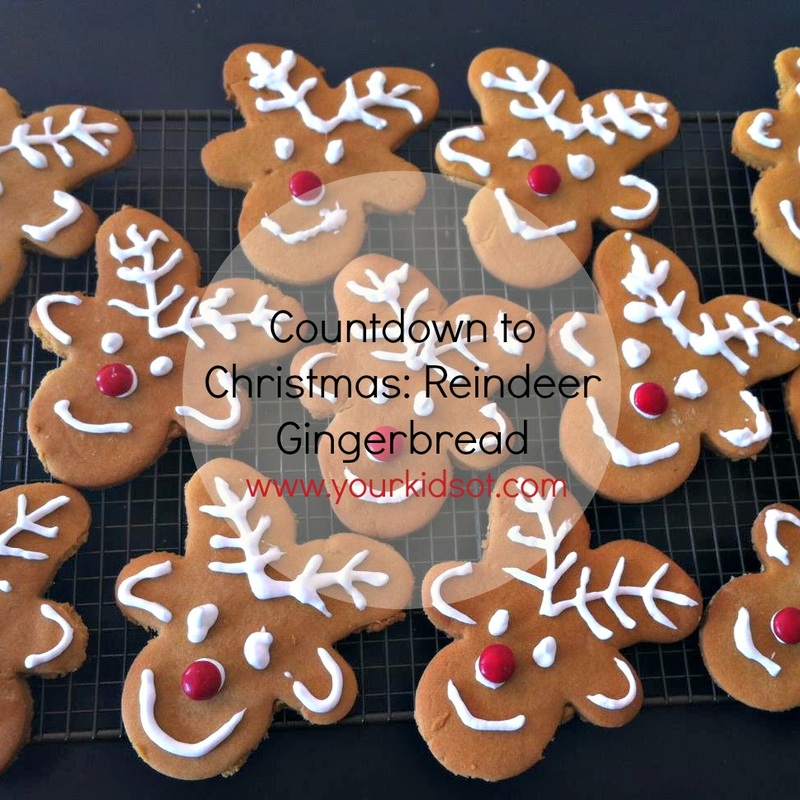
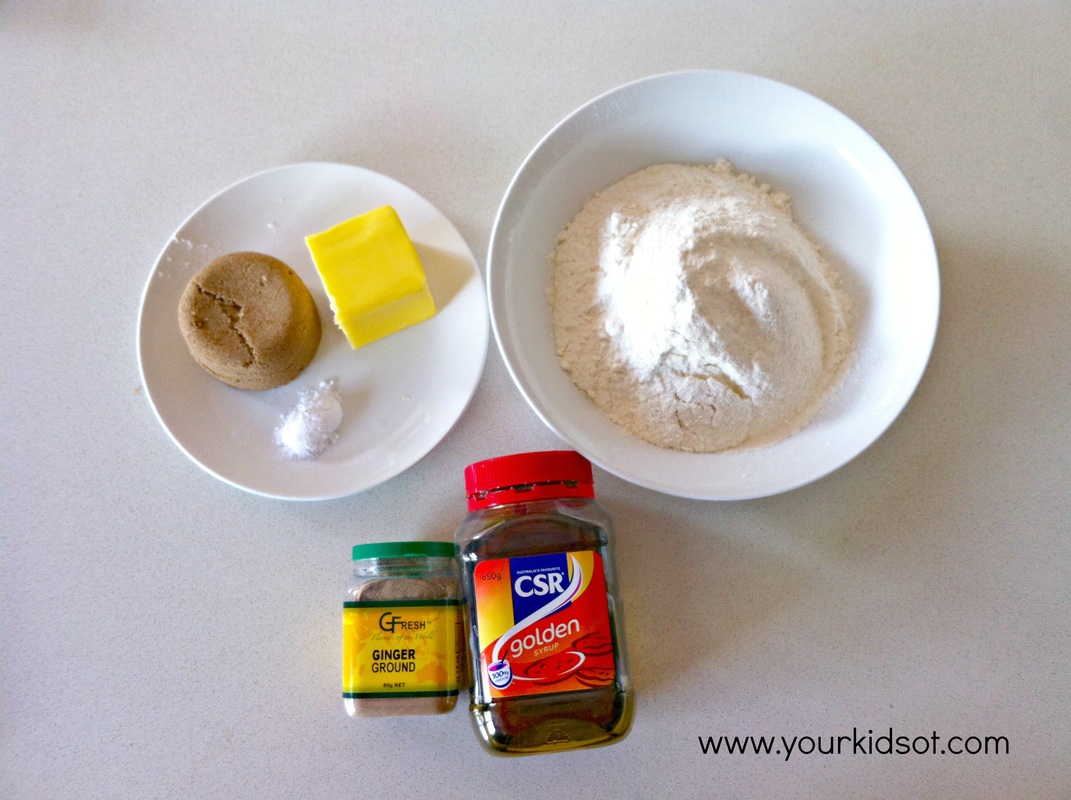
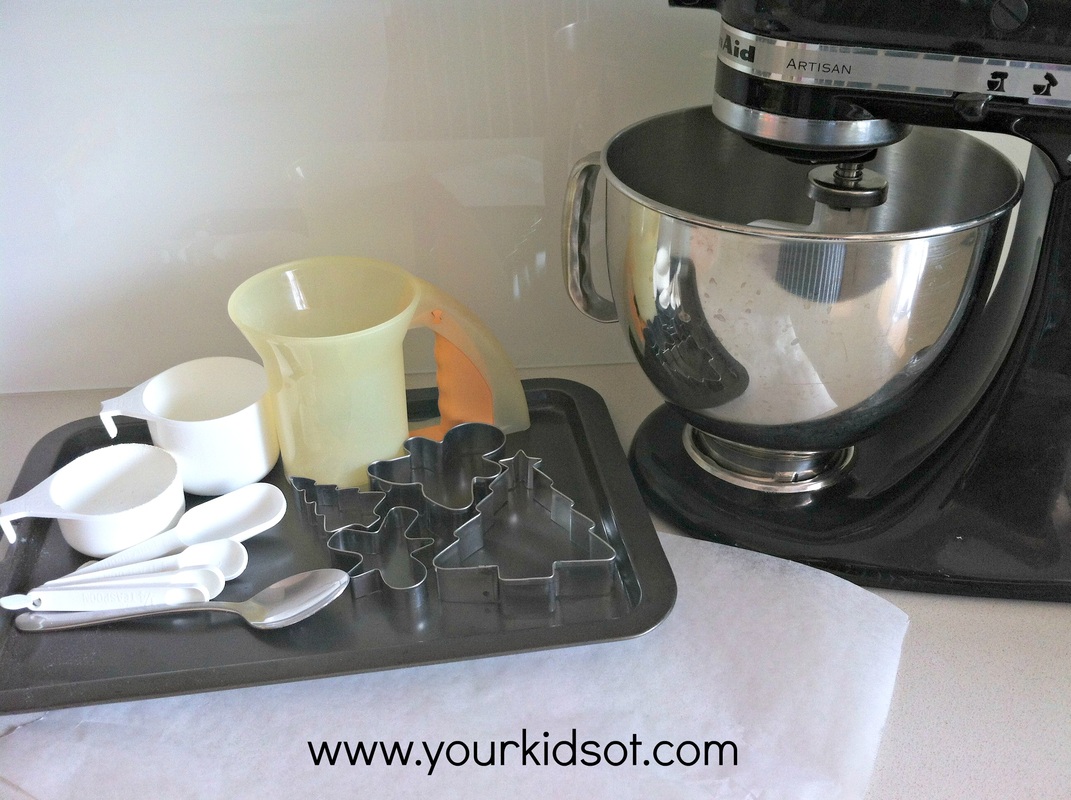
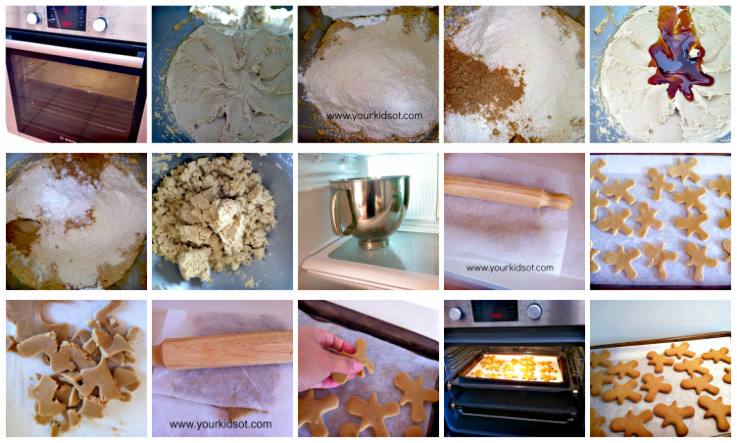
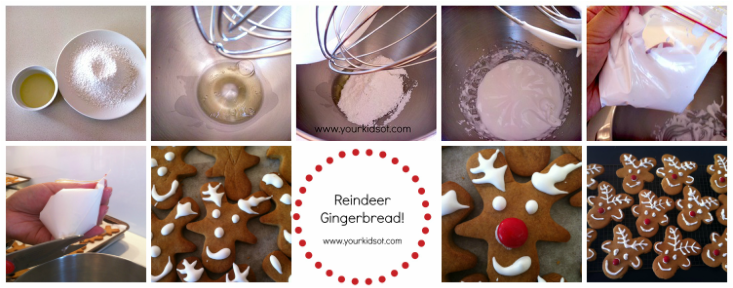
Christmas baking, do you love it or loathe it? I love baking gifts for friends, teachers and neighbours for Christmas! These adorable Christmas reindeer were a hit with Miss 8's friends last year when we gave one out to each of the kids in her class. We have made our first batch of mini ones this year and I can see at least another batch to come. The original gingerbread recipe has been modified from a Donna Hay recipe to have less golden syrup so it is less sticky to handle. We made 40 small reindeers using the the gingerbread man cookie cutter. Here are the details. Method 1. Preheat the oven to 180ºC. 2. Place the butter into the mixing bowl. 3. Place the sugar into the mixing bowl. 4. Beat the butter and sugar until it is light and creamy. 5. Add the flour. 6. Add the ground ginger. 7. Add the golden syrup 8. Add the bicarbonate of soda. 9. Mix gently until you form a smooth dough. 10. Place the dough in the fridge for 10 minutes. 11. Roll out the dough between two sheets of baking paper. 12. Use the gingerbread man cookie cutter to cut out shapes. Place these on the lined baking trays. 13. Repeat steps 11 and 12 until all the dough is used up. 14. Bake for 8-10 minutes until golden brown. Cool on trays. To decorate... Mix one egg white and 1/2 cup icing sugar until combined. Place in a zip locked bag. Cut off a small section from the corner for piping. Pipe on your reindeer face and stick on an M & M. Tips:
Your kids will love helping with making reindeer gingerbread. They look gorgeous and will put a smile on your face. There are quite a few steps involved so you may want to get the kids to help with certain sections such as the pouring and measuring and of course putting on the M & Ms. These reindeer gingerbread make a lovely gift! Happy Baking! You may also like:
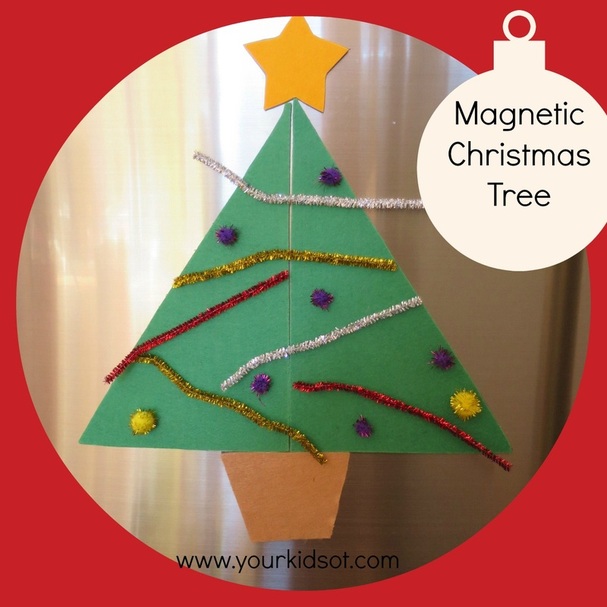
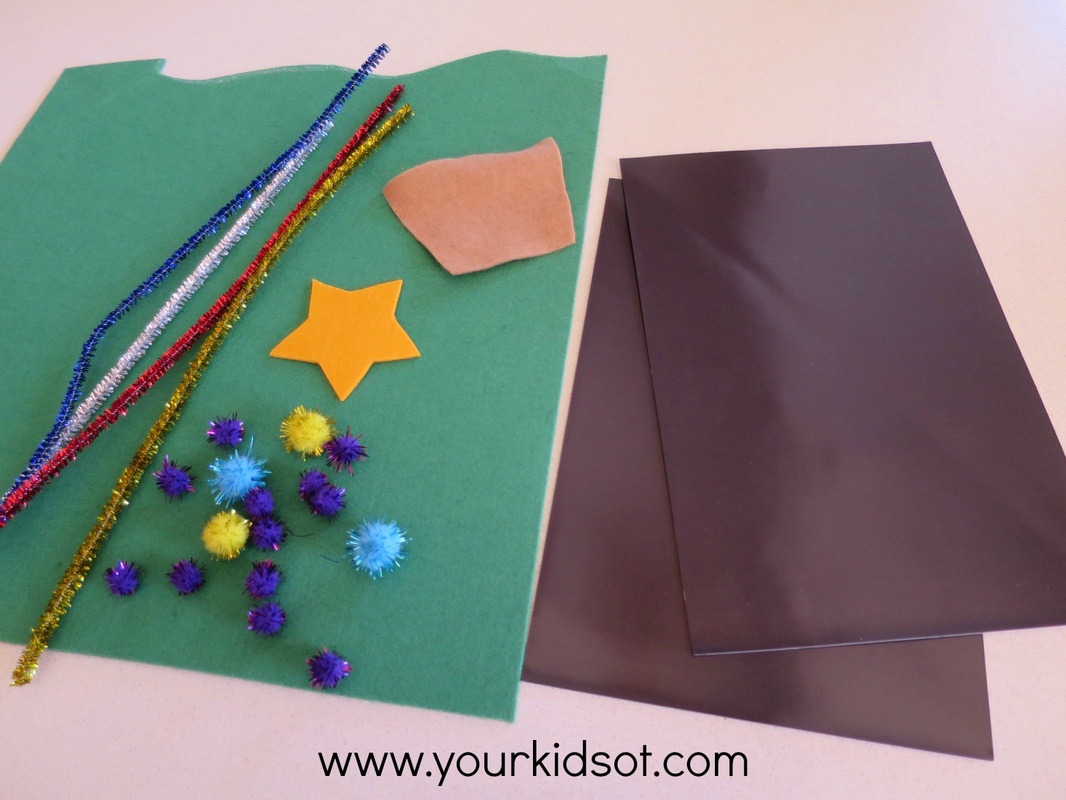
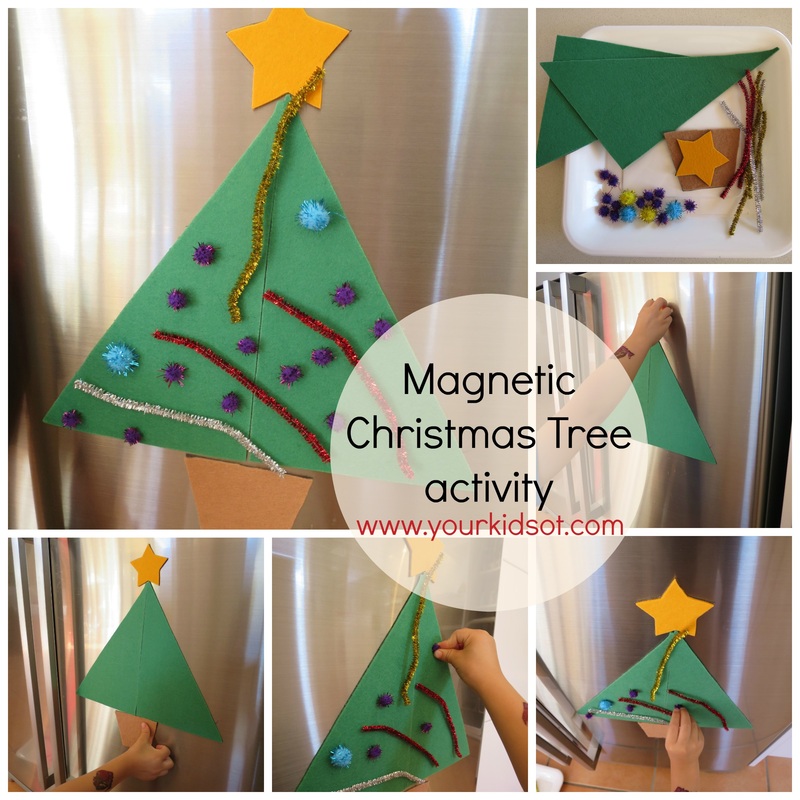
Make your own magnetic Christmas tree to keep your toddlers and preschoolers busy whilst you are in the kitchen. This Christmas tree activity is perfect for your fridge door! A few simple craft supplies and just a few minutes to prepare. What do you need to do? Cut out two large green triangles, a tree base and a star. Stick the felt onto the photo-magnets and cut around the shapes again. You may also like to cut the pipe cleaners in half. Assemble the felt magnetic pieces, pom poms and pipe cleaners onto a plastic plate and this activity is ready! This is a no-mess activity that your toddlers and preschoolers can do independently. They may need assistance initially with the tree shape or alternatively you could place the tree on for them and they can decorate. They will enjoy putting the pom poms and pipe cleaners where-ever they want to. They will also enjoy taking them off and doing it all over again! Picking up the pom poms and pipe cleaners encourage a pincer grasp. A little visual motor planning and organisation is subtly required to position the tree, star, base and spread out the pom poms and pipe cleaners to fit on the tree. The best thing about this activity is there is no right or wrong way to decorate a tree! Older children may also like to help their younger siblings to decorate the tree. Your toddler or preschooler will love this festive activity! What else do your little kids like to do whilst you are in the kitchen? You may also like...
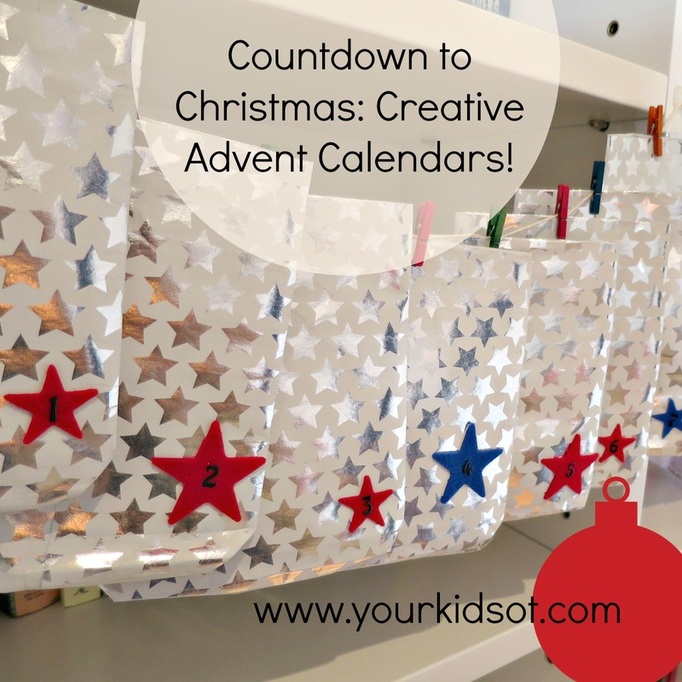
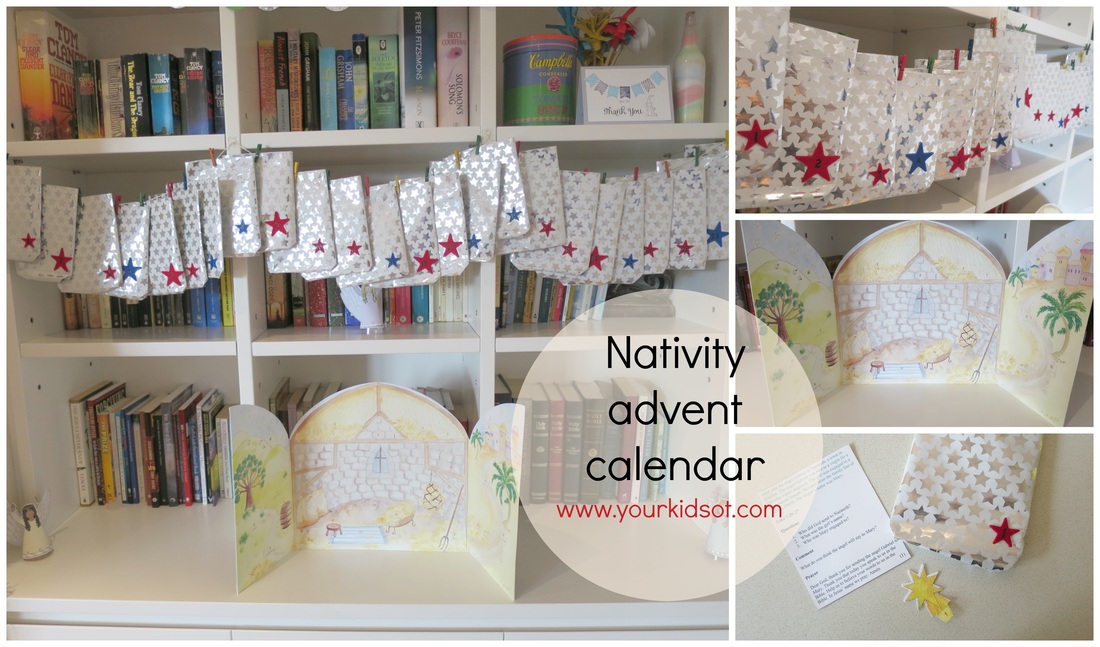
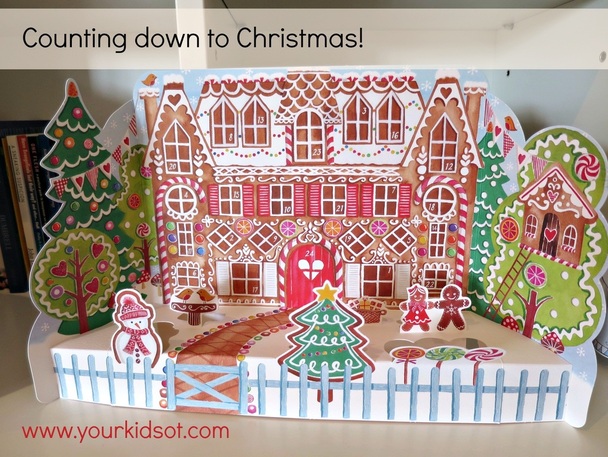
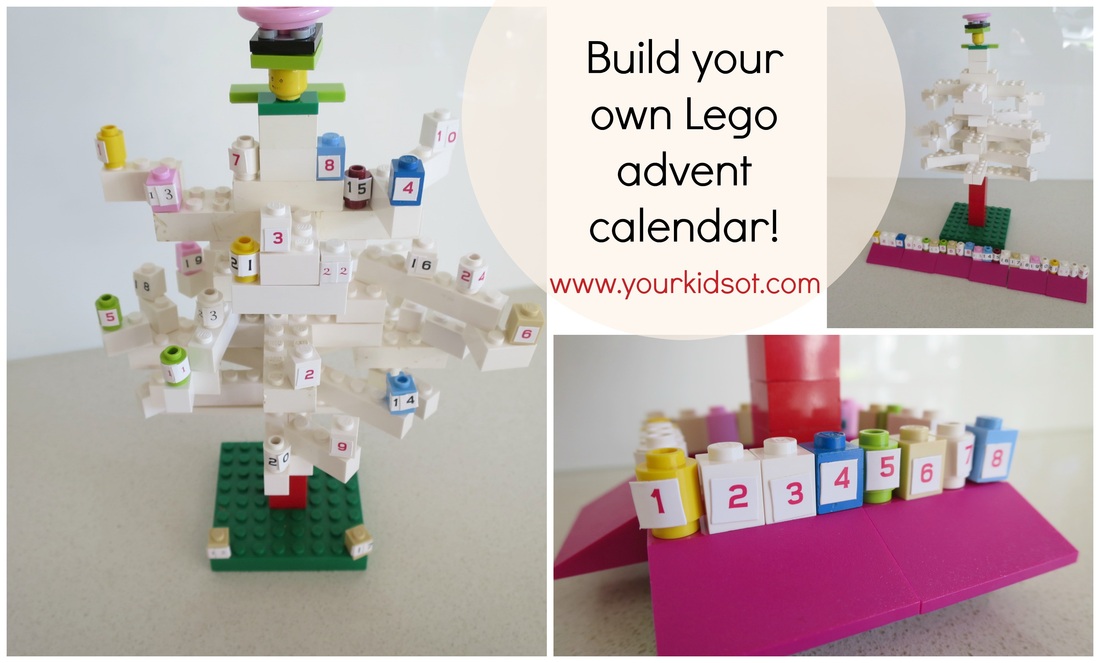
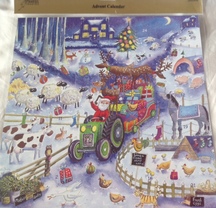
It is beginning to look a lot like Christmas everywhere you go! With family birthdays and a wedding anniversary all wrapped up in November, I can start looking forward to Christmas! Have you put up your tree? We usually put the tree up on the first of December, however we started early this year! We needed a little cheering up after a sad start to the weekend {death of beloved pet guinea pigs}. Welcome to Your Kids OT's Countdown to Christmas! You will find some fabulous Christmas crafts, activities and cooking here over the next few weeks. I hope you love them as much as I have loved putting them together. When you are counting down to Christmas, there is no better way of doing this with your kids than to use an advent calendar. This is a visual tool that helps kids to see in a physical way how many days there are until Christmas. The concept of time can be so difficult to understand for kids as they grasp how long is one hour, one day, one week.... We have used a number of different calendars over the years, favouring those with no food treats. Here are some new and old ones we are using this year... (1) Nativity advent calender - This is an old favourite we have been using for a number of years. The nativity scene was purchased from Phoenix Trading and comes with 24 numbered little picture pieces that can be added to the scene. I made the silver bags from Christmas wrapping paper, attached a star sticker and number to each bag, pegging the bag to a piece of string. Each little bag contains a picture for the nativity scene and an instruction card which goes through the Christmas story of the birth of Jesus in small sections and one or two prompt questions. Some instructions cards include words to a Christmas carol or song. My kids love the anticipation of "what's next" in the bag of the day. We take turns to put the pictures in the calendar. It is a lovely little routine that helps us to "countdown to Christmas"! (2). We were recently given a different advent calendar from a friend which happens to also be by Phoenix Trading (as a personal gift and not for the blog). My children can't wait to open the windows and doors of this gorgeous gingerbread house advent calendar. (3) If you have been following Your Kids OT, you will know of our Lego Challenge earlier in the year. If you missed it you can find the "wrap up" here. Well we couldn't go past Christmas without one last challenge.... to build a Christmas Tree Advent calendar. The original idea was found here. We built a white Christmas tree and placed number stickers on our small Lego "ornament" pieces. In case you are wondering that is an "angel" that was built for the top of the tree. Advent calendars are such fun! Did you like the Phoenix Trading advent calendars seen here? You have a chance to win ONE Phoenix Trading Advent Calendar for your family but be quick! Entries will close this Thursday 27th November at 12:00am. This is a game of skill and will require you to like Your Kids OT on Facebook and answer "What is the most creative way you have or would like to countdown to Christmas?". Entries only open to Australian residents. See below to enter and for further terms and conditions. Find fabulous Christmas cards, birthday cards, wrapping paper and much more at Phoenix Trading. I can't wait to hear "What is the most creative way you have or would like to countdown to Christmas?" Note: I have not received remuneration or compensation from Phoenix Trading. I have been gifted the following advent calendar for this giveaway. All comments and opinions are my own. Win this fantastic Phoenix Trading Advent Calendar!
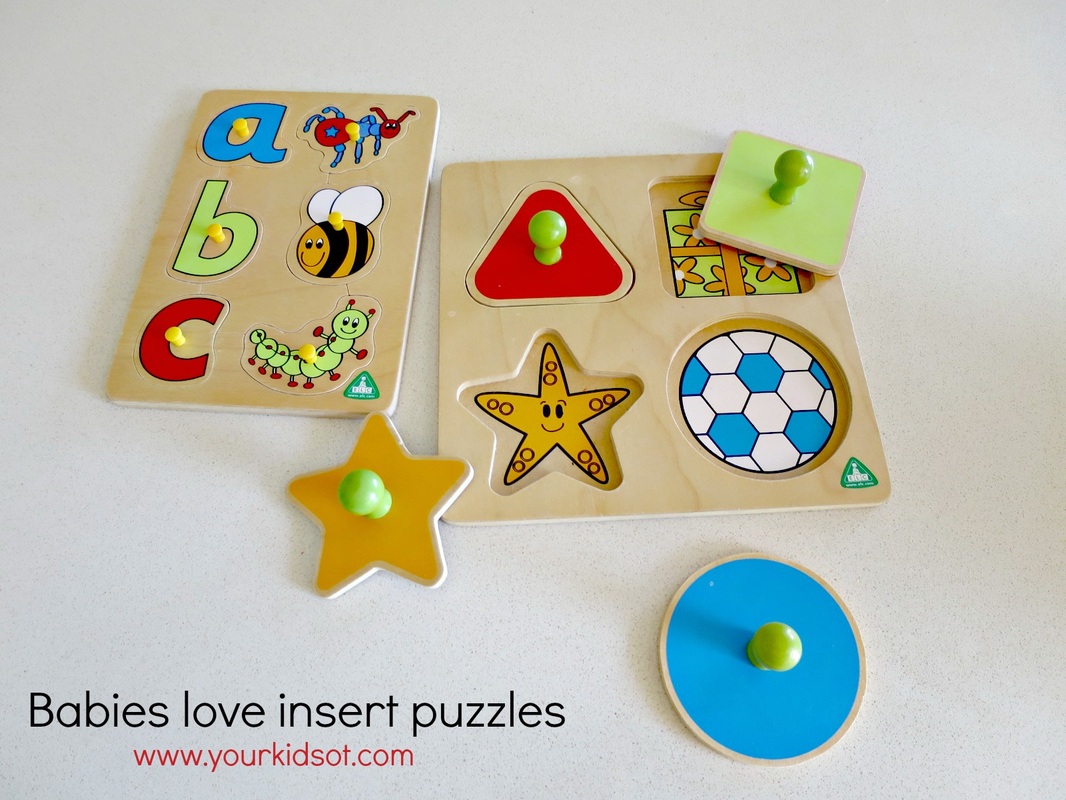
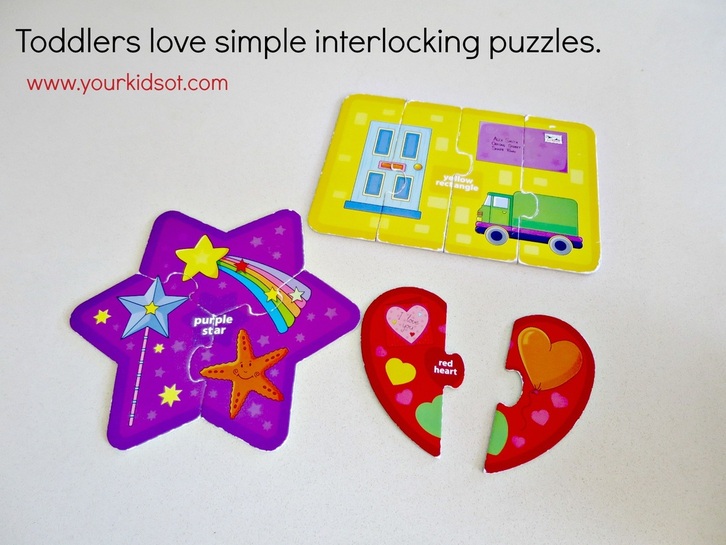
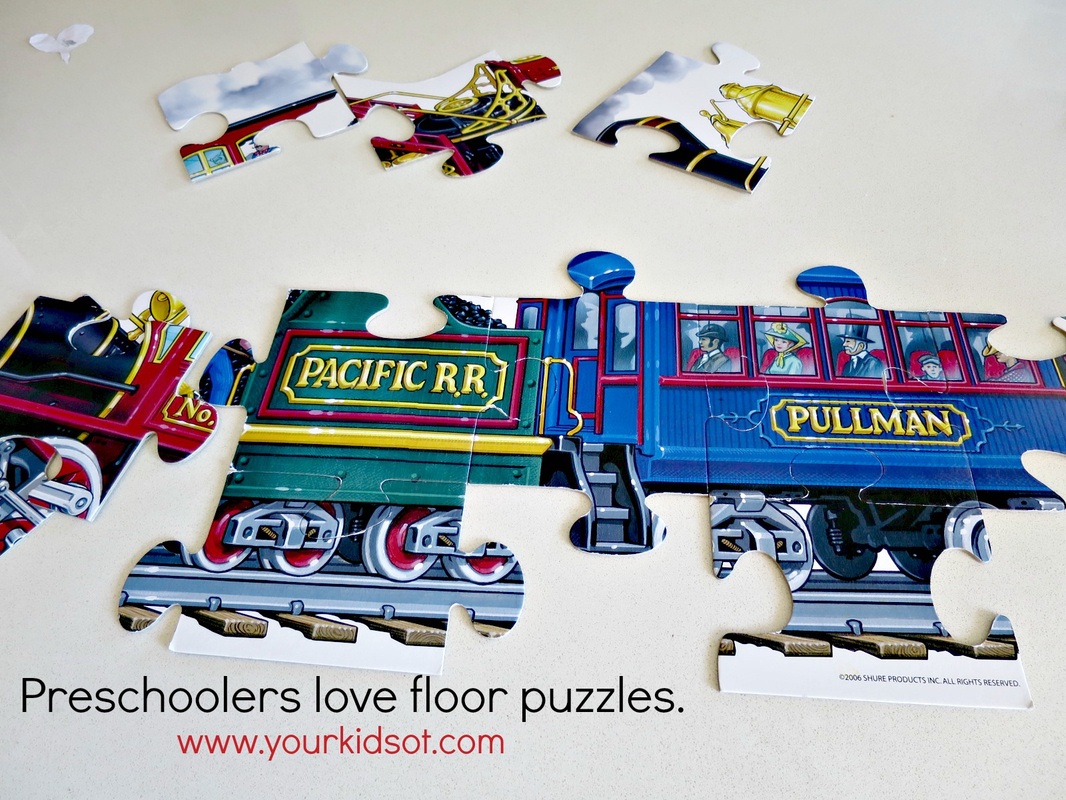
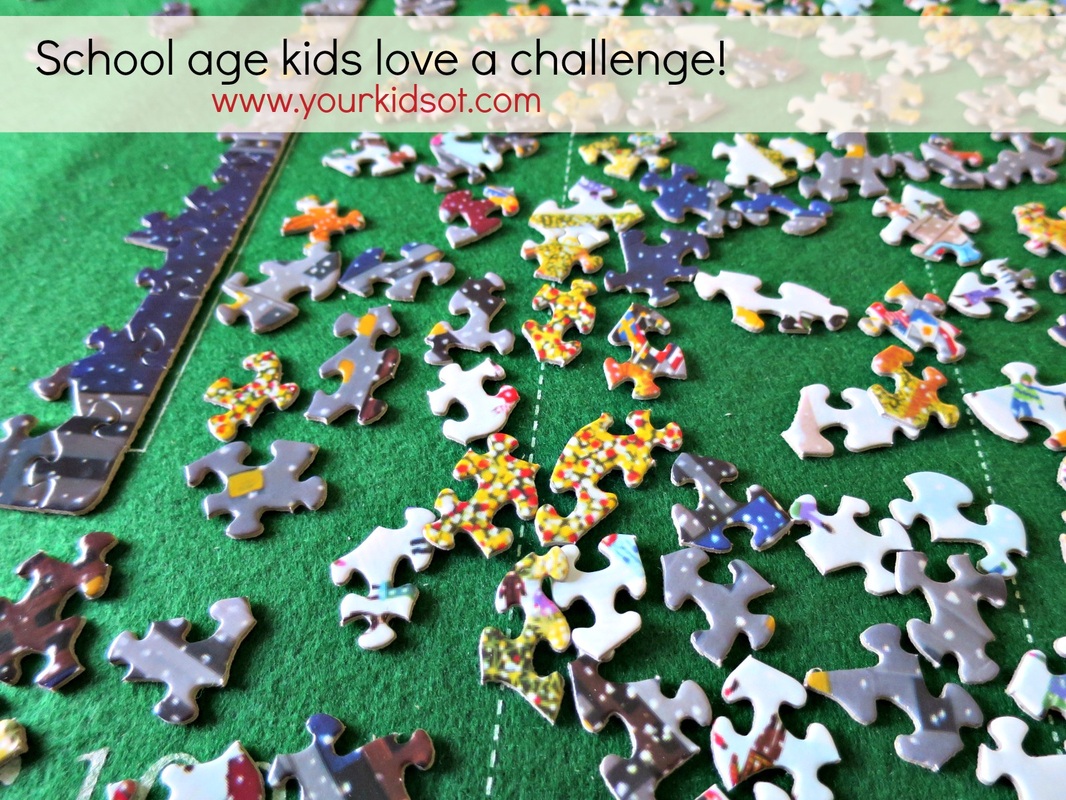
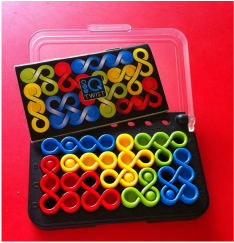
Everyone from babies to grown ups can have fun with puzzles. Some people find them frustrating, whilst others love the challenge! In a world of fast responses, instant satisfaction and technology to grant it, there is something really nice about slowing down to complete a puzzle. Kids can develop a range of skills when working on puzzles and they can have fun in the process! Babies will typically start with large knob wooden inset (or insert) puzzles. Often the picture of the puzzle is printed in the inset section, the knob is large and easy to hold for little hands. Toddlers will enjoy slightly harder inset puzzles with more options and bright colourful pictures. They will also start to put two, three and maybe four piece interlocking puzzles together. Preschoolers will enjoy layered inset puzzles and more complicated interlocking puzzles (approximately 20-50 pieces). They might be more confident with interlocking puzzles that are within a wooden frame which have the picture underneath to match. Preschoolers also love really large floor puzzles (that are bigger than themselves)! School age children (and adults) will progressively accomplish very complicated interlocking pieces (50+ pieces). The speed of progression will be different for each child, however, your school age child will develop interest in non-traditional puzzles too. This may include 3D models, Tangrams and games (such as Rubik's cubes and Q Twist). There are so many benefits in encouraging your kids with puzzles:
I'm working on a 1000 piece puzzle whilst Miss 8 works on her first 500 piece puzzle. Whilst there have already been cries of frustration followed by moments of triumph (for both of us), I think she might finish first! Bring on the summer holidays! Do your kids like puzzles? Do you? You may also like:
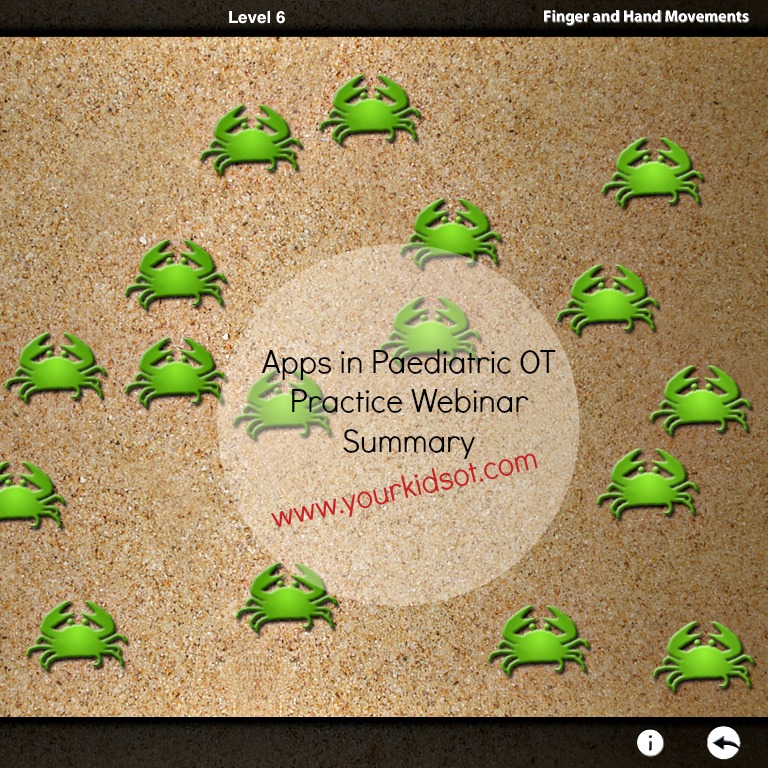
Last week I attended the 'Apps in Practice: Developmental Paediatrics' webinar held by the Australian OT Association. Here is a summary of the webinar conducted by Yolanda Fernandez, Dr Fiona Jones (On Call Children's Therapy network) and Kate Horstmann. The motivation for the workshop was clinical sharing rather than as technology experts with the focus on apps to use WITH children, not functions that we use to support ourselves as professionals. When and how do you use an iPad? Context
Benefits
Challenges
Self Care (Routines, Sleep, Specific Tasks, Daily Living Skills)
Productivity (learning to write, word processing, organisation, fine and visual-motor skills)
Organisation and Planning
Fine & visual motor skills
Leisure (social, communication, self-regulation, confidence)
Universal Functions (can be used in any of the previous performance areas and for "pulling together" therapy strategies)
For App reviews Access and Controls
Summary
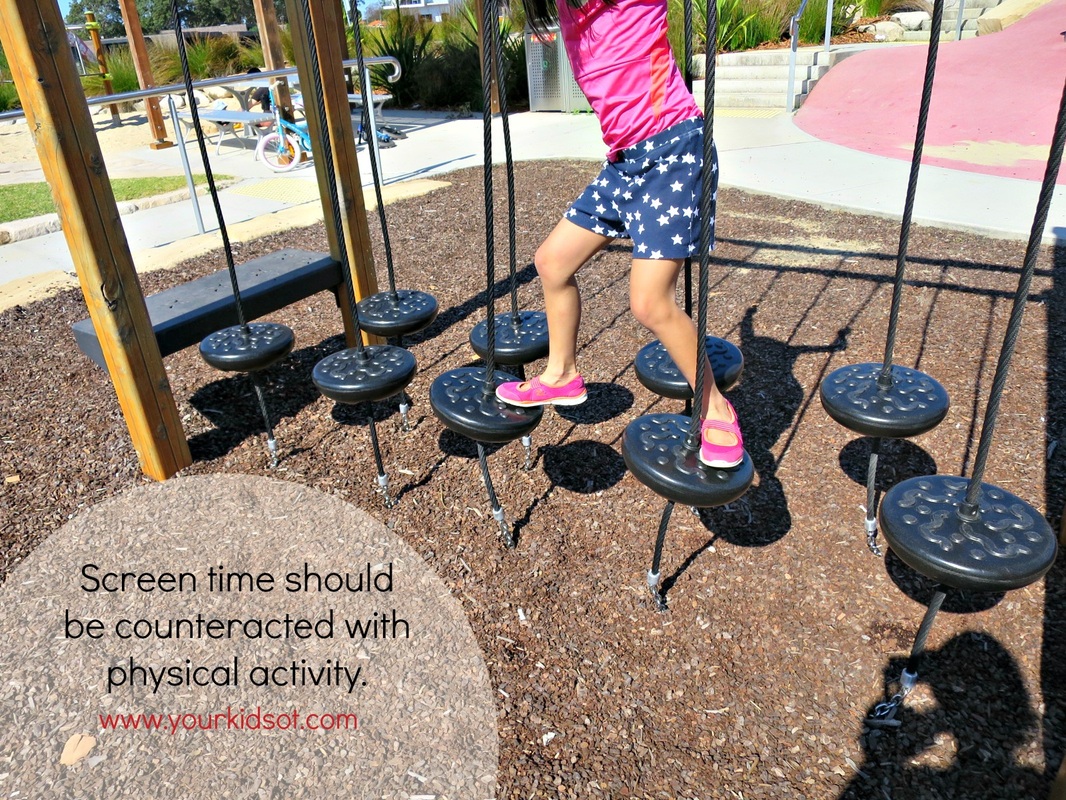
This was a great workshop to attend. I particularly liked hearing about the challenges to using iPads and learning about some apps that I haven't used before. The apps that I have reviewed on this site have links for further information. Have you considered counteracting screen time with physical activity? Is there an app that you are currently using that you would recommend? You may also like to read about the following apps...
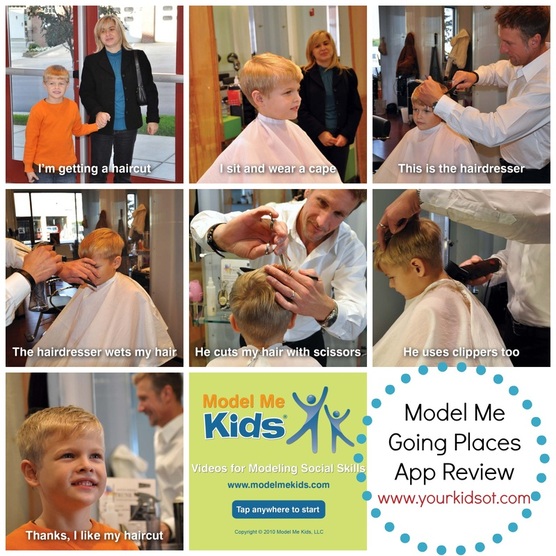
Social stories are a fantastic visual aid to help children to understand social situations...what to expect, what order events might happen, how they may feel and the people who may be involved. Children learn from social stories and transfer what they learn into their own actions. Model Me Going Places is an app with six social stories about visiting the hairdresser, mall, doctor, playground, grocery store and restaurant. Each social story plays like a video with real-life photographs of each "step" and a voice over reading out the story. A child's voice is used for each story. Pages may be repeated or skipped using the arrows on the screen. It is easy for children to navigate on their own. These social stories are well produced with clear photographs and sentences. The app uses boys as the main character in each story with a boy's voice telling you what is happening. {Note: This may be unhelpful when you are working with a girl.} There is no capacity to tailor the social stories with your own photos, adjusting steps or entering your child's name. I use social stories to help children who may have difficulty coping with social situations. My Mr 4 has always hated having his hair cut. I use social stories as well as other strategies (such has role play and a head massage) with Mr 4 to prepare him with what to expect in having a hair cut. We repeat this regularly even though he "knows" what to expect, the social stories help to reduce his anxiety. The social stories are also useful to discuss emotions "How do you feel when you visit the hairdresser?". Model Me Kids LLC have produced Model Me Going Places App as a part of their larger range of social story DVDS and another app {Autism Emotion}. Whilst Model Me Kids is dedicated to producing high quality teaching tools for children with Autism, Asperger Syndrome, PDD-NOS and developmental delays, these social stories are suitable for preschool-age children and older children of all abilities. The DVDs include topics such as Conversation Cues, Friendship, Tips and Tricks, Confidence & Bullying Prevention, Organiszation & Motivation, Time for School, Time for a Playdate, I can do it and Faces & Emotions. There are also professional training DVDS as well as teacher and student manuals. You can find out more from the Model Me Kids website. For Australian readers, these products may be purchased through My Diffability Australia. Have you used social stories? Have you tried this app or the DVDs? Note: I have not received remuneration for this review. I have an affiliate partnership with Model Me Kids LLC. All opinions and comments here are my own. You may also like to read...
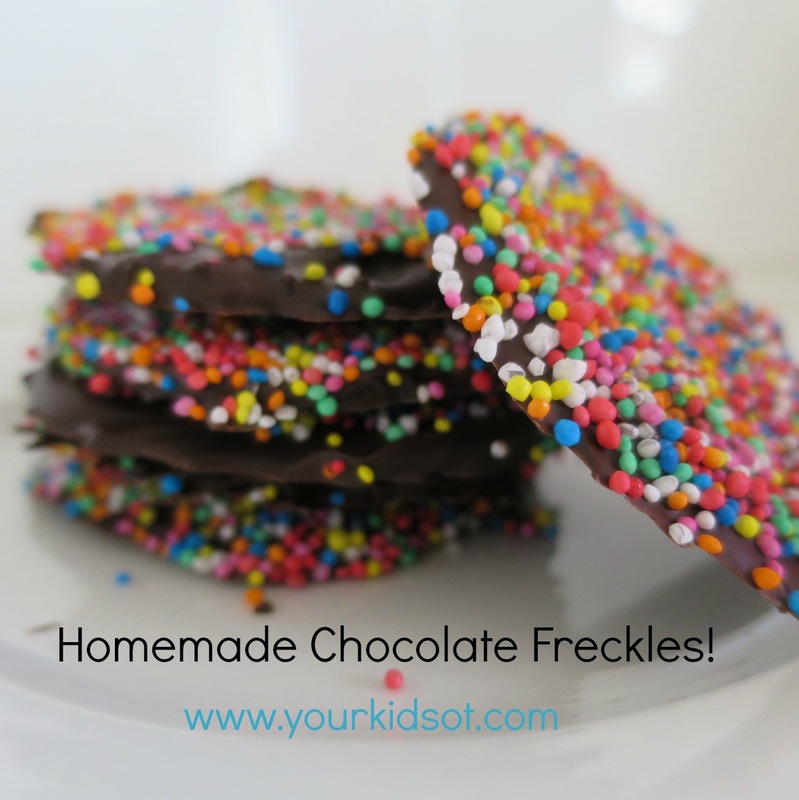
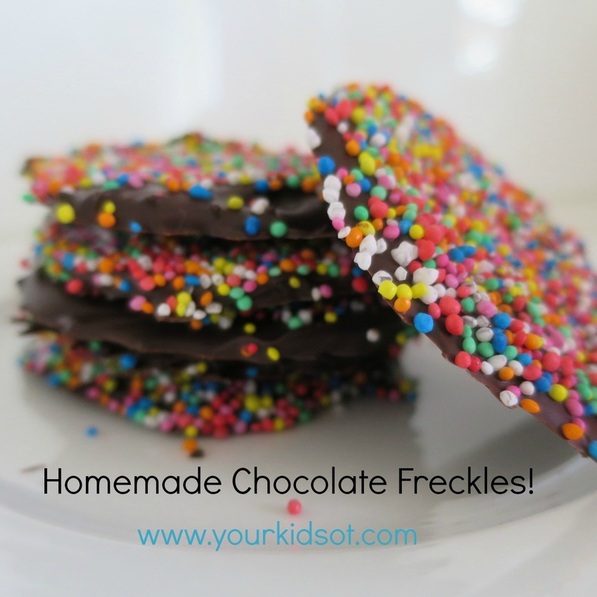
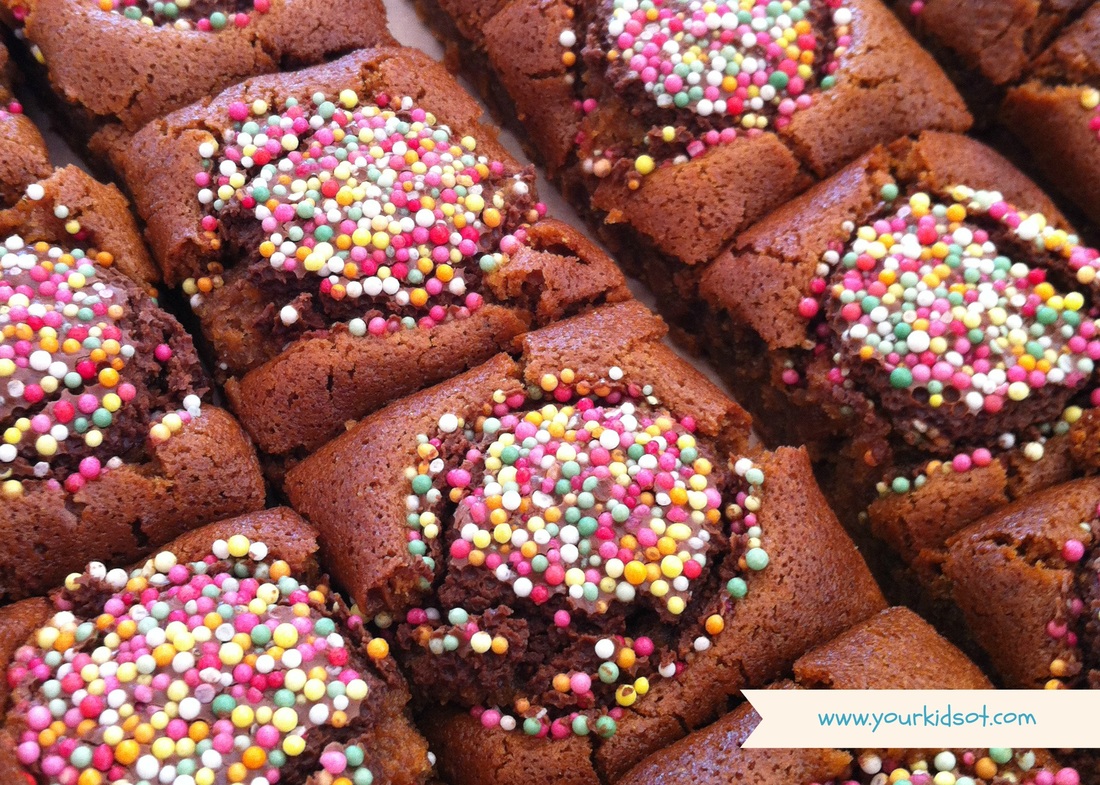
Did you grow up with chocolate freckles as a kid? Chocolate covered in a sea of hundreds and thousands...well now you can make your own {any size you want}! I mentioned in a previous post that we made a couple of things for Miss 8's party favour bags. Well here is the sweet addition to the bag!
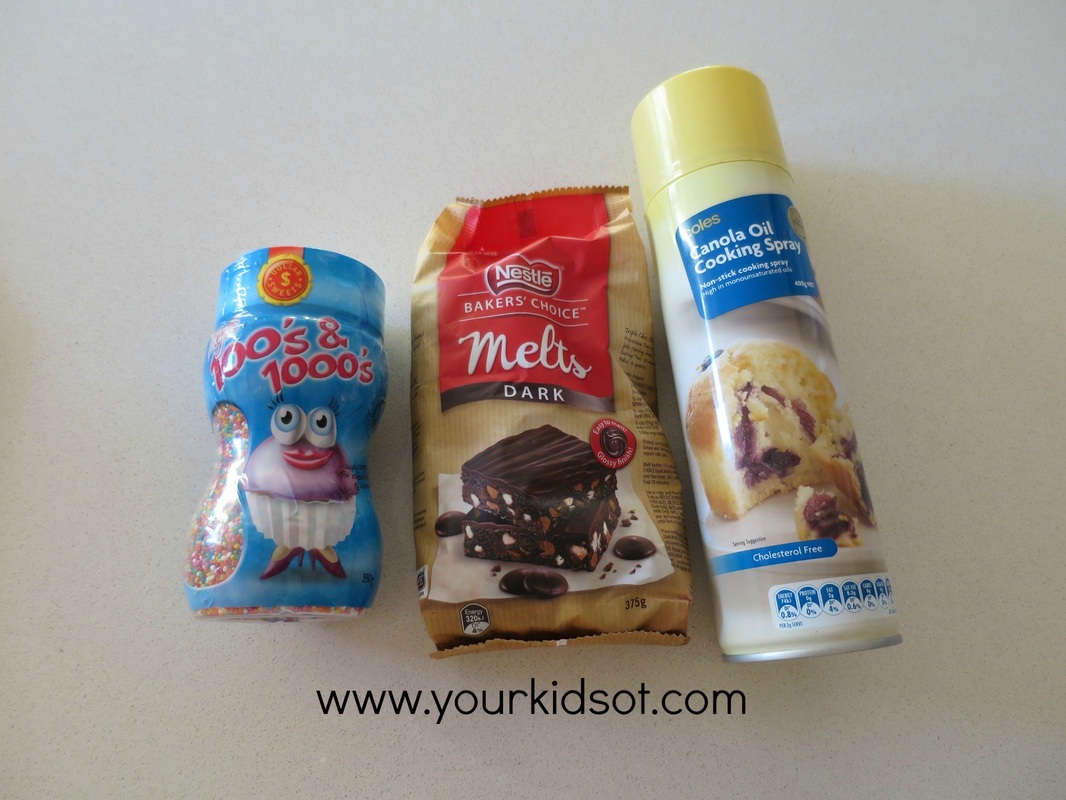
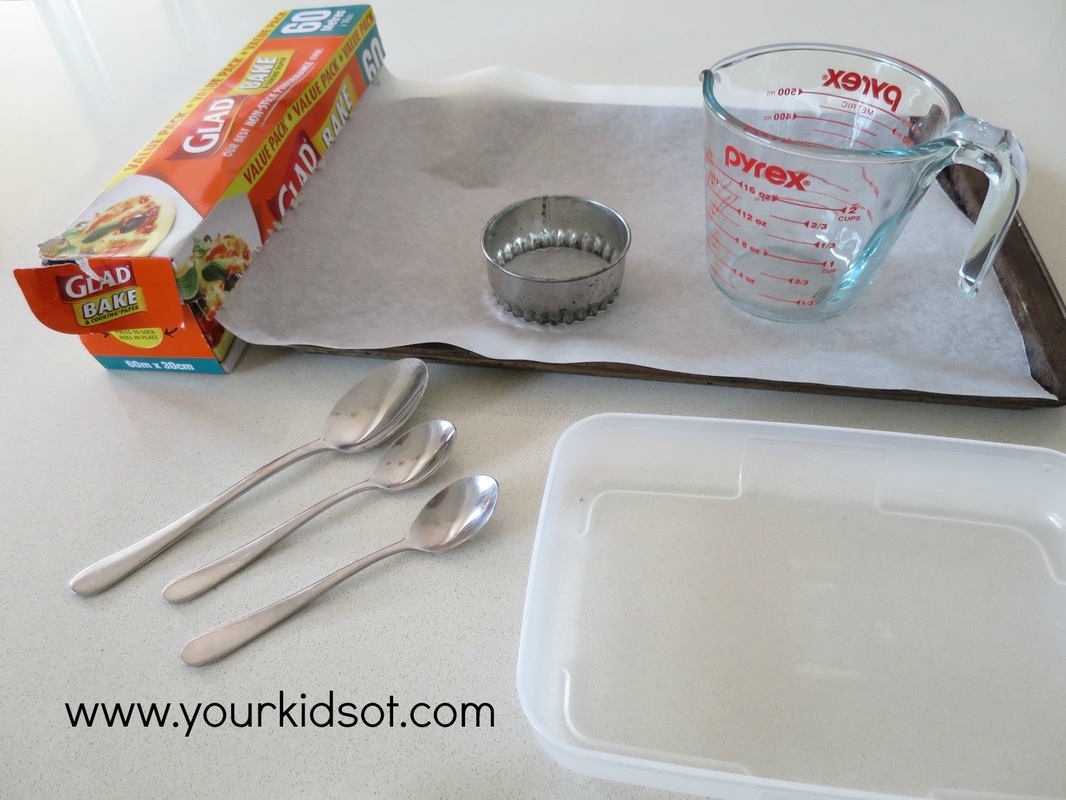
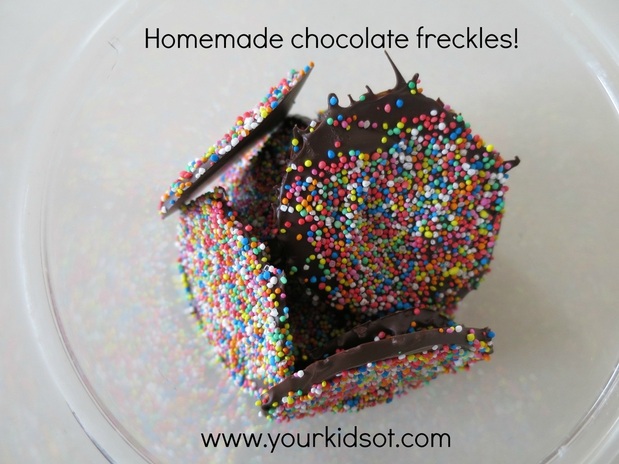
Method 1. Place the chocolate melts into the microwave safe jug. 2. Heat the chocolate for 1 1/2 minutes. 3. Stir the chocolate until smooth. 4. Oil the cookie cutter (use whatever you want for a desirable size). 5. Pour the chocolate into the cookie cutter or spoon out the chocolate. Remove the cutter once you get the shape you want. 6. Flatten and smooth out the chocolate. 7. Pour some 100s and 1000s into a plastic container or bowl. 8. Spoon a generous amount of 100s and 1000s over the chocolate circle. 9. Repeat steps 5 through to 9 until you use up all the chocolate. 10.Place in the fridge to set. {The time will vary depending on how thick your chocolate is.} 11.Shake off excess 100s and 1000s. 12.Store in an airtight container away from direct sunlight. The kids and I were really pleased with how these turned out. I was a bit wary of them pouring and spreading the chocolate, so I did those parts. {Must have been in a don't-mess-up-my-kitchen sort of mood. Do you have those days?} The kids especially loved generously sprinkling over the 100s and 1000s. You could definitely use white or milk chocolate instead of dark. These homemade chocolate freckles would make a lovely gift or something sweet for the school cake stall. Do you like chocolate freckles? You may also like making...
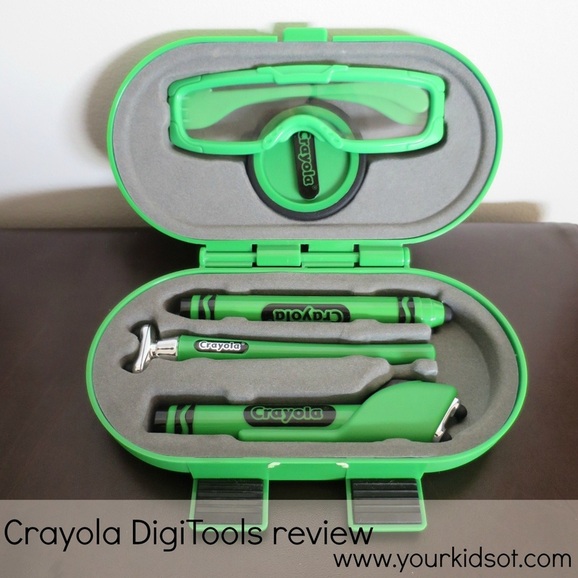
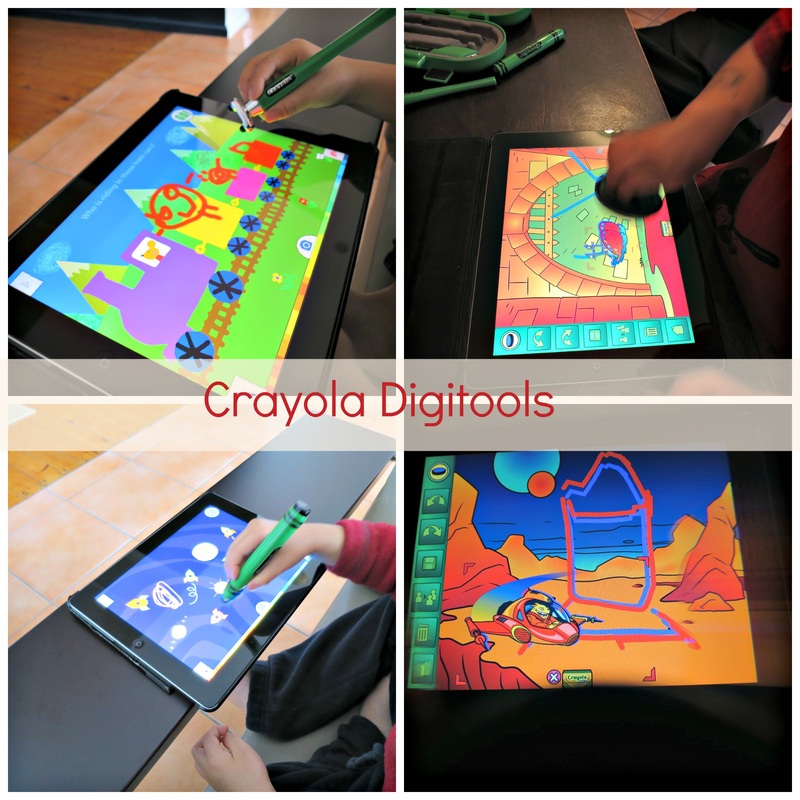
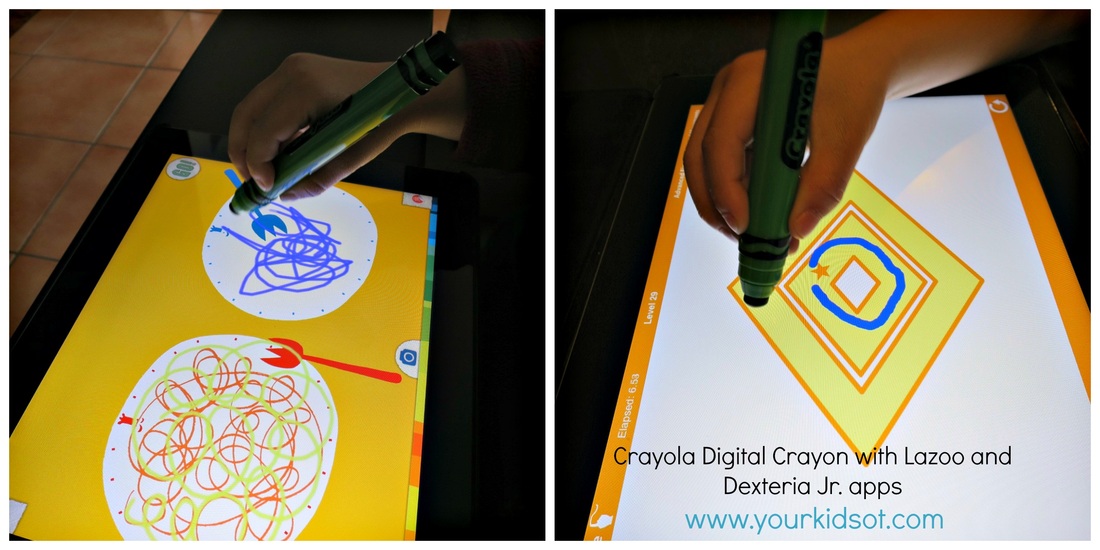
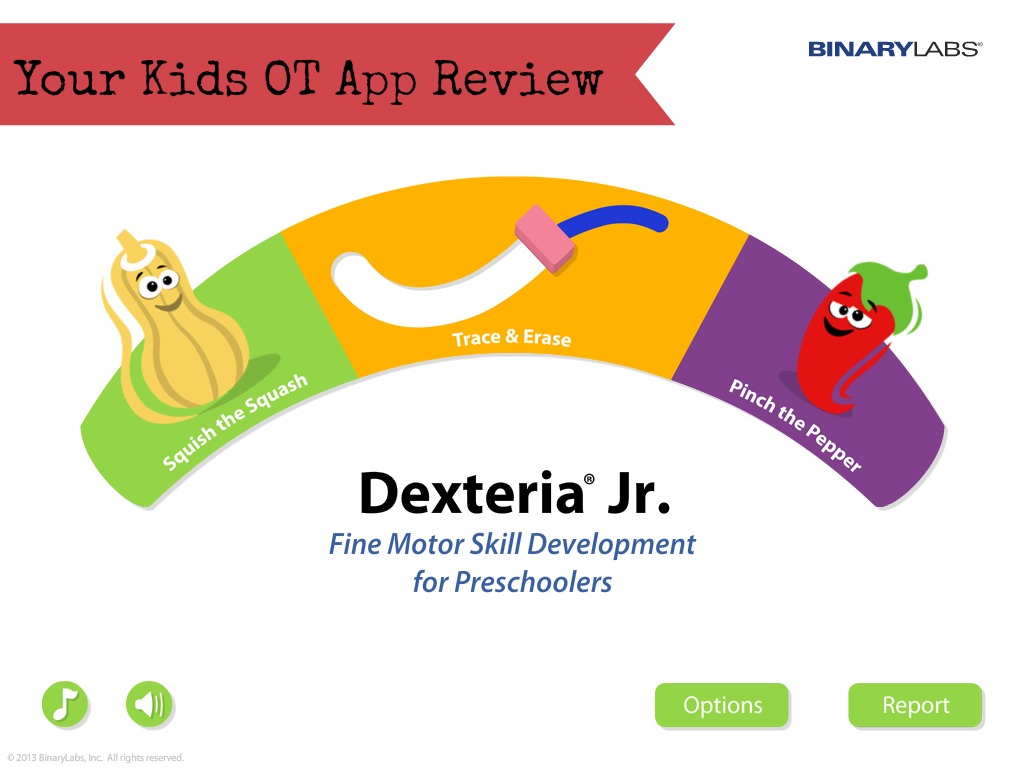
The Crayola DigiTools Deluxe pack contains a digital crayon, digital airbrush, digital 3-D stylus, digital stamper and 3-D glasses! These tools come in a neat clip-on carrying case, perfect to transport these tools. Well why get one stylus when you can get a whole pack? You can use the Crayola Digitools with free apps designed by Crayola... ie. Crayola Effects App, 3-D App and Airbrush App. These apps are free to download from the itunes store. Whilst Crayola recommend the use of these three apps with these DigiTools, there are a number of other apps created by Griffin Technology where these tools can also be used such as "Crayola Paint and Create" and "Crayola Color Studio HD". Most of these apps are unfortunately unavailable on Android, however please check as the developers are constantly working on this. The "Digitools Paint Pack App" is available for both Android and ipad. The 3-D stylus and 3-D glasses are fantastic for motivation. The digital stamper is suitable for toddlers and produces lots of pictures quickly. The digital crayon is the most versatile of the pack and can be used for a number of drawing applications. It is easy to hold and has a large soft point for easy drawing and colouring. Most of the apps recommended by Crayola enable use of multiple tools within the same app. We have also used the digital crayon with non-Crayola apps such as Lazoo Squiggles, Dexteria Jr andrED writing. It is a great stylus to use with toddlers, preschoolers and young school aged children. You can purchase Crayola Digitools from a number of retailers. I purchased our set from Ezibuy (known for ladies fashion although they have a home and gift section). If you are not in Australia, you may purchase this from Amazon (click on the image below for the link). This set of digital tools will be popular in any household and is a great asset to a therapist's toolkit! Have you used a stylus with ipad apps? I have not received any remuneration for this article. All comments and opinions are my own and I purchased this set. I do not have an affiliate link with Ezibuy at the present time. I do have an affiliate link with Amazon. You may also like these articles...
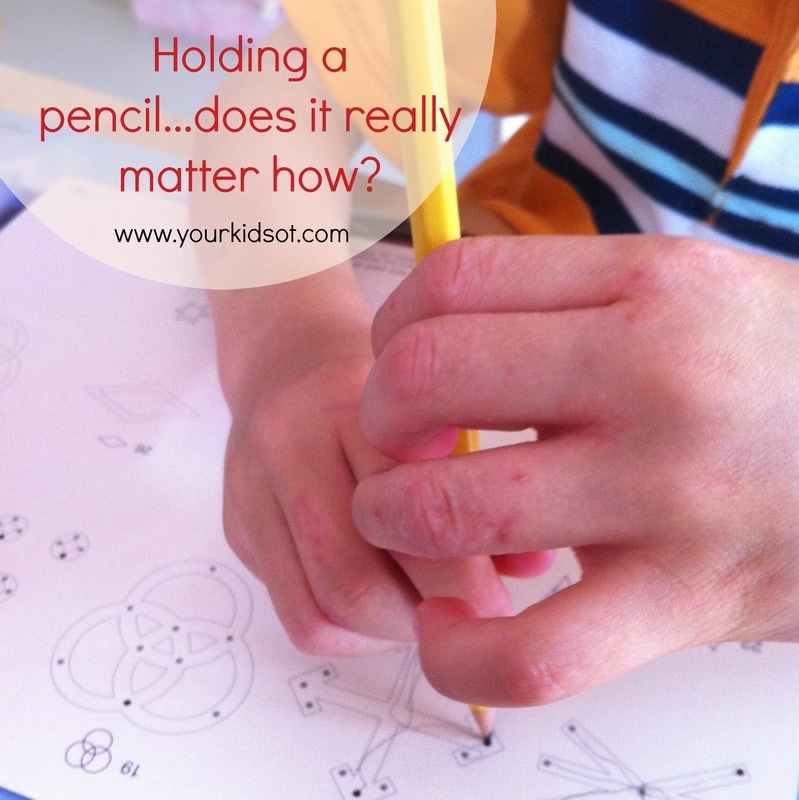
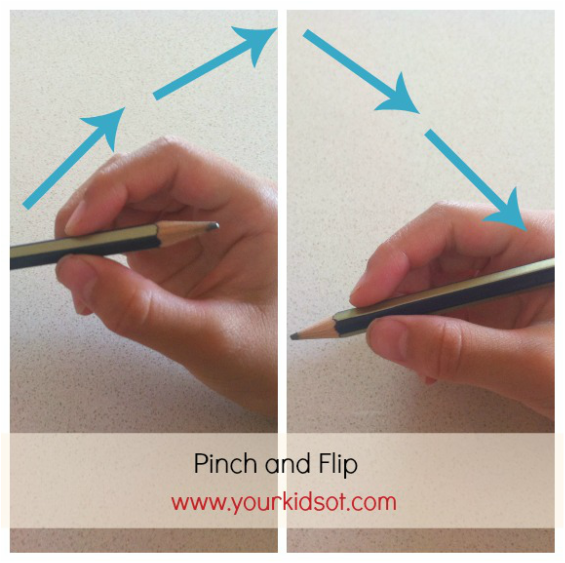
A clever way to encourage a dynamic pencil grasp...without a lot if hand re-positioning and instruction. Just pinch and flip.
I have seen this idea in several places and I can't remember the original source, however it may have been here at Mama OT. So what do you do?
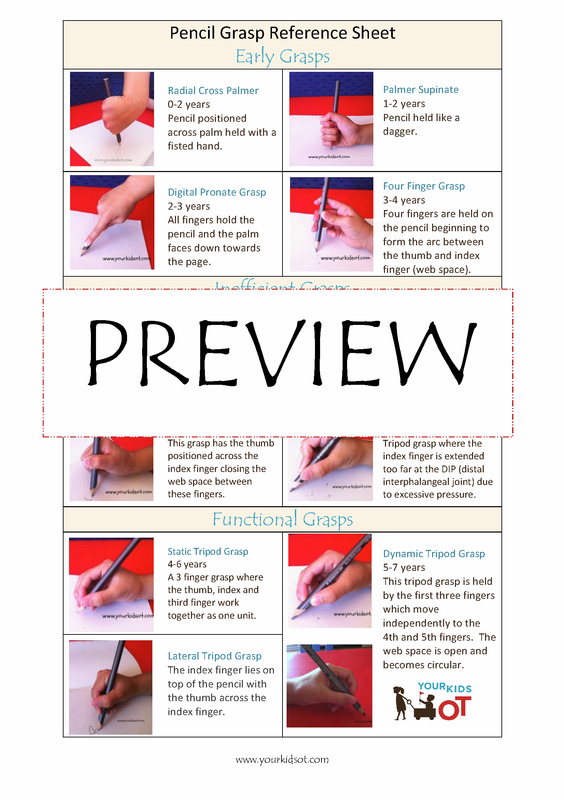
The dynamic pencil grasp is desirable because the hand is positioned with an open web space (the nice circle made by the thumb and index finger) and it allows these fingers to move the pencil as required when writing. It is the preferred grasp for writing speed, control and letter formation. Have you tried the "pinch and flip"?
You may also like...
Check out a new sponsor for great ideas on Fine Motor Skills, Scissor Cutting Skills, Bilateral Coordination Activities, Core Exercises for Kids and Shoulder Girdle Excersie. Affliliate links here with OT Mom Learning Activities.
|
AuthorHi, I'm Cindy and I am an Occupational Therapist. I enjoy working creatively with children to see them reach their potential. Read more about me here. SEARCH THIS SITE
Archives
June 2024
Categories
All
Popular Posts |
Join the YKOT e-newsletter!
Subscribe to get our latest content by email and receive
the SHAPE ROADS PRINTABLE NOW!

Success! Now check your email to confirm your subscription and receive your free printable!
Join our Mailing List!
Subscribe to get our latest content by email and receive
the SHAPE ROADS PRINTABLE NOW as a thankyou!

Success! Now check your email to confirm your subscription and receive your free printable!
Disclaimer: The information on this site is general in nature and should be used for educational and entertainment purposes. The activities are safe for most children, however, you should consult an Occupational Therapist or health professional to address specific movement, sensory or other medical conditions. This blog does not replace formal therapeutic professional advice given by a health professional or medical practitioner. Reviews and endorsements of products will only be made based on my expertise and personal opinion; and deemed worthy of such endorsement. The opinions shared in sponsored content will always be my own and not that of the advertising company or brand. Content, advertising space or posts will be clearly identified if paid, affiliated or sponsored. Affiliate links may be found throughout this website in advertising. This means that if you follow through with a purchase from these links, Your Kids OT will receive a percentage of the sale. Your Kids OT undertakes to meet the requirements of the "Social Media Policy" as published by Australian Health Practitioner Regulation Agency (AHPRA). Further information about this policy can be found here.
Find meFollow me |
About me
AuthorHi, I'm Cindy and I am an Occupational Therapist. I enjoy working creatively with children to see them reach their potential. Read more about me here. |
Copyright © 2017 Your Kid OT




















 RSS Feed
