|
Affiliate links are used throughout this website to promote products I love and recommend. I receive a commission if any purchases are made through these links. Please see my disclosure policy for more details
What a treat! It was like Christmas for me!
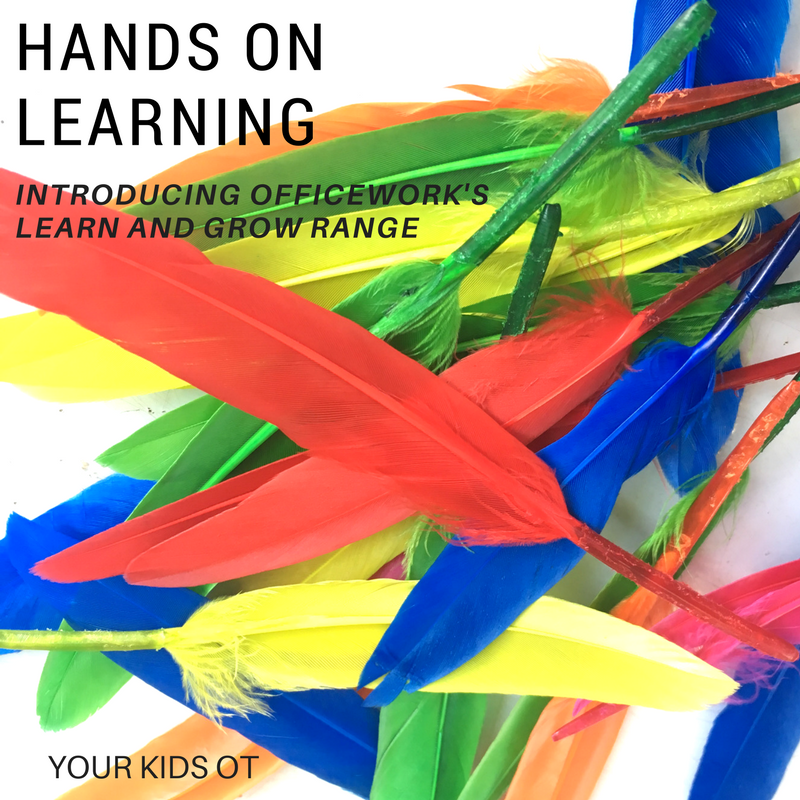
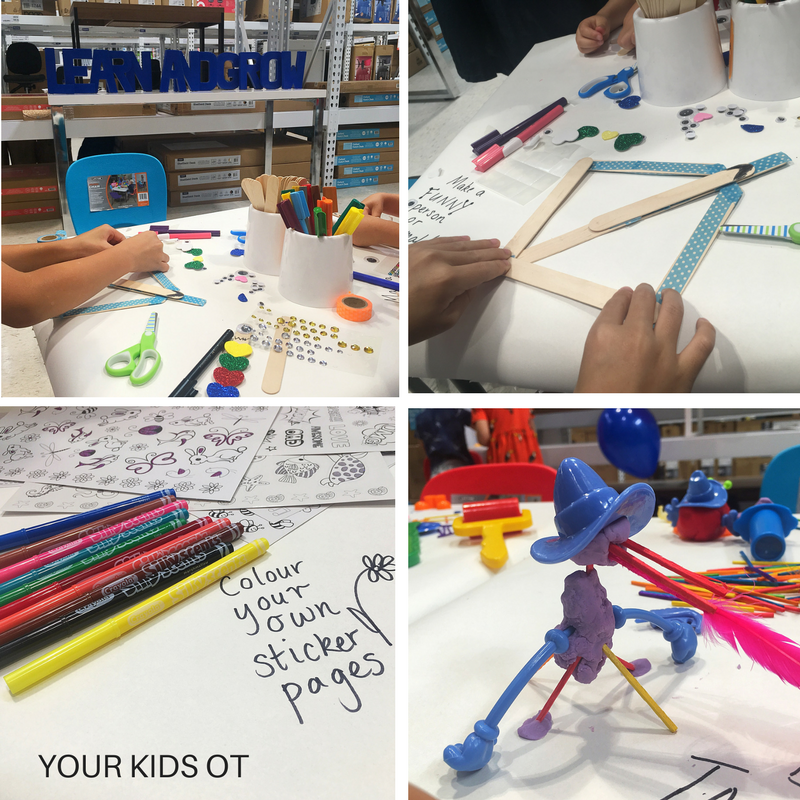
I love a good stationery shop! There is something about office supplies and equipment to help keep me organised that is so exciting! OK before you think... what a sad woman... hear me out! Together with my children, I recently attended Officework's Sydney launch of their new "Learn and Grow" range and it is more than you would expect in terms of office supplies and equipment! What an exciting range of products on offer at Officeworks for children to help them to Learn and Grow. There are over 4000 products in the range and include puzzles, games, chore charts, stickers, posters as well as arts and craft supplies. The Learn and Grow range includes trusted brands such as Ravensburger puzzles, Playdoh, Orchard games, Melissa and Doug, Crayola and more! It also includes a range of Officeworks home brand supplies. One of the best things is the affordability of the products.
We received an awesome "goodie box" from Officeworks to introduce us to the Learn and Grow range. It is wonderful to see children dive straight into their creative ideas when they get their hands on supplies. At the launch Mr 7 made a "bow", lots of "feathered arrows" and a holster to hold those arrows (see the photos above as he began crafting the "bow"). Miss 11 years was keen to get crafting as soon as we got home with our "goodie box". Her choice picks were the large pad of paper, textas fluoro dough and modelling clay.
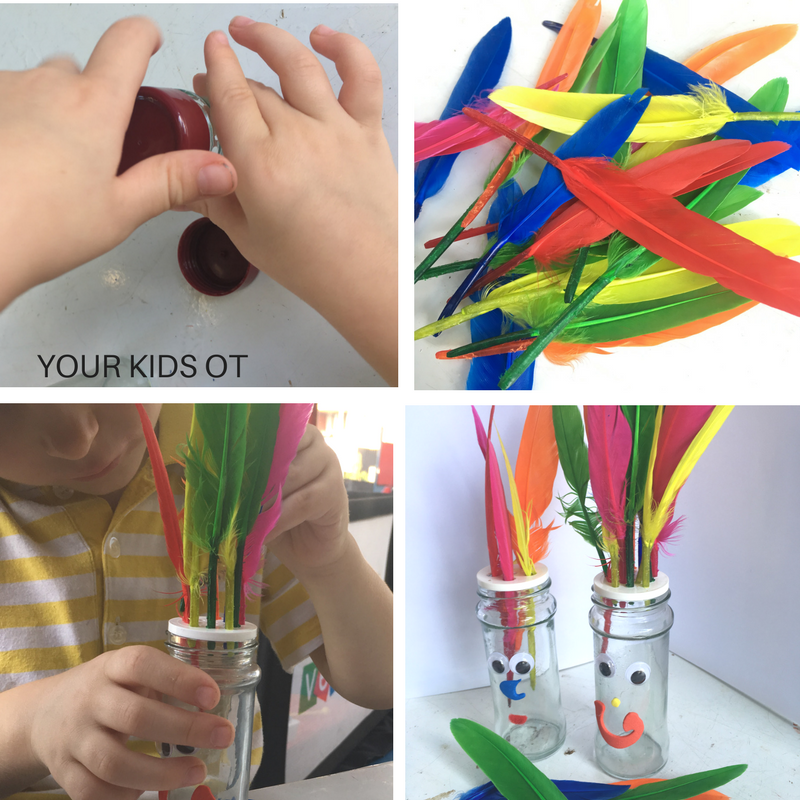
The only problem with the "goodie box" was keeping some of the supplies for myself and my OT kids! Here is one way that we put some of the Officework's supplies into action. Using spice jars, I added some googly eyes, a foam nose and foam mouth (one is actually the letter "G" on the side). My little OT friend helped to unscrew the lid and add "feathers" as hair by poking them into the holes. Whilst a fun colourful activity, there were lots of therapeutic benefits that we were addressing too! We worked on crossing the midline and bilateral coordination (read more about this here), fine motor skills and a pincer grasp.
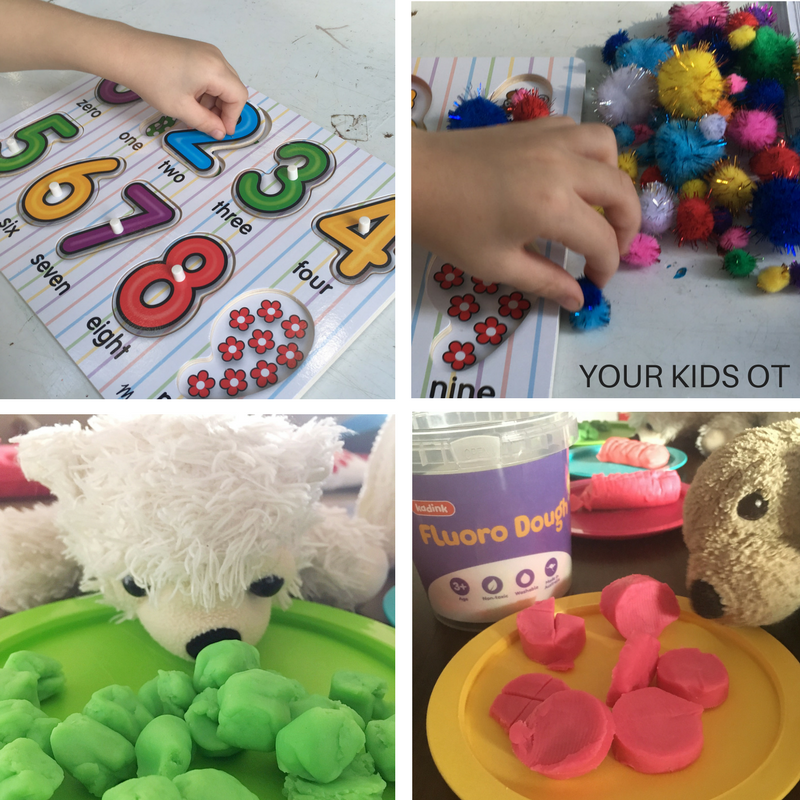
This vibrant number peg puzzle (by Melissa and Doug) was another way we worked on a pincer grasp. Hiding under the numbers were pictures to help with number identification and counting. We used pom poms to continue working on a pincer grasp and crossing the midline too.
Later I added an extra level of difficulty by asking this child to hold onto a pom pom with his third/fourth and fifth fingers whilst using his thumb and index finger to pick up the pom poms. This skill is called the separation (or disassociation) of the two sides of the hand is an important fine motor skill for handwriting, scissors, buttoning and other functional tasks (read more about this here).
Playdoh and any other "dough" materials are such a wonderful sensory tool for hands on learning. It is so versatile and can be used for forming into shapes, letters and in pretend play. You can use playdough to encourage hand strength, fine motor skill development, sensory exploration, finger isolation, bilateral coordination and more! Find more ways to use "play dough" here.
I was truly impressed with the range of products available in the Officeworks Learn and Grow range. I've been a long time fan of the Officework's "smelly" stickers and my OT kids expect these each time I see them (unfortunately none of these in my goodie box). The scent is really strong and brings back memories of "scratch and sniff" stickers that I remember receiving as a child. Find the "Learn and Grow" range in stores or online atOfficeworks (delivery within Australia only). There are so many opportunities for "hands on learning" waiting for your kids. What is your child's favourite way to learn? Am I the only one who likes browsing an office supply store?
Disclosure: I was gifted products from the Officeworks Learn and Grow range for the purposes of a review. Reviews and endorsements of products will only be made based on my expertise and personal opinion; and deemed worthy of such endorsement. The opinions shared in sponsored content will always be my own and not that of the advertising company or brand.
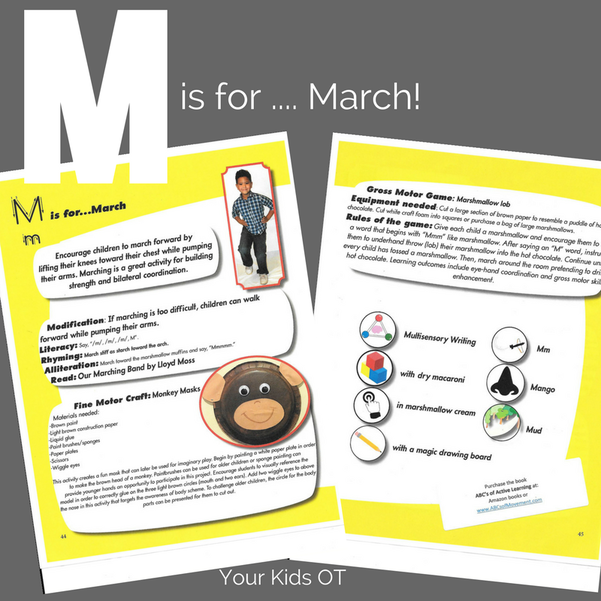
You may also like: Today on the blog, I would like to introduce Laurie Gombash! Laurie is a physical therapist who loves to teach the alphabet through movement and a range of multi-sensory activities. To capture an array of learning variability gives children an opportunity to learn in ways they understand through their senses. Laurie is sharing her latest book, ABC's of Active Learning© with us today! What an exciting resource that would be valuable for anyone working with young children! Thanks for this opportunity to guest blog and tell everyone about my new book, ABC’s of Active Learning©. It's the same 26 letters with a multi-sensory twist that provides a lively and engaging teaching and learning experience! As parents, caregivers, practitioners, or teachers, we realize the importance of early literacy development, but how do we continue to find creative ways to present critical learning skills? More importantly, how do we capture the motivation of our learners who come to us with different strengths and areas in need of continued development? The ABC’s of Active Learning© targets the whole brain through movement activities, organized games, multi-step crafts, as well as multi-sensory pre-writing activities that can be used and graded for learners of all abilities. With the rise of technology dominating so much of the young child's time, this tool takes learning back to the basics, providing organizing movement activities that help to establish a child who is ready to be an active participant in his or her learning! For example, for the letter M, Our Marching Band by Lloyd Moss is the suggested read.
To challenge children’s phonological awareness, encourage them to say the words that start with the “M” sound. Learning outcomes from Marshmallow lob include eye-hand coordination, phonological awareness, and gross motor skill enhancement. All activities are designed to be fun and motivating, while simultaneously providing rich multi-sensory input, improving motor development and learning. This book can stand alone or be a supplement to The ABC’s of Movement® activity cards. To purchase these products or to find out further information refer to www.ABCsofMovement.com.
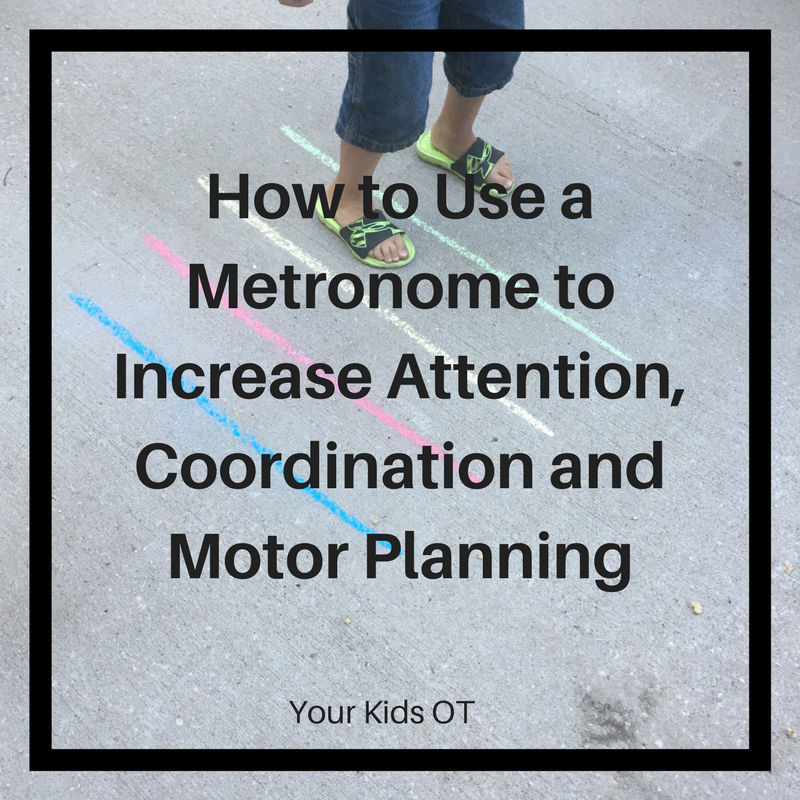
How to Use a Metronome to Increase Attention, Coordination and Motor Planning {Guest Post}31/7/2017
What a privilege to have another guest blogger with us today at Your Kids OT! I feel like I am a student constantly learning from others and love reading what other OTs are doing in their practice! Today on the blog, I would like to introduce Casey who is an occupational therapist whom I "met" on Instagram! She shares so many creative ideas! Today, Casey shares with us "how to use a metronome to increase attention, coordination and motor planning". Be sure to follow the links through to her you-tube videos which provide a great demonstration of her activity suggestions here! Have you used a metronome in your OT practice? Have you considered using it in the classroom or at home?
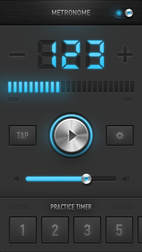
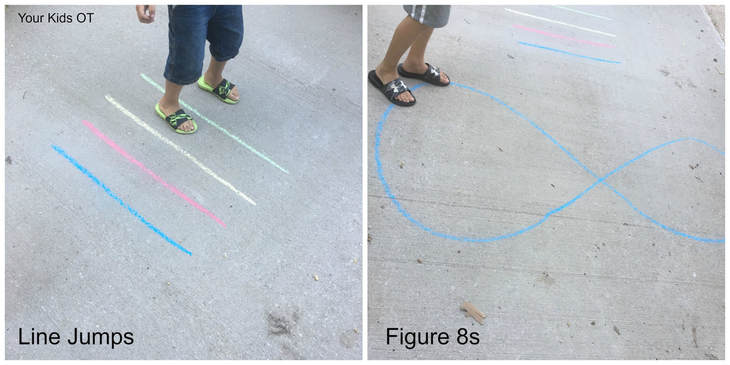
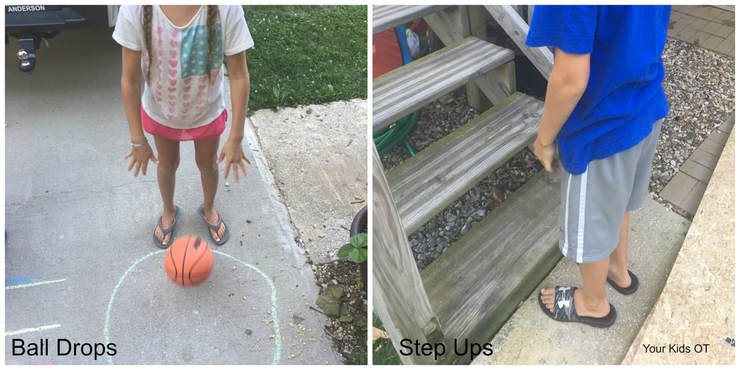
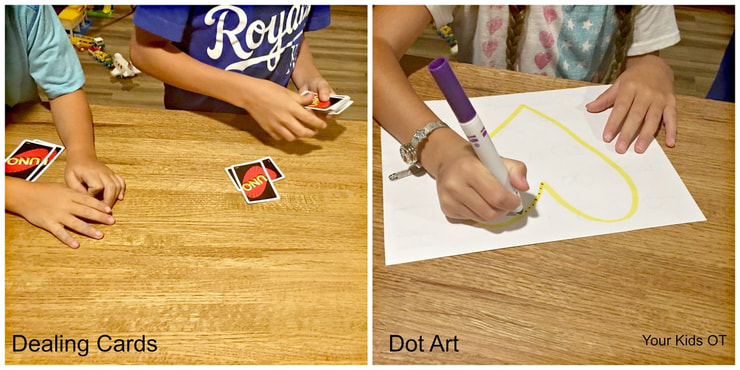
The metronome creates a beat. This beat can be utilized at various speeds providing auditory input for the neurological system to process. Creating a sensorimotor activity that uses the beat (clapping on beat, stomping a foot on beat, bouncing a ball against the wall on beat) causes the brain to process and communicate messages between multiple senses It makes the brain process all of the messages passing through to get in rhythm! Think about listening to a teacher, taking notes, while maintaining posture in a chair. Or listening to your coach tell you how to adjust your stance, while holding bat in proper position in the batter's box and readying yourself for the next pitch. Multiple avenues of brain communication are needed to complete these tasks in congruence. What better way to exercise the attention, focus and motor needed to do this than to add some rhythmic auditory input. Here are some examples:
What I love about this - is it is so easy to implement! This is not just an idea for therapists! Parents, teachers, paras... anyone working with kids YOU can try this too. I love implementing these activities for brain gym/brain breaks to stimulate the body and brain! They would be great activities to do during the school day or before homework! I hope this inspires you and gives you a fresh idea to implement in your home school or therapy session! Ready to Grow - Casey
You may also like:
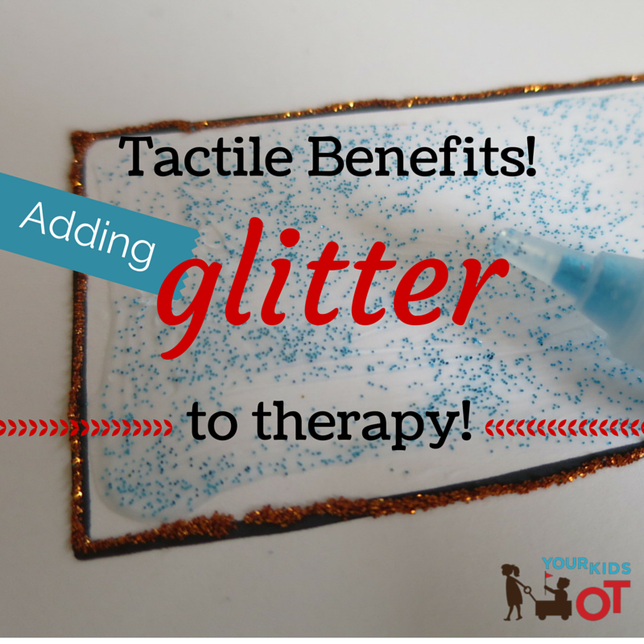
Adding some sparkle or bling in therapy sessions can provide great tactile benefits! A little bit of preparation and patience as the glue dries and you are ready for some great glitter resources!
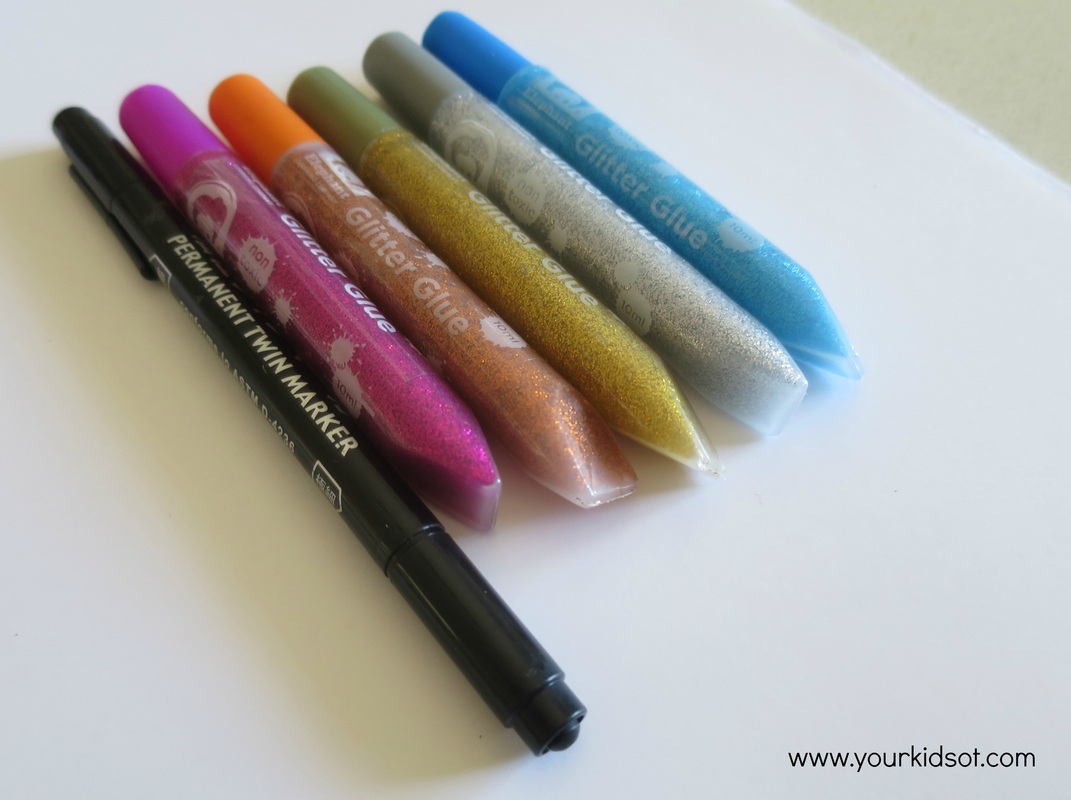
All you need to make these resources are a packet of glitter glue pens, a marker, cardstock {this is thicker than ordinary paper} and scissors.
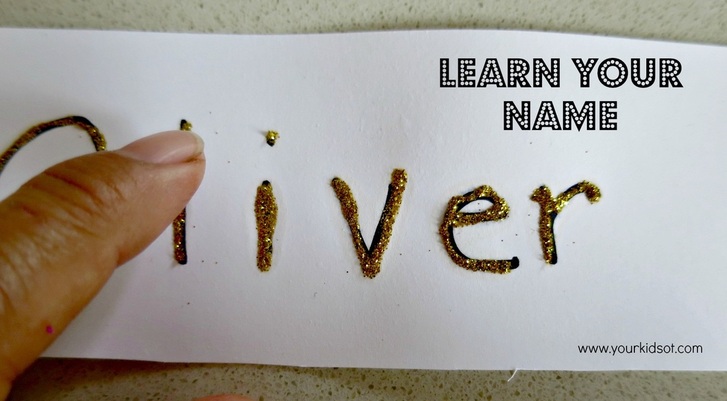
The glitter forms a raised surface with a "bumpy" texture. Encourage your child to "feel" with their fingers along the dried glitter. This provides your child with tactile information in addition to just visual information. Tactile feedback can help with learning letters, shapes, names, etc.
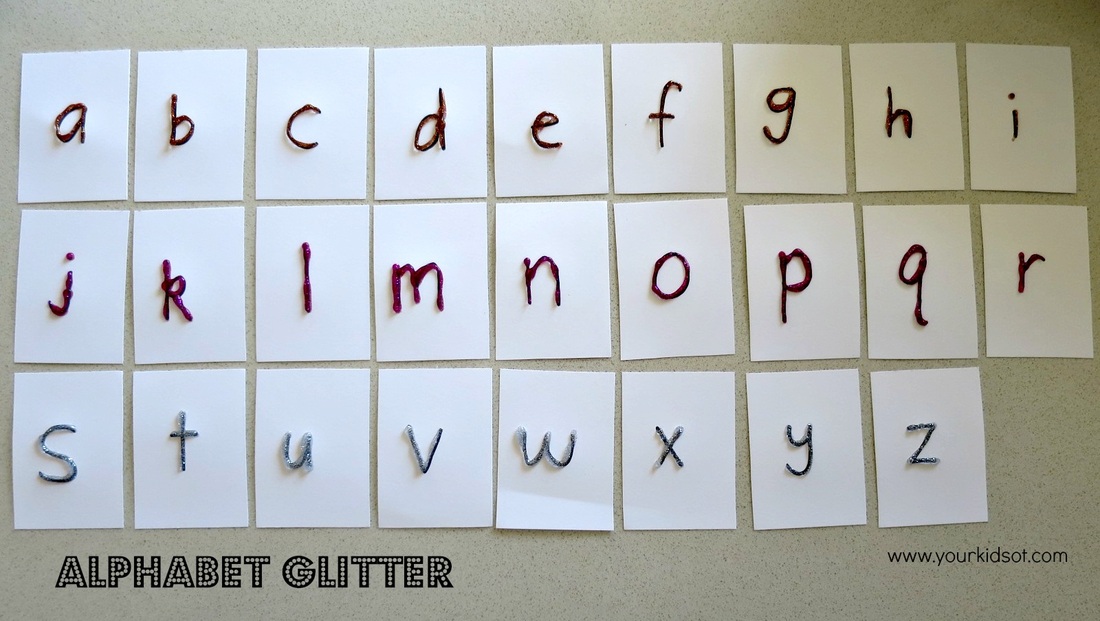
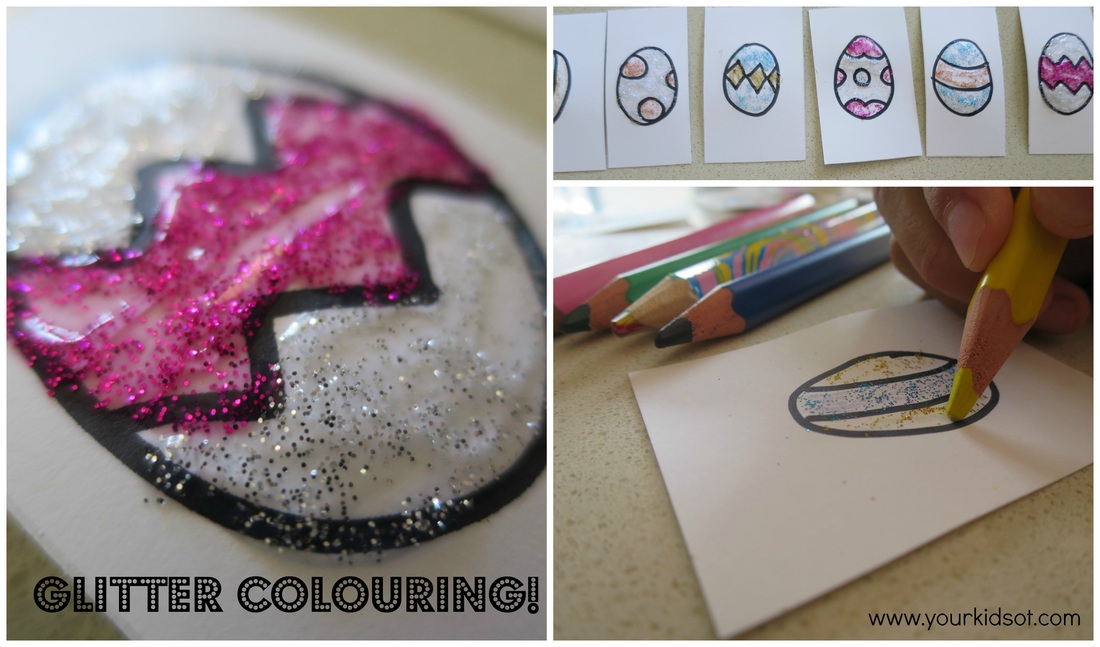
You could also spread the glitter out so your child can then colour over the glitter. This is excellent for those kids who have difficulty "colouring" in the lines or colouring the entire surface area they need to colour. Kids love colouring over the bumpy surface of the glitter. Here are some of the ways I add glitter to therapy sessions and sometimes my own kids benefit too! 1. Alphabet glitter - Use these cards to learn the alphabet, sort into letter families, spell your child's name, learn correct letter formation, etc. If you have used or heard of "sand paper letters", then these glitter letters can be used in the same way for a fraction of the cost. You can make these whatever size you want and do capital letters too!
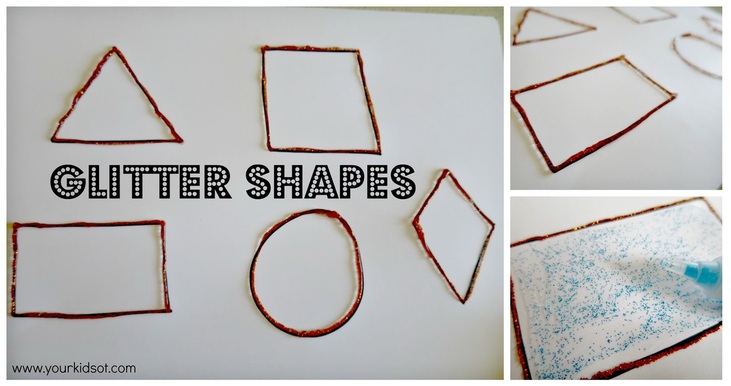
2. Glitter Shapes - Use glitter glue to outline shapes or to colour in the entire surface of the shape. Imagine colouring within these shapes and "hitting" the raised boundary. Your child will have a better understanding of where to stop colouring. Your child can also trace around the raised border to learn how many sides these shapes have as well as the names of the shapes.
3. Glitter Names - Your child will love learning the letters of their name in glitter! Trace over, write over, spell...do it again with their eyes shut! Teach left to right direction of letters and letter formation too.
4. Glitter Colouring - Do you have child who avoids colouring? Have you tried glitter colouring? Draw simple pictures {small is good} and fill with glitter glue. Spread out the glitter so that is quite thin and wait for it to dry. Don't these Easter eggs look pretty? Your kids will be happy to colour in these eggs and then the pictures may be used in a treasure hunt.
My Mr reluctant-colourer was happy to colour these, after which Miss 8 hid them in the garden for him to find. Lots of fun and bit of pencil control in there too, win-win-win, I say!
I don't usually let the kids I see for OT use the glitter glue pens as I generally see kids in school. I can't be sure there is somewhere for art to dry and that we won't make a huge mess!
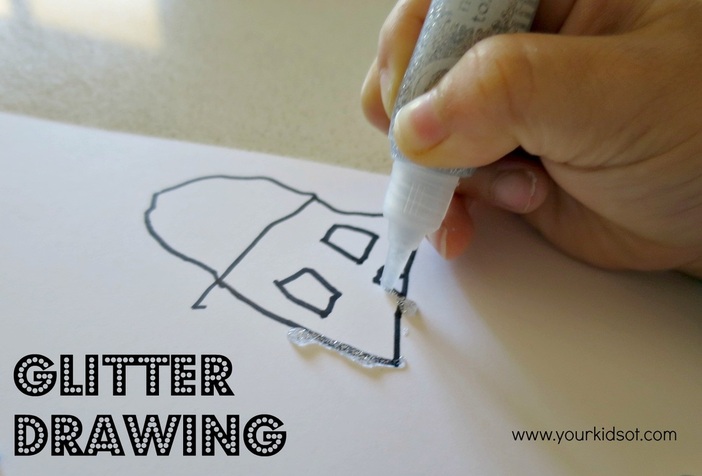
So this next activity is something I would do at home. 5. Glitter drawing - Encourage your child to draw a simple picture with a marker. Then give them the glitter glue to trace over their drawing. Squeezing the glitter glue is a great way to encourage a pincer grasp and work some intrinsic hand muscles.
Has this inspired you to get out the glitter glue? I promise that it is isn't too messy and it doesn't actually take much time to organise. Your kids will love the effort that you have put in!
Have you used glitter to make resources for therapy, home or school?
You may also like:
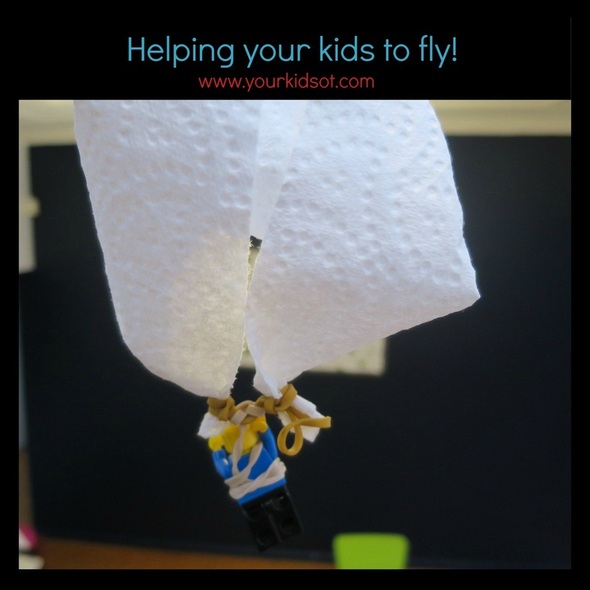
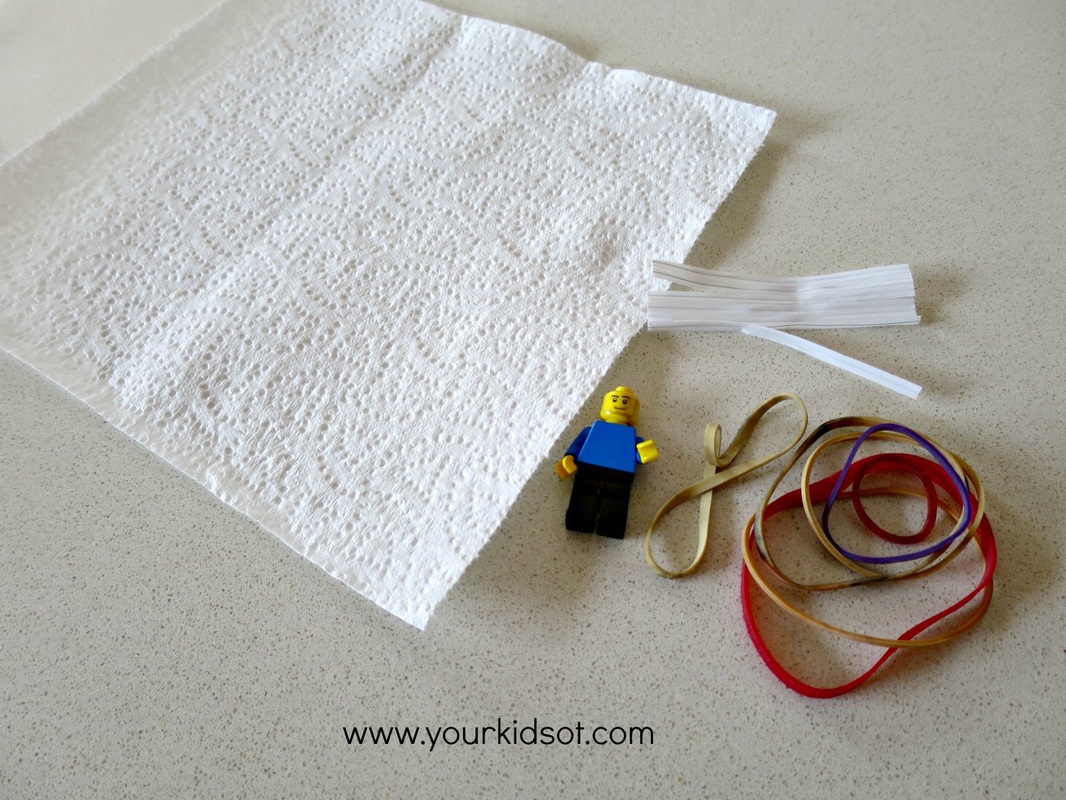
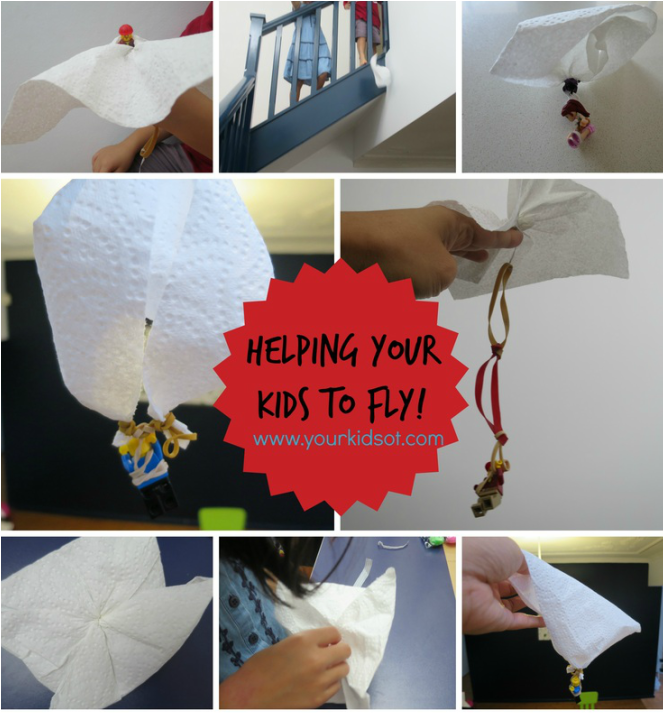
It doesn't pay to give your kids all the answers. Sometimes they need to figure things out on their own... to come up with their own ideas, to manipulate, to problem solve, to try and fail and to try again. Activities like these help your kids to develop skills for life, skills to help them "fly" and "flourish" in so many situations in life. When a child's tower of blocks fall over, helping your child to overcome the frustration can be more difficult that the motor skills needed to build the tower in the first place. When your child can't figure out how puzzle pieces connect together, helping them with strategies {such as finding the side pieces or looking at how pictures can join to make a whole} is more helpful than giving them the answer. When your child can't organise themselves to get ready for school, helping them to question what they need rather than telling them what is missing is more beneficial in the long term. Whilst sending your child off for "free play" to do, play, experiment on their own is important...you can also set up situations where they can apply these skills. Here is a simple activity to set up with your school age child. In our house we call them "challenges" {reminiscent of the Lego Challenges we did last year} but you could call it a science experiment if that has a better ring to it with your kids. The Challenge: Build something that can fly using any or all of these items. Miss 8 and I experimented with several strategies to help Lego person to fly {essentially building a parachute}. We looked at want could slow down the fall, what makes it fast, what makes it spin, how we could make it lighter, the affect of adding holes, ...etc. We talked about surface area, gravity and air resistance... Mr 4.5 wanted to help too and loved dropping the creations down the stairs. I won't tell you what worked for us as that is not the point! Try this activity with your kids and see what they come up with! I would love to see your creations! Send a photo to [email protected] How do you help your kids to fly? You may also like...
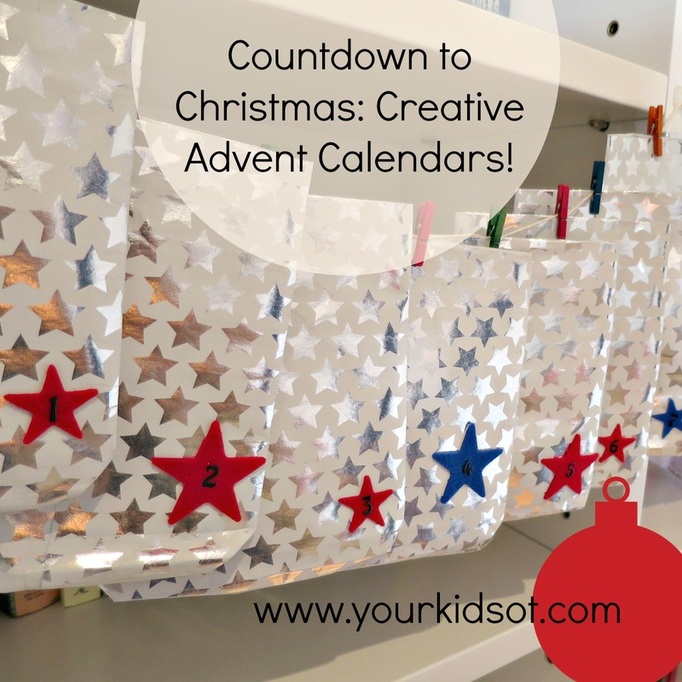
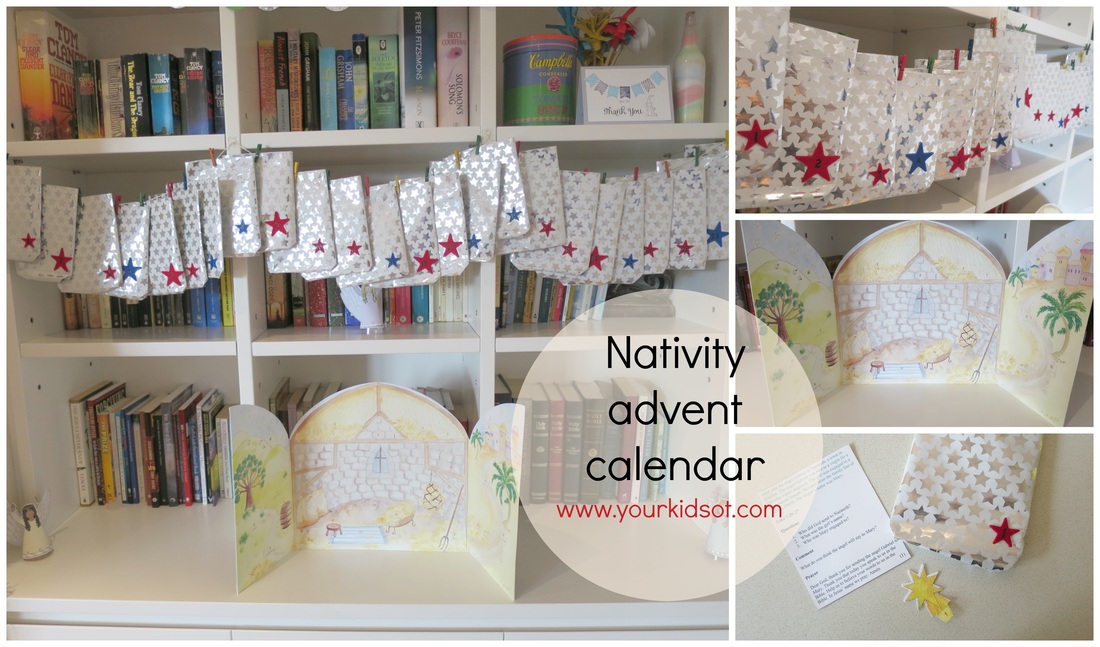
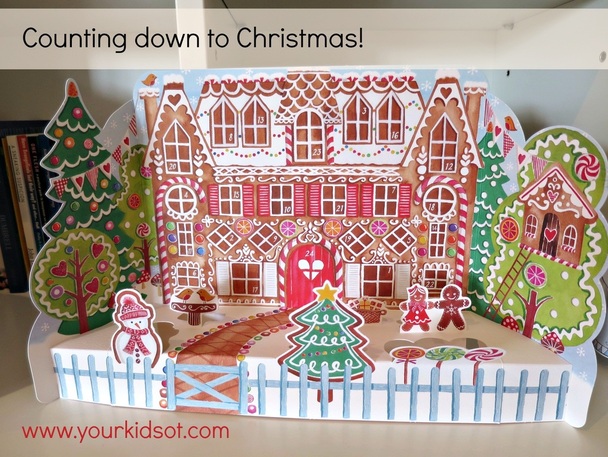
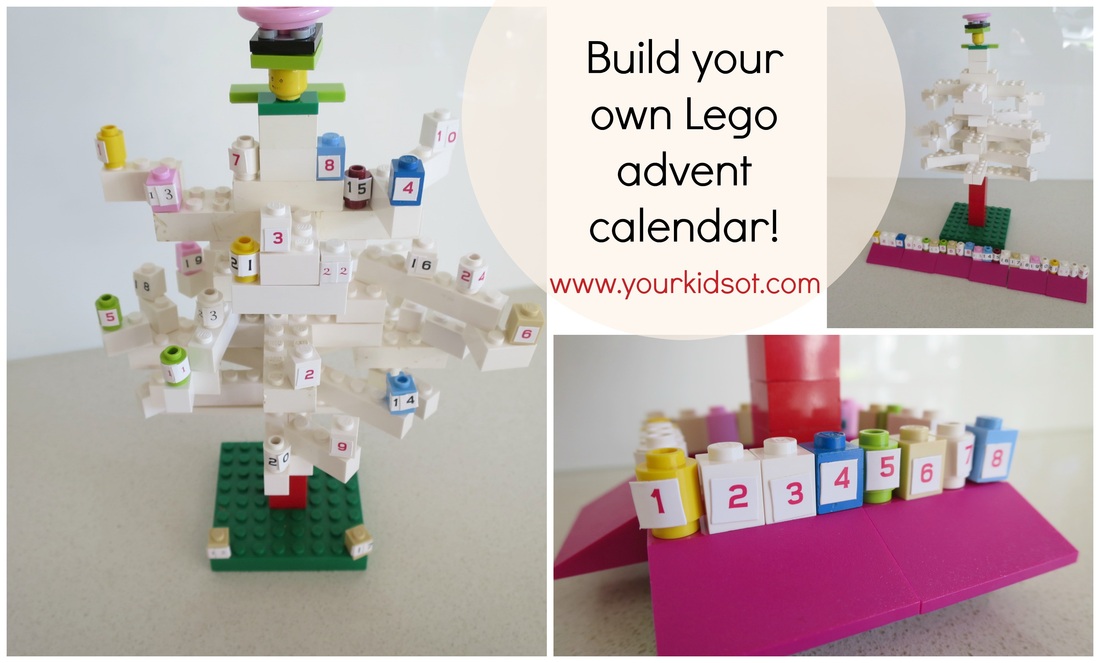
It is beginning to look a lot like Christmas everywhere you go! With family birthdays and a wedding anniversary all wrapped up in November, I can start looking forward to Christmas! Have you put up your tree? We usually put the tree up on the first of December, however we started early this year! We needed a little cheering up after a sad start to the weekend {death of beloved pet guinea pigs}. Welcome to Your Kids OT's Countdown to Christmas! You will find some fabulous Christmas crafts, activities and cooking here over the next few weeks. I hope you love them as much as I have loved putting them together. When you are counting down to Christmas, there is no better way of doing this with your kids than to use an advent calendar. This is a visual tool that helps kids to see in a physical way how many days there are until Christmas. The concept of time can be so difficult to understand for kids as they grasp how long is one hour, one day, one week.... We have used a number of different calendars over the years, favouring those with no food treats. Here are some new and old ones we are using this year... (1) Nativity advent calender - This is an old favourite we have been using for a number of years. The nativity scene was purchased from Phoenix Trading and comes with 24 numbered little picture pieces that can be added to the scene. I made the silver bags from Christmas wrapping paper, attached a star sticker and number to each bag, pegging the bag to a piece of string. Each little bag contains a picture for the nativity scene and an instruction card which goes through the Christmas story of the birth of Jesus in small sections and one or two prompt questions. Some instructions cards include words to a Christmas carol or song. My kids love the anticipation of "what's next" in the bag of the day. We take turns to put the pictures in the calendar. It is a lovely little routine that helps us to "countdown to Christmas"! (2). We were recently given a different advent calendar from a friend which happens to also be by Phoenix Trading (as a personal gift and not for the blog). My children can't wait to open the windows and doors of this gorgeous gingerbread house advent calendar. (3) If you have been following Your Kids OT, you will know of our Lego Challenge earlier in the year. If you missed it you can find the "wrap up" here. Well we couldn't go past Christmas without one last challenge.... to build a Christmas Tree Advent calendar. The original idea was found here. We built a white Christmas tree and placed number stickers on our small Lego "ornament" pieces. In case you are wondering that is an "angel" that was built for the top of the tree. Advent calendars are such fun! Did you like the Phoenix Trading advent calendars seen here? You have a chance to win ONE Phoenix Trading Advent Calendar for your family but be quick! Entries will close this Thursday 27th November at 12:00am. This is a game of skill and will require you to like Your Kids OT on Facebook and answer "What is the most creative way you have or would like to countdown to Christmas?". Entries only open to Australian residents. See below to enter and for further terms and conditions. Find fabulous Christmas cards, birthday cards, wrapping paper and much more at Phoenix Trading. I can't wait to hear "What is the most creative way you have or would like to countdown to Christmas?" Note: I have not received remuneration or compensation from Phoenix Trading. I have been gifted the following advent calendar for this giveaway. All comments and opinions are my own. Win this fantastic Phoenix Trading Advent Calendar!
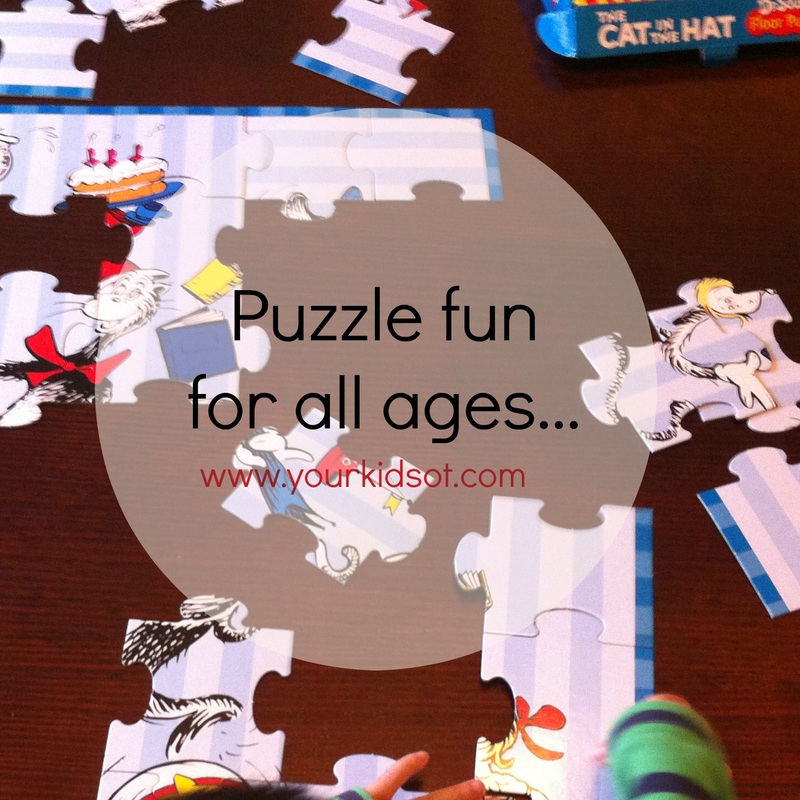
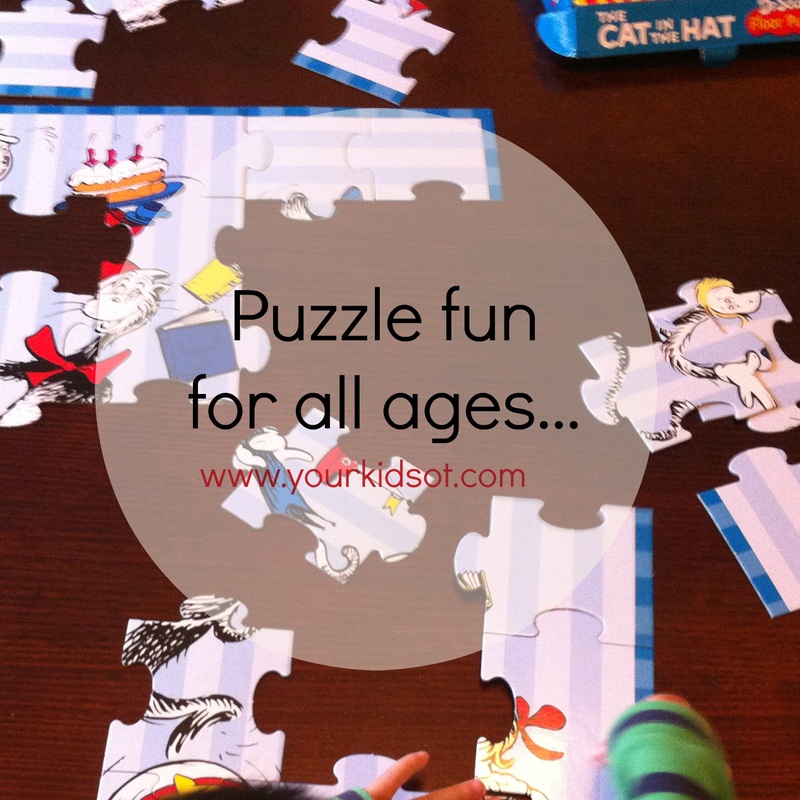
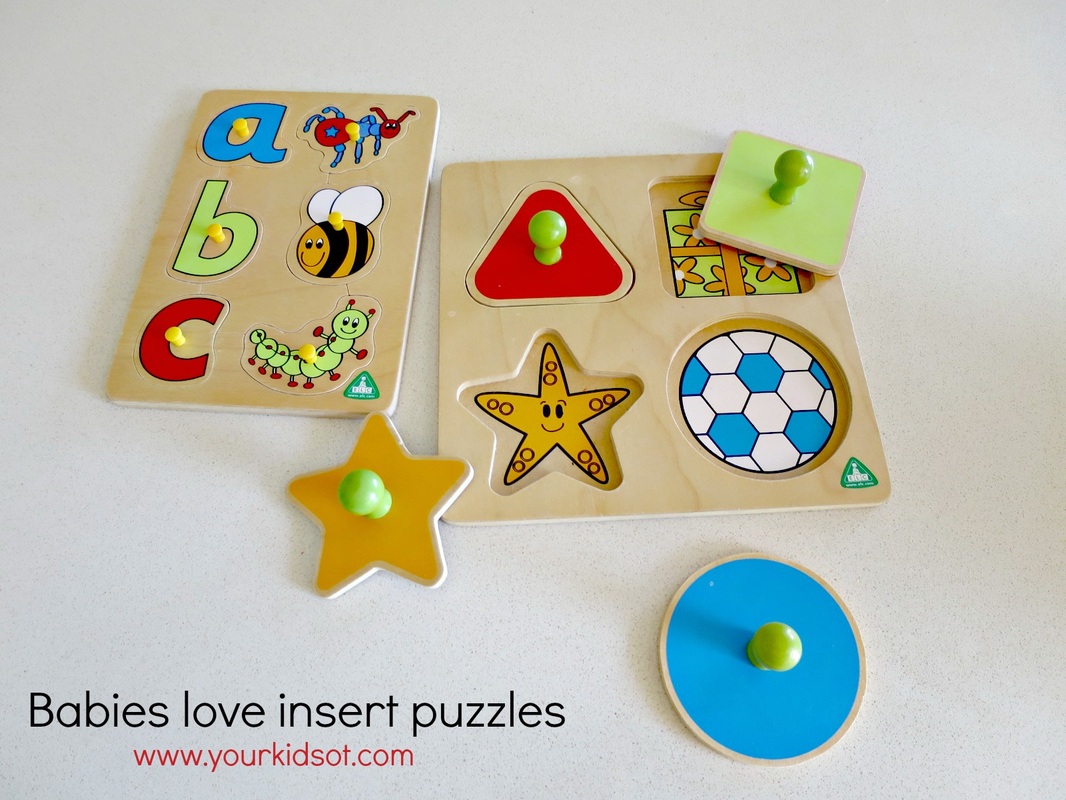
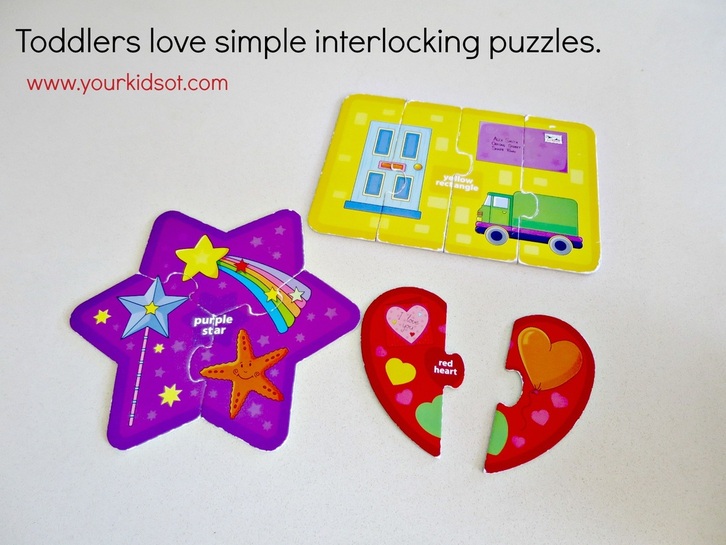
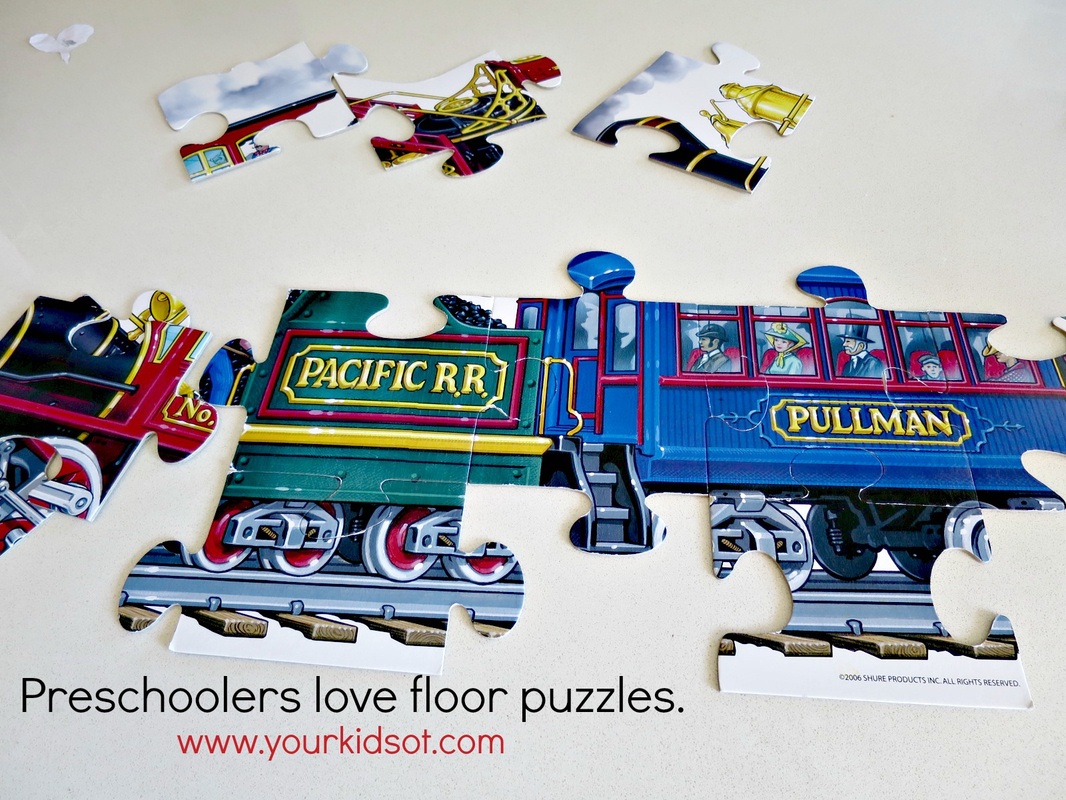
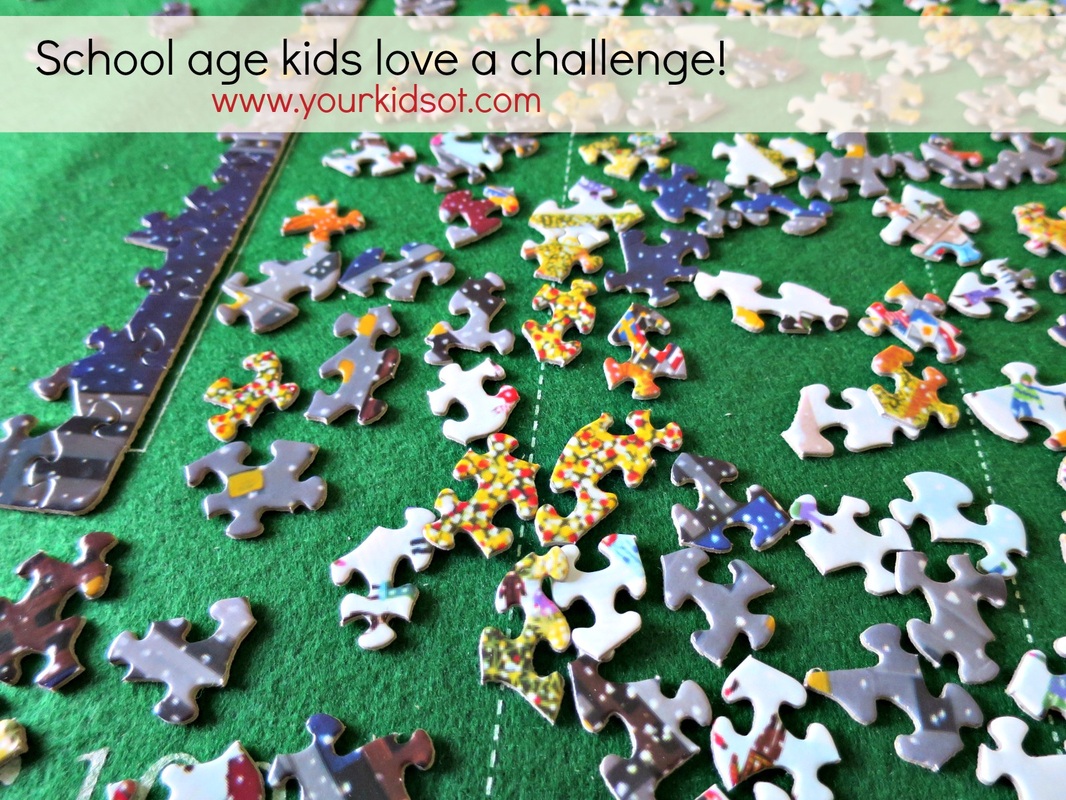
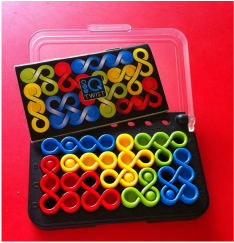
Everyone from babies to grown ups can have fun with puzzles. Some people find them frustrating, whilst others love the challenge! In a world of fast responses, instant satisfaction and technology to grant it, there is something really nice about slowing down to complete a puzzle. Kids can develop a range of skills when working on puzzles and they can have fun in the process! Babies will typically start with large knob wooden inset (or insert) puzzles. Often the picture of the puzzle is printed in the inset section, the knob is large and easy to hold for little hands. Toddlers will enjoy slightly harder inset puzzles with more options and bright colourful pictures. They will also start to put two, three and maybe four piece interlocking puzzles together. Preschoolers will enjoy layered inset puzzles and more complicated interlocking puzzles (approximately 20-50 pieces). They might be more confident with interlocking puzzles that are within a wooden frame which have the picture underneath to match. Preschoolers also love really large floor puzzles (that are bigger than themselves)! School age children (and adults) will progressively accomplish very complicated interlocking pieces (50+ pieces). The speed of progression will be different for each child, however, your school age child will develop interest in non-traditional puzzles too. This may include 3D models, Tangrams and games (such as Rubik's cubes and Q Twist). There are so many benefits in encouraging your kids with puzzles:
I'm working on a 1000 piece puzzle whilst Miss 8 works on her first 500 piece puzzle. Whilst there have already been cries of frustration followed by moments of triumph (for both of us), I think she might finish first! Bring on the summer holidays! Do your kids like puzzles? Do you? You may also like:
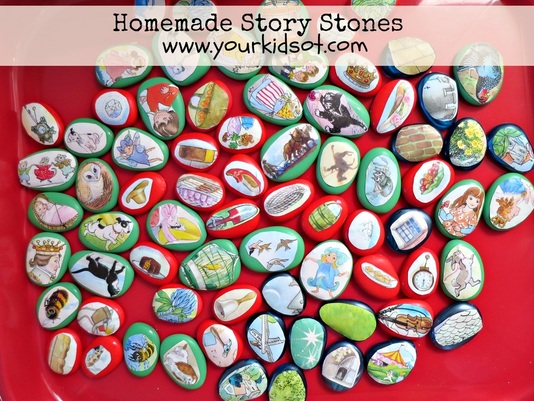
Story stones are a beautiful way for kids (and grownups) to tell a story. The stones act as little visual prompts and can be used in a variety of ways.
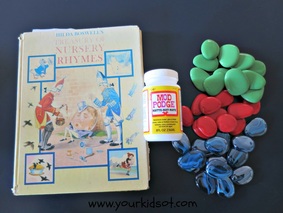
WARNING!! Making these stones does involve cutting up a book. Gasp! This is the first book that I have ever cut up but I think it was worth it. I bought this lovely nursery rhyme book from a charity (thrift) store for $1 and it already had some tears and missing bits {which made me feel better at the thought of slicing it up even further}.
What do you do?
I selected pictures and organised them according to colour. Characters and animals were cut and stuck to green stones (they were the largest), objects were stuck to red stones and background pictures were stuck to the blue stones.
How do you use these stones?
I made these story stones one evening whilst I was watching TV. I found it relaxing doing this type of craft. You could easily include your children in making these stones as they may enjoy selecting, cutting and pasting.
When I first lay out the stones, Mr 4 needed some modelling in picking stones and telling a story. Miss 7 instantly picked all the animals and embarked on her story about an animal shelter. I was apprehensive about Mr 4 taking to the stones as there are not a lot of "stereotypical boy pictures" such as trains, diggers, dinosaurs, cars, etc. I was pleasantly surprised that the story stones held his interest and he returns repeatedly to tell a story. The stones are beautifully smooth and there is something nice about holding (and stroking) the stone as you talk about the picture. These are stones that will keep on giving as your children use their imaginations. Do your kids enjoy telling stories? Will you do this homemade activity with your kids or without them?
If you enjoyed this article, you may also like...
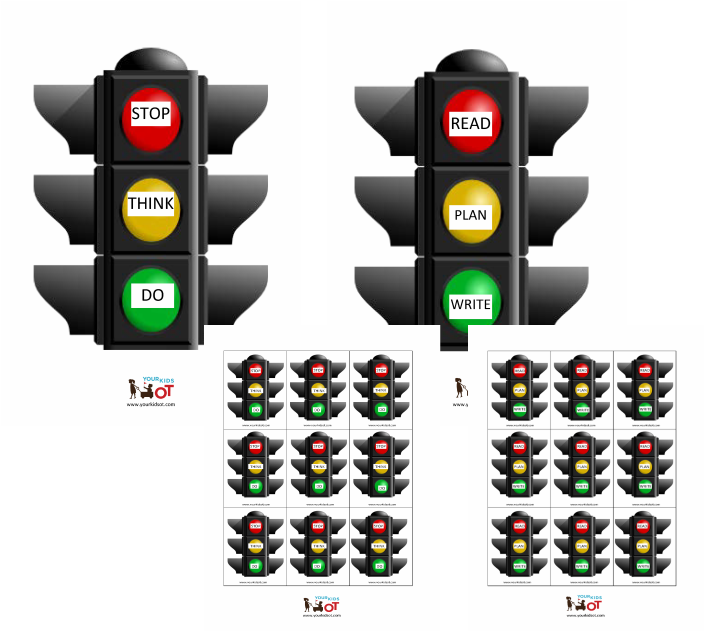
Red light... stop, Orange light... get ready, Green Light...go. Traffic lights are a great way to help kids organise themselves for work whether it be in a therapy session, in the classroom, in the playground or at home. I have created 2 sets of traffic light visual aids to help kids to organise themselves, ie. to help with self regulation. Stop, Think, Do and Read, Plan, Write. 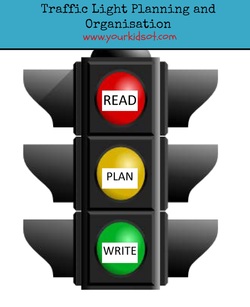 The traffic light visual aids come in a set including "Stop, Think, Do" and "Read, Plan, Write" in 2 sizes. The A4 size is suitable to use as a poster and the smaller size is suitable to be cut up and distributed to several children. You could print off copies for a whole class and paste them into an exercise book, use them as a bookmark or laminate and place on a child's desk. These visual aids may be used in a variety of ways to help your child self regulate.....examples include helping children before they do a writing task, in social situations when they are challenged or distressed, to manage anxiety or anger, exam practise, etc. This may also be of assistance to children who are impulsive. These traffic light visual aids for planning and organisational skills may be purchased from the Your Kids OT shop or Teachers Pay Teachers. I value your feedback here or on the sites where you purchase them. Thanks for telling me and others what you think! Let your colleagues know by pinning this or sharing this post. Thank you for your support of Your Kids OT.
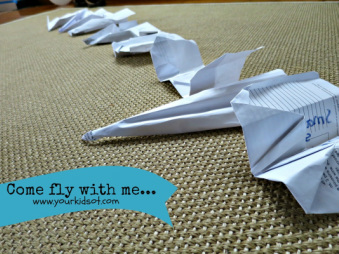
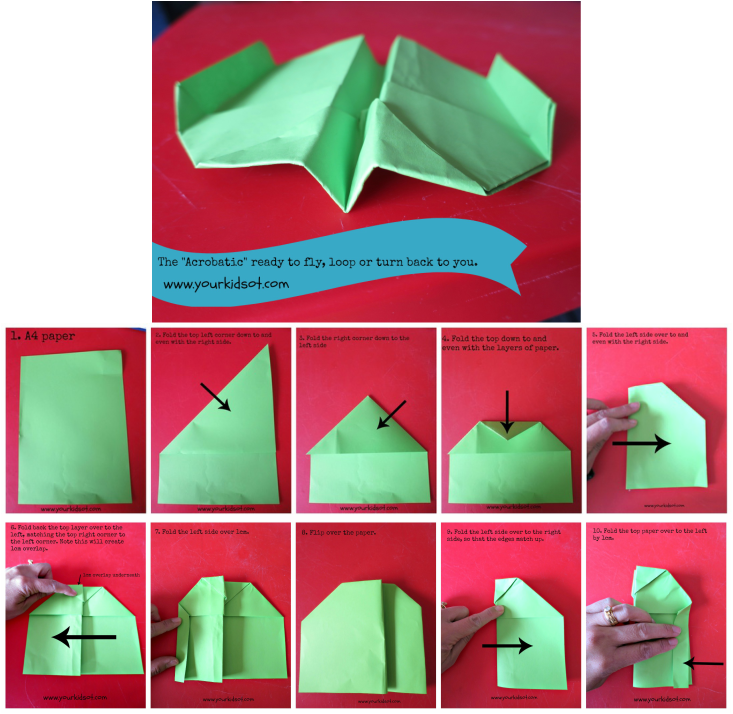
In the Miller Function and Participation Scales there is an "origami" subtest that measures this against age appropriate norms. Miller describes the skills needed for this activity to be similar to participation in home activities (eg. folding towels, napkins, clothes or the newspaper) or school activities (eg. turning pages in books or folding paper for art projects). 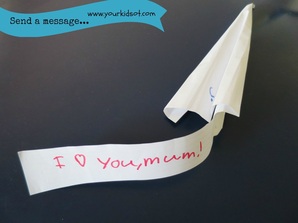 Mr 4 received a terrific book for his birthday recently with over 50 examples for folding paper planes. Whilst he needs lots of help to complete the simple ones, Miss 7 has taken over the book and has loved following the instructions to build a variety of planes. Miss 7 and Mr 4 have spent hours flying the planes {outside, inside, down the stairwell}, decorating them and turning them into characters for stories (mostly Miss 7 with that one). Miss 7 has also attached messages to some of her planes (see the photo). Best of all it is something despite their different interests and abilities that they can do together. Here are instructions for one of Miss 7's favourite planes ... the "acrobatic". Make sure you press down after each step. Do your kids enjoy making paper planes? What is their favourite? Send me a photo of your creations, I would love to see them! Note: This post may contain affiliate links. All photos and comments made here are my own.
|
AuthorHi, I'm Cindy and I am an Occupational Therapist. I enjoy working creatively with children to see them reach their potential. Read more about me here. SEARCH THIS SITE
Archives
June 2024
Categories
All
Popular Posts |
Join the YKOT e-newsletter!
Subscribe to get our latest content by email and receive
the SHAPE ROADS PRINTABLE NOW!

Success! Now check your email to confirm your subscription and receive your free printable!
Join our Mailing List!
Subscribe to get our latest content by email and receive
the SHAPE ROADS PRINTABLE NOW as a thankyou!

Success! Now check your email to confirm your subscription and receive your free printable!
Disclaimer: The information on this site is general in nature and should be used for educational and entertainment purposes. The activities are safe for most children, however, you should consult an Occupational Therapist or health professional to address specific movement, sensory or other medical conditions. This blog does not replace formal therapeutic professional advice given by a health professional or medical practitioner. Reviews and endorsements of products will only be made based on my expertise and personal opinion; and deemed worthy of such endorsement. The opinions shared in sponsored content will always be my own and not that of the advertising company or brand. Content, advertising space or posts will be clearly identified if paid, affiliated or sponsored. Affiliate links may be found throughout this website in advertising. This means that if you follow through with a purchase from these links, Your Kids OT will receive a percentage of the sale. Your Kids OT undertakes to meet the requirements of the "Social Media Policy" as published by Australian Health Practitioner Regulation Agency (AHPRA). Further information about this policy can be found here.
Find meFollow me |
About me
AuthorHi, I'm Cindy and I am an Occupational Therapist. I enjoy working creatively with children to see them reach their potential. Read more about me here. |
Copyright © 2017 Your Kid OT













 RSS Feed
