|
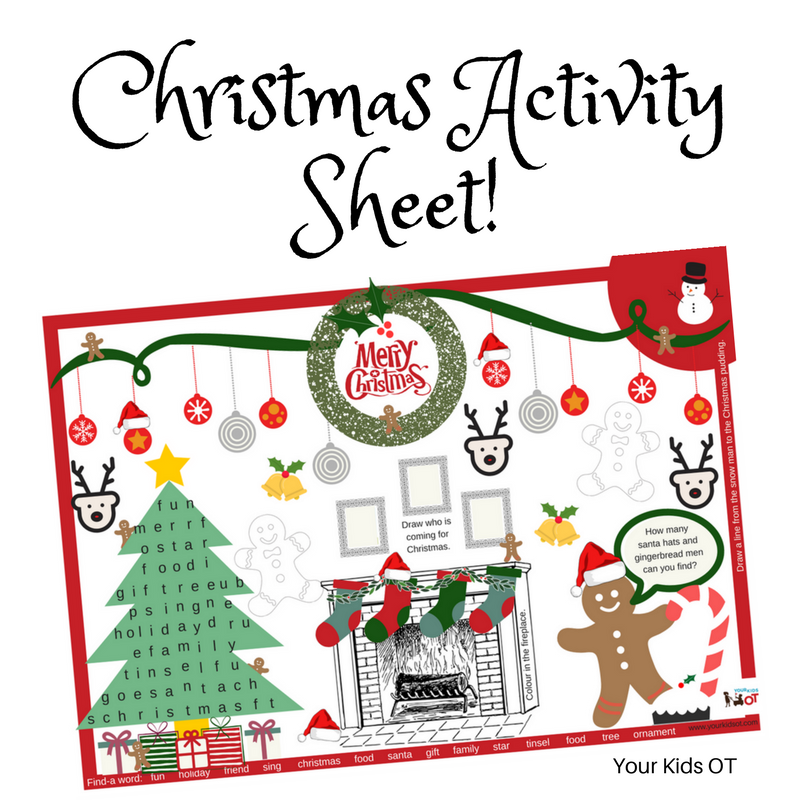
Affiliate links are used throughout this website to promote products I love and recommend. I receive a commission if any purchases are made through these links. Please see my disclosure policy for more details. Christmas is fast approaching! In Australia, the school year is almost at a close and there is talk about holidays and summer. Christmas is only about one month away! No, I can't believe it either! I've created an activity sheet that would work well on the Christmas table with your kids! Therapists may like to use it their sessions or give it to their students as a holiday activity. There is plenty to do on the activity sheet including a find-a-word, gingerbread man search, colouring and drawing! Your child can work on their visual perceptual skills as well as pencil control whilst having fun with this activity sheet! Simply subscribe to claim your FREE Christmas Activity Sheet as a thankyou! (Current subscribers will only be added once to the list) THIS ACTIVITY SHEET NOW INCLUDES 4 PAGES IN 2018!Looking for more Christmas activities and printables? Find all the Christmas activities from this site HERE! Have you started thinking about Christmas?  Cindy Chuan is a registered Occupational Therapist practising in Sydney Australia. She has two young children who are a constant source of inspiration and learning. Cindy loves working creatively to help children to reach their potential, finding opportunities in everyday living and making learning fun. Cindy is the author of the Occupational Therapy blog Your Kids OT
The end of the school year is fast approaching here in Australia!
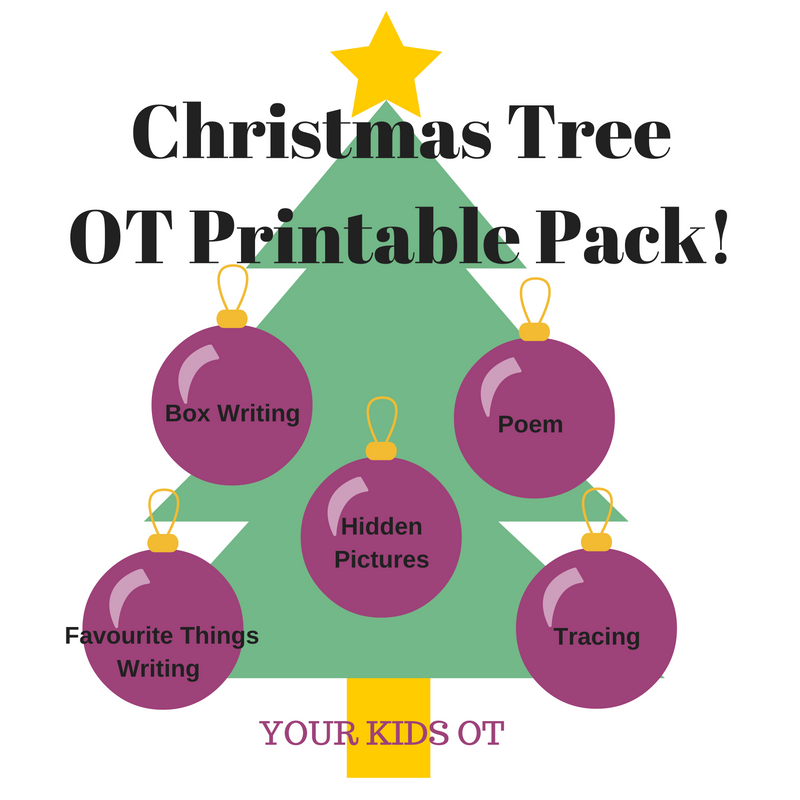
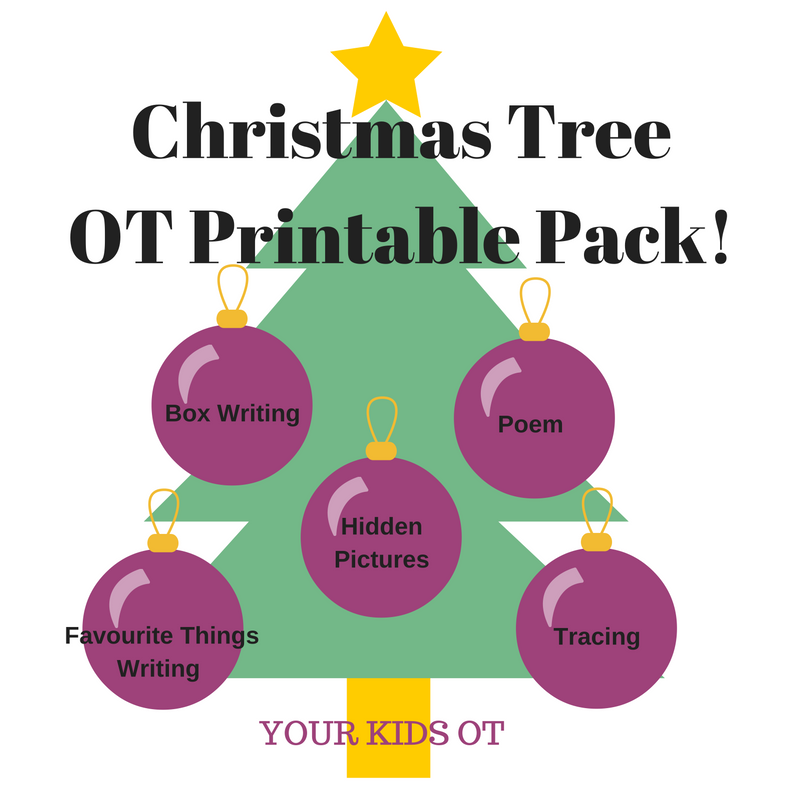
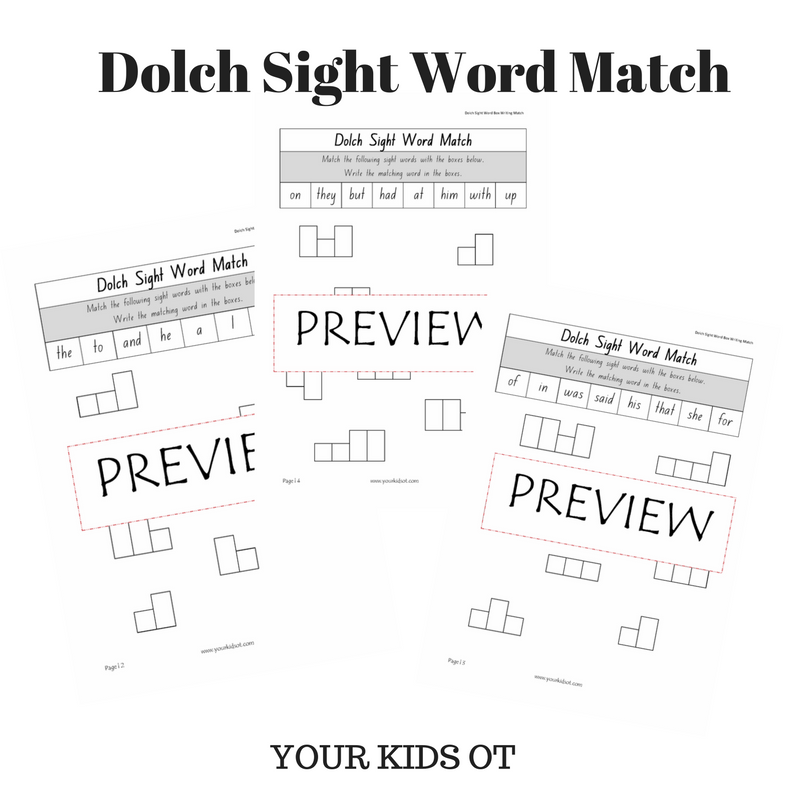
I'm winding up my OT practice next week but still want to make my OT sessions goal directed! I gave my followers on Instagram and FB a sneak peek at my "box writing" Christmas printable and have now made this printable available! BUT that's not all, I have bundled this into a pack of 5 to suit a range or ages and goals! In this pack you will get:
These printables would also be great for classrooms as well!
Download your copytoday! I always love to hear from you if you do use my printables so don't forget to tag @yourkidsot or #yourkidsot! Are you finishing up for the year? What are your favourite Christmas printables? Merry Christmas!
You may also like:
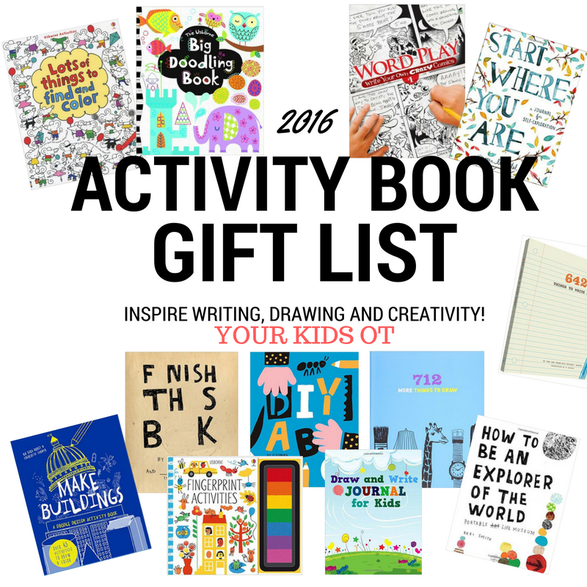
Activity books are not boring!
If your only experience of activity books are the sticker books or maze books that you find in supermarkets then these books will really wow you! Now there is nothing wrong with a cheap sticker book filled with super heroes or fairies (in fact my kids have loved these books), however the books I am recommending today do even MORE than keep the kids busy for a little while. These books will inspire your kids to draw, write and to to create, use their imaginations and learn (in a fun way)! These books do come with a warning label (ok just a precaution from me) that some parent involvement may be required for younger kids. This is actually a huge bonus with side-by-side drawing such a great opportunity for learning, bonding and nurturing. I don't see this as a negative! OK, so what makes these books so good?!
For younger kids:
Journals and Mindfulness
For Older kids:
Would you like to take a quick look inside some of these books? Here is a short video to show you three of the books we are working through!
Don't expect your kids will work through these books cover to cover in one sitting.
I have encouraged my kids to date their entries into these books so that they can pick them up and put them down again. My DD has been working on "712 Things to Draw" with Mr YKOT for several years and that's ok! It is a great way to reflect on how their drawing changes as they grow older and mature. My DS has just started "Make Buildings" with Mr YKOT. Shh don't tell anyone, but my nieces and nephews will be receiving some of these books for Christmas this year! This article contains affiliate links, however I really love these books! Many of the Amazon links will also give you an inside look of the books as well.. Have you seen any of these activity books? What do your kids think?
Disclosure: Affiliate links are included in this article to promote products that I recommend. Your Kids OT is a participant in the Amazon Services LLC Associates Program, an affiliate advertising program designed to provide a means for sites to earn advertising fees by advertising and linking to Your Kids OT. Reviews and endorsements of products will only be made based on my expertise and personal opinion; and deemed worthy of such endorsement. The opinions shared in sponsored content will always be my own and not that of the advertising company or brand.
One month until Christmas and it is time to put up the decorations!
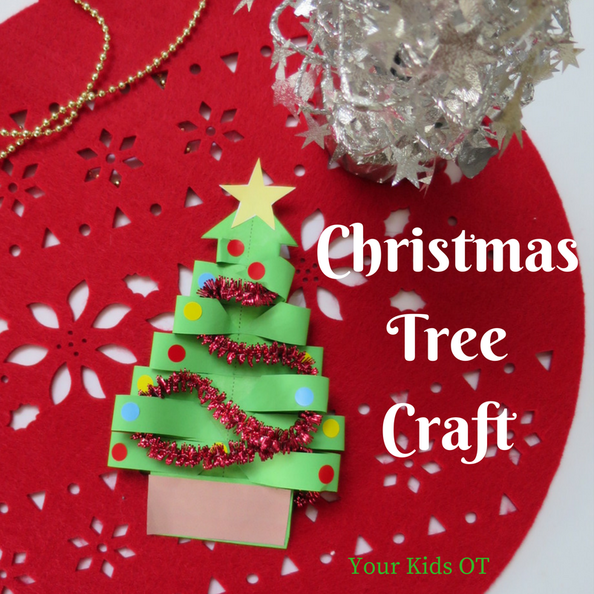
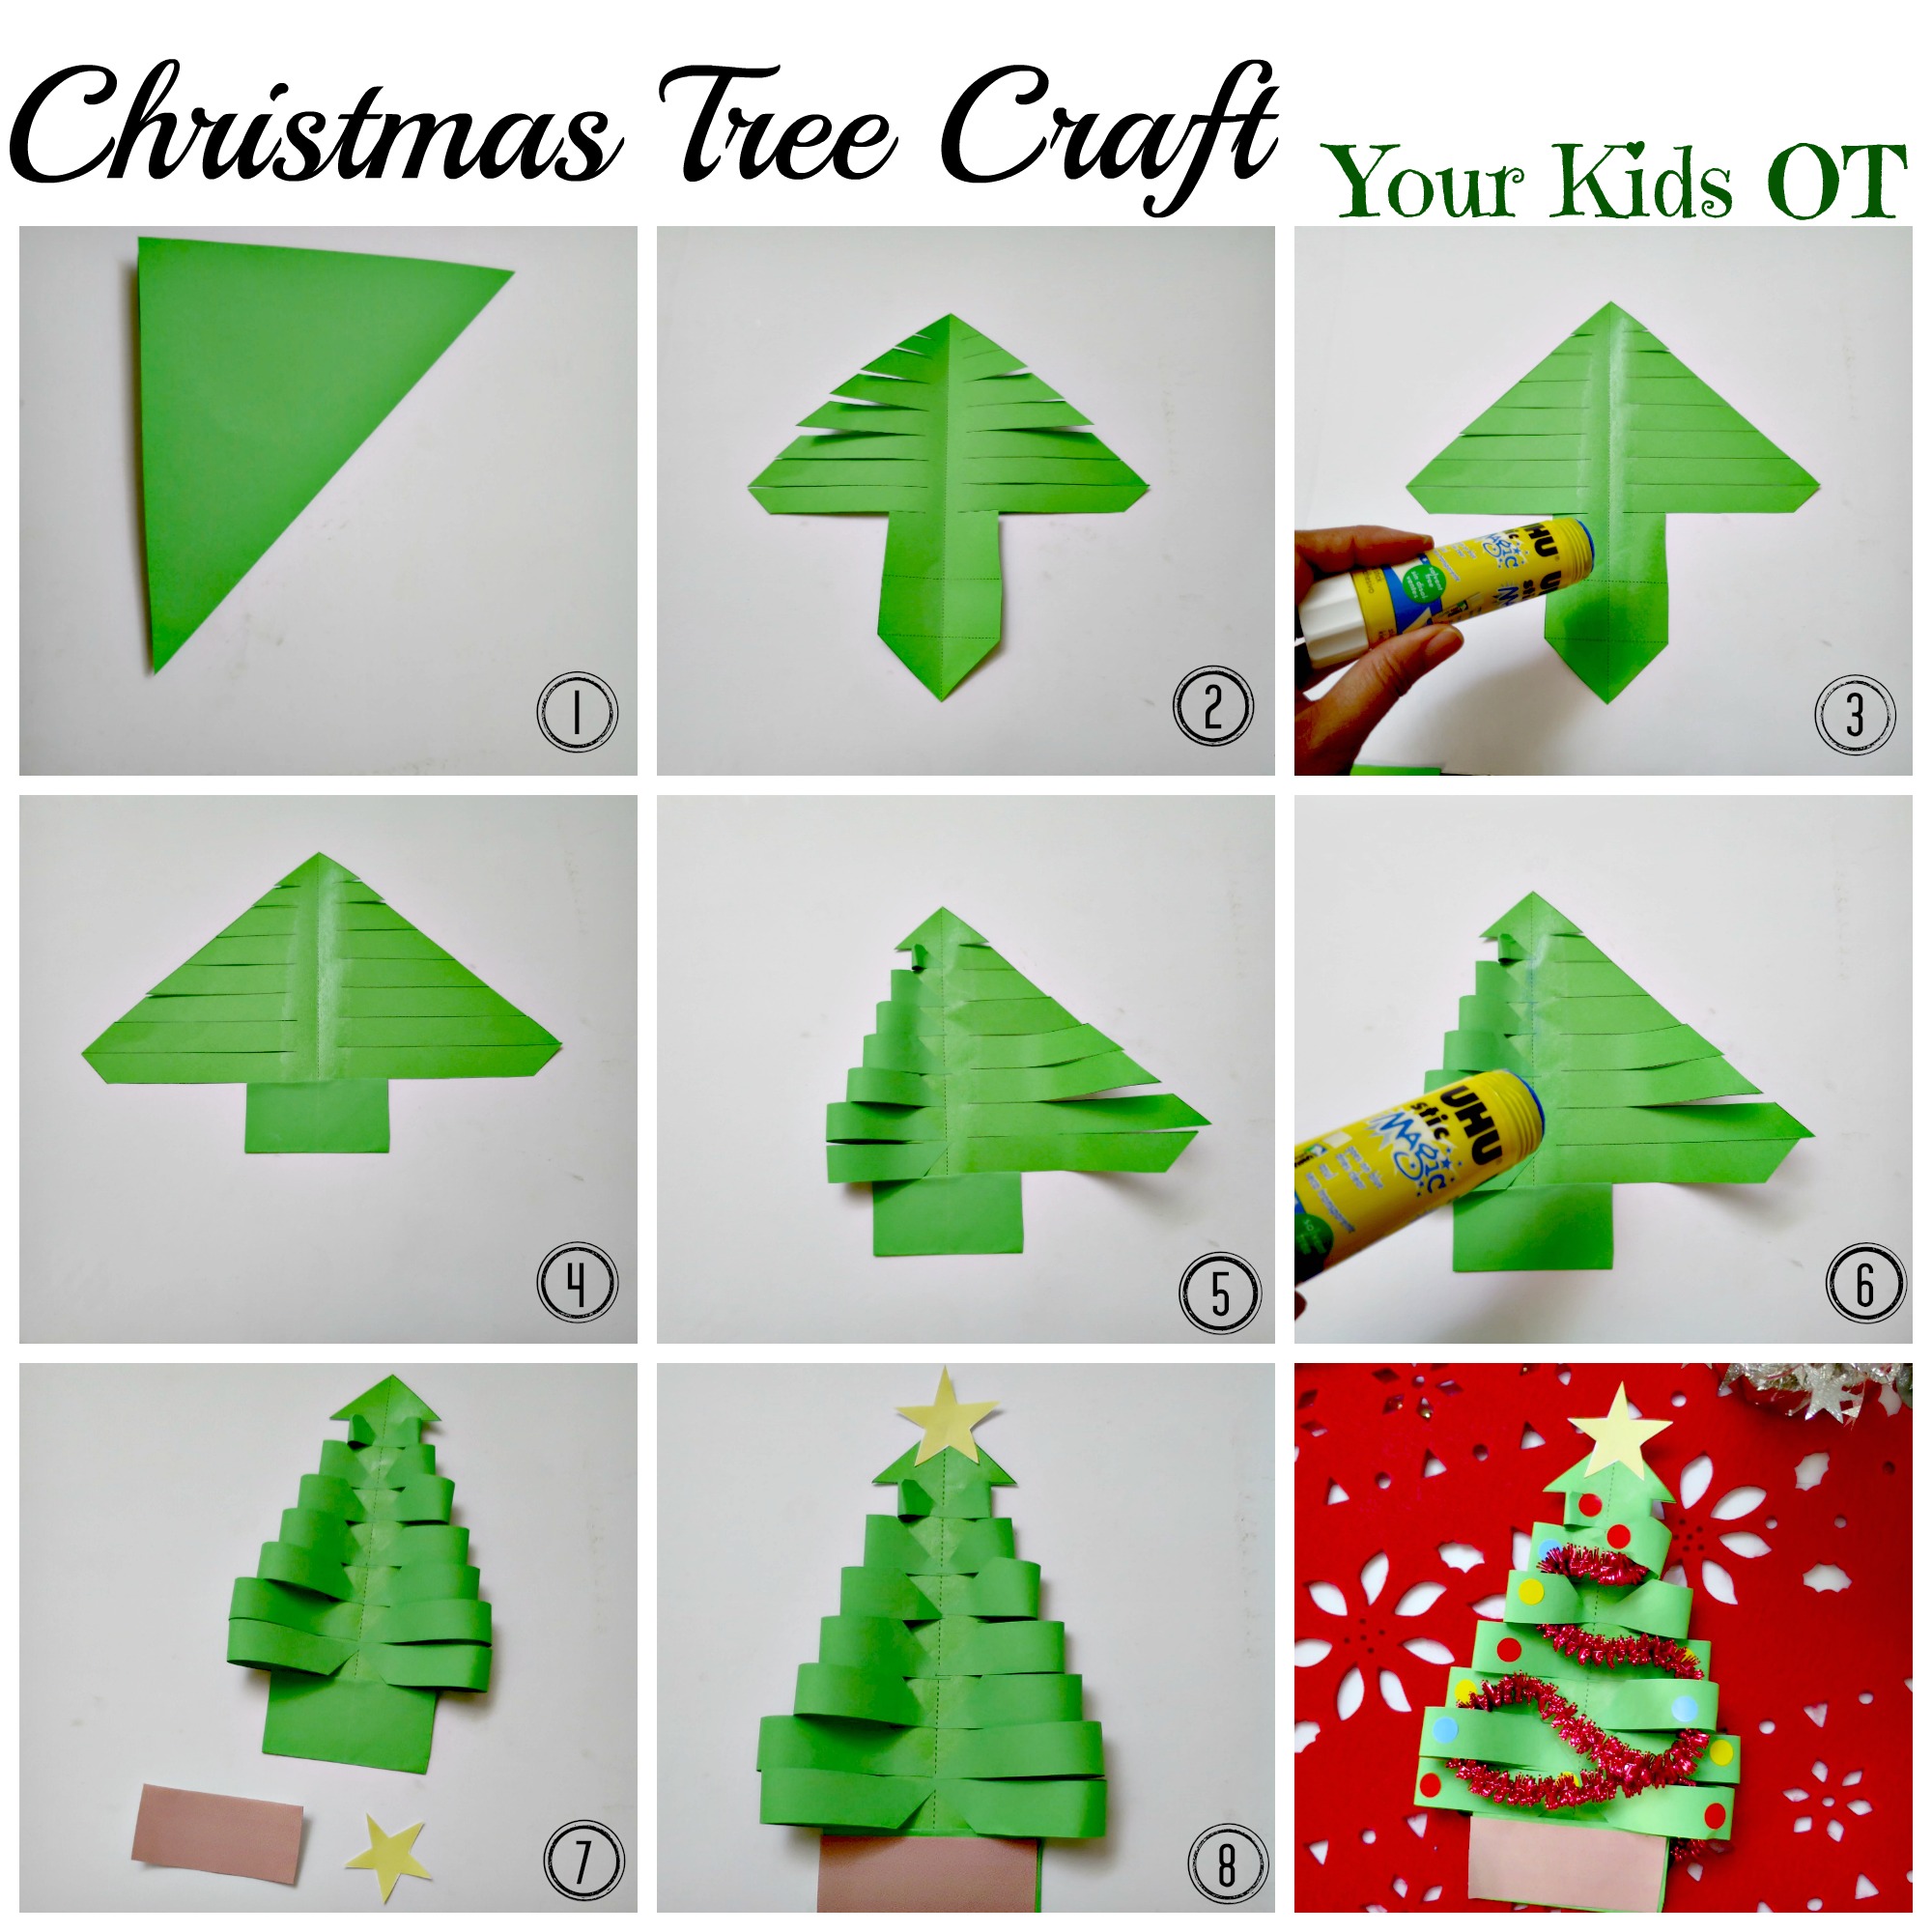
Only a few more OT sessions before we stop for the year! Are you in Christmas-mode yet? My facebook news feed has started to have more and more options to celebrate this festive season! Recently, I came across this "DIY PAPER CHRISTMAS TREE" idea by Krokotak! I thought it was wonderful but wanted to make it a little more structured for my kids who find it difficult to cut without a line to follow. This little craft will work on a number of skills whilst having fun! There will be scissor skills, fine motor manipulation, left and right bilateral coordination skills as well as planning and sequencing skills!
What you will need:
Instructions:
This is an adorable tree that you could hang up in the classroom. You could also add a string to hang it is an ornament on your real Christmas tree! Don't forget to print out theFREE template so you can start creating this tree with your kids! I would love to see your creations if you try this at home. Tag @yourkidsot on Instagram or Facebook! I can't wait to see your trees!
You may also like:
Christmas Stain Glass Cookies are so pretty and the kids love to eat them too! You can make them into decorations by making a hole with a straw before baking, then stringing them up for your tree. My kids just preferred to eat them!
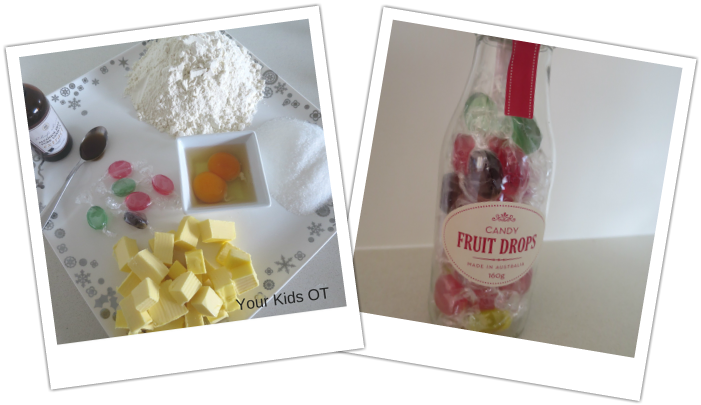
I used a basic vanilla cookie which is fairly crisp (rather than short bread) so that it would hold its shape. These cookies are delicious even without the "stain glass" section. I have played around with the amount of sugar trying variations of 1 cup, 3/4 cup and 1/2 cup....they all work, so it really depends how sweet your tooth is and if you are trying to cut down sugar in your (your children's) food as to how much you might want to put into the cookie. I make these cookies in a Thermomix, however you can use a food processor too! Ingredients 185g butter, roughly chopped ½ cup sugar (90 grams) 1 tsp vanilla 2½ cups plain flour (390 grams) 1 egg and 1 extra egg yolk Boiled hard candy (various colours)
Thermomix Method.
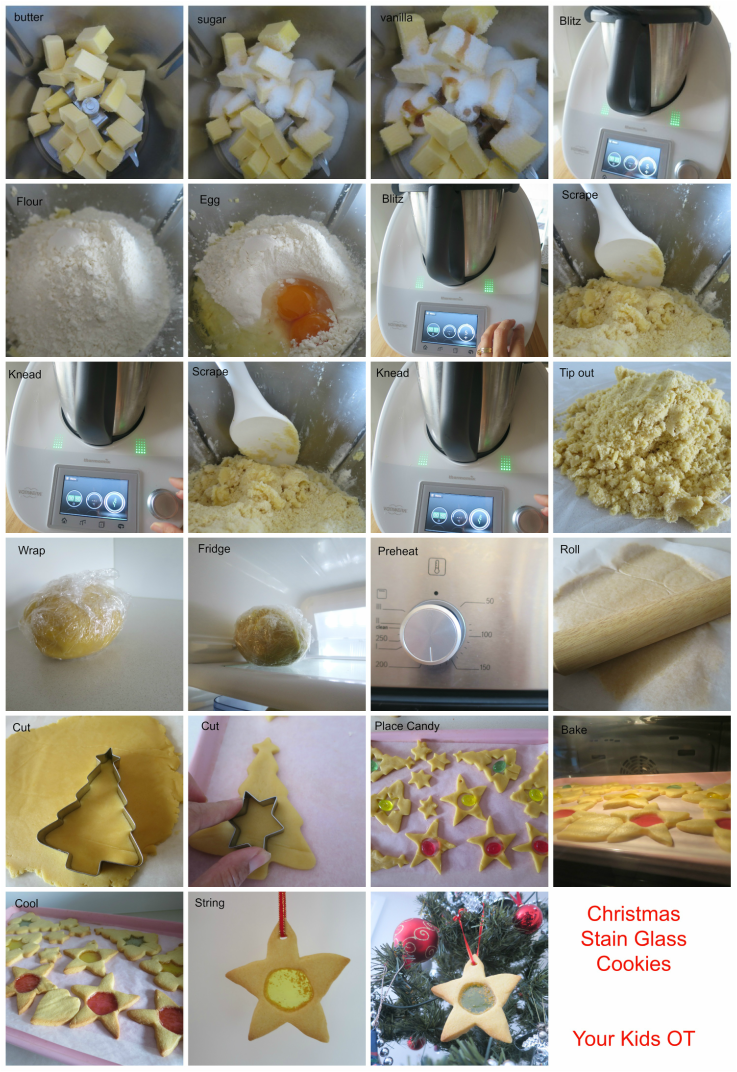
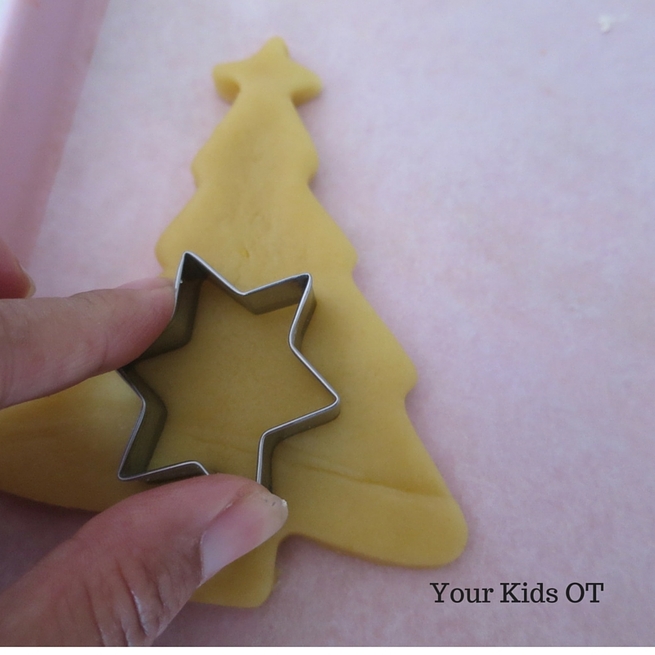
1. Place the butter, sugar and vanilla into the TM bowl. Place on the lid and MC. Blitz for 25 seconds, spd 5. 2. Place the flour, egg and egg yolk into the TM bowl. Place on the lid and MC. Mix for 20 seconds, spd 5. 3. Scrape down the TM bowl with a spatula. Place on the lid and the MC. Knead for 30 seconds. 4. Repeat step 3. 5. Tip out the dough onto a piece of plastic kitchen wrap. Wrap the dough firmly with the plastic wrap and place it into the fridge for at least half an hour. 6. Preheat your oven to 180ºC. Place section of dough between two sheets of kitchen baking paper. 7. Using a rolling pin, roll over the top sheet of baking paper until the dough is approximately 5mm thick. 8. Lift off the kitchen baking paper and use a floured cookie cutter to cut out your shapes. 9. Place on baking trays lined with non-stick baking paper. 10. Use a smaller cutter to cut out a section of each cookie. 11. Place a candy into each cookie. 12. Bake in the oven for 15 minutes (until candy is melted and cookie is slightly brown). 13. Cool on baking tray for 2 minutes before transferring the cookie to a wire rack.
Traditional Method.
1. Place the butter, sugar and vanilla into a food processor. Blitz for approximately 25 seconds until combined. 2. Place the flour, egg and egg yolk into the food processor. Process until all the ingredients are combined and they form a smooth ball. 3. Tip out the dough onto a piece of plastic kitchen wrap. Wrap the dough firmly with the plastic wrap and place it into the fridge for at least half an hour. 4. Preheat your oven to 180ºC. Place section of dough between two sheets of kitchen baking paper. 5. Using a rolling pin, roll over the top sheet of baking paper until the dough is approximately 5mm thick. 6. Lift off the kitchen baking paper and use a floured cookie cutter to cut out your shapes. 7. Place on baking trays lined with non-stick baking paper. 8. Use a smaller cutter to cut out a section of each cookie. 9. Place a candy into each cookie. 10. Bake in the oven for 15 minutes (until candy is melted and cookie is slightly brown). 11. Cool on baking tray for 2 minutes before transferring the cookie to a wire rack. Tips: Don't roll your pastry out too thin, otherwise it will difficult to lift up the cookie. Oven temperatures may vary so you may need to adjust the cooking time. Children should be supervised when using the oven.
Your kids will love helping to make these cookies. They will love measuring out and adding the ingredients. They will love rolling the dough and using cookie cutters. They may especially love unwrapping the candy to add to the centre!
I love a cookie that can do double duty or triple duty.... these ones not only taste great, they look great on the tree and they make great gifts! Happy Baking!
You may also like:
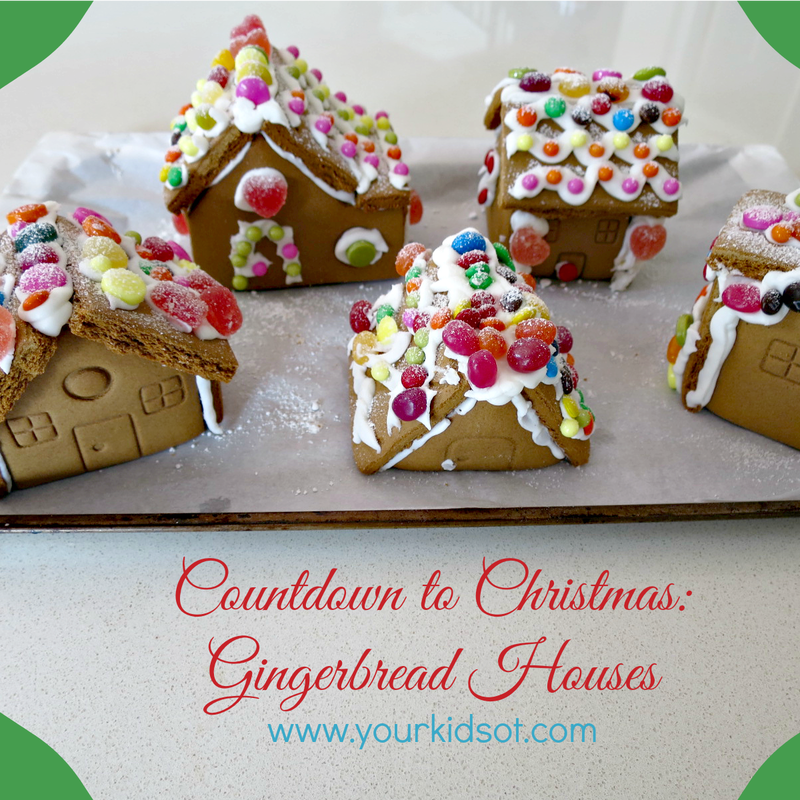
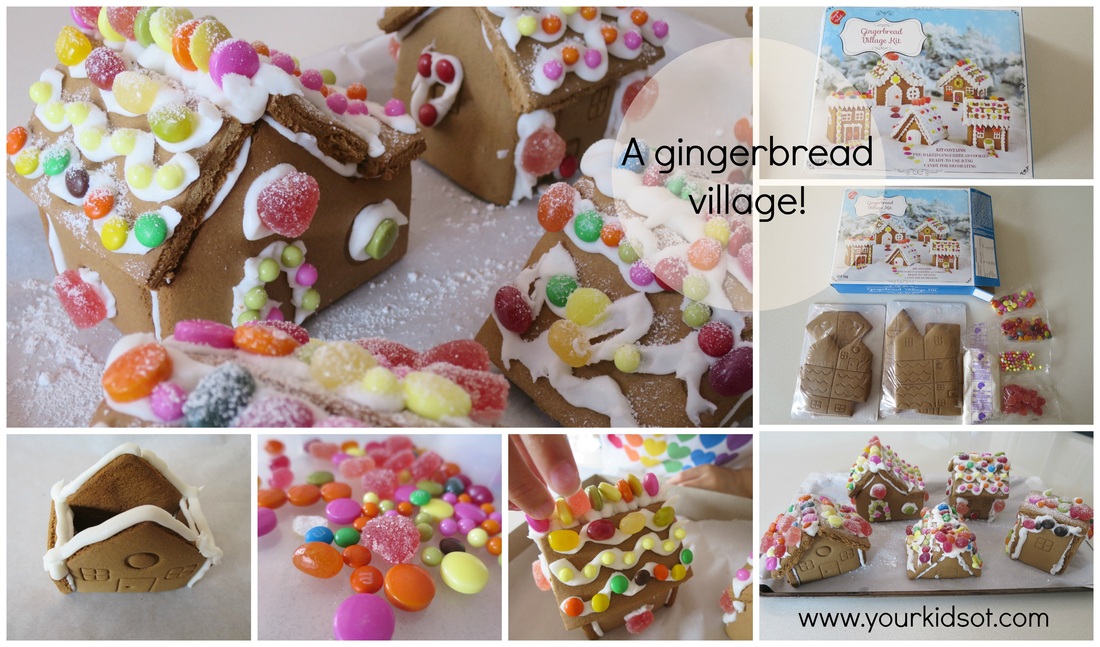
Gingerbread houses are adorable. Despite not a flake of snow during a Sydney Christmas, we are still charmed by snow capped gingerbread houses or villages or trees...ok let's be honest, it is probably the lollies that charm the kids! I have to start with a confession that we did not bake these gingerbread houses. I have tried before with success for a short time and then a collapsing roof when the gingerbread seemed to give way to the heat of summer before any lollies were put on. I find it less stressful and just fun for the kids to find a ready-made kit from the supermarket. Over the last few years, there are more of these available and this year I was delighted to find this village kit for $10 from my local Coles supermarket. This kit included the gingerbread pieces, icing (in a piping bag) and an assortment of lollies. We added a few of our own lollies as well. The gingerbread village kit was easy to assemble. I did the piping and assembly of the houses. The kids divided up the houses and lollies and had a great time decorating. Activities like these are great for kids as there is really no right and wrong. Miss 8 was careful with placing the lollies to create patterns and Mr 4 just picked and placed randomly. Everything dusted with icing sugar looks good. This little village of houses is very cute and we are really pleased with the finished product. I wrapped the whole thing in cellophane in an attempt to keep out the creepy crawlies until Christmas. We will unwrap it on Christmas day to share with our extended family. Have you and your children decorated gingerbread houses? Note: This is not a sponsored post. I have no affiliation with Coles Supermarkets. Comments made in this article are my own. You may also like: Looking for more OT content? There will be lots lot new content on the blog in 2015!
In the meantime you can search by categories on the website.
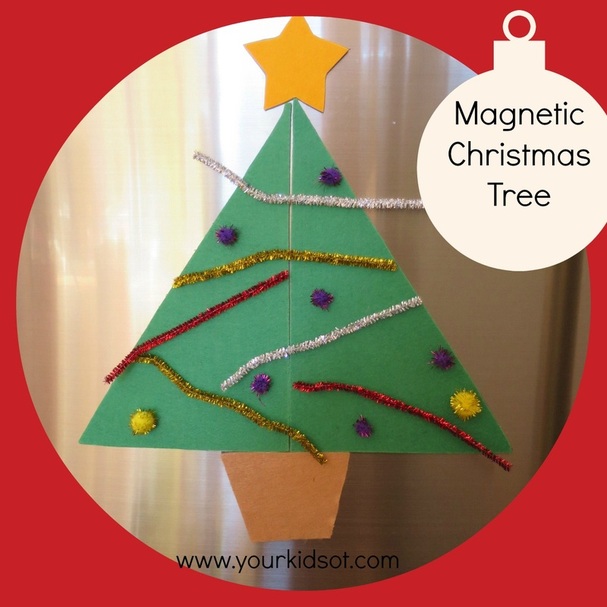
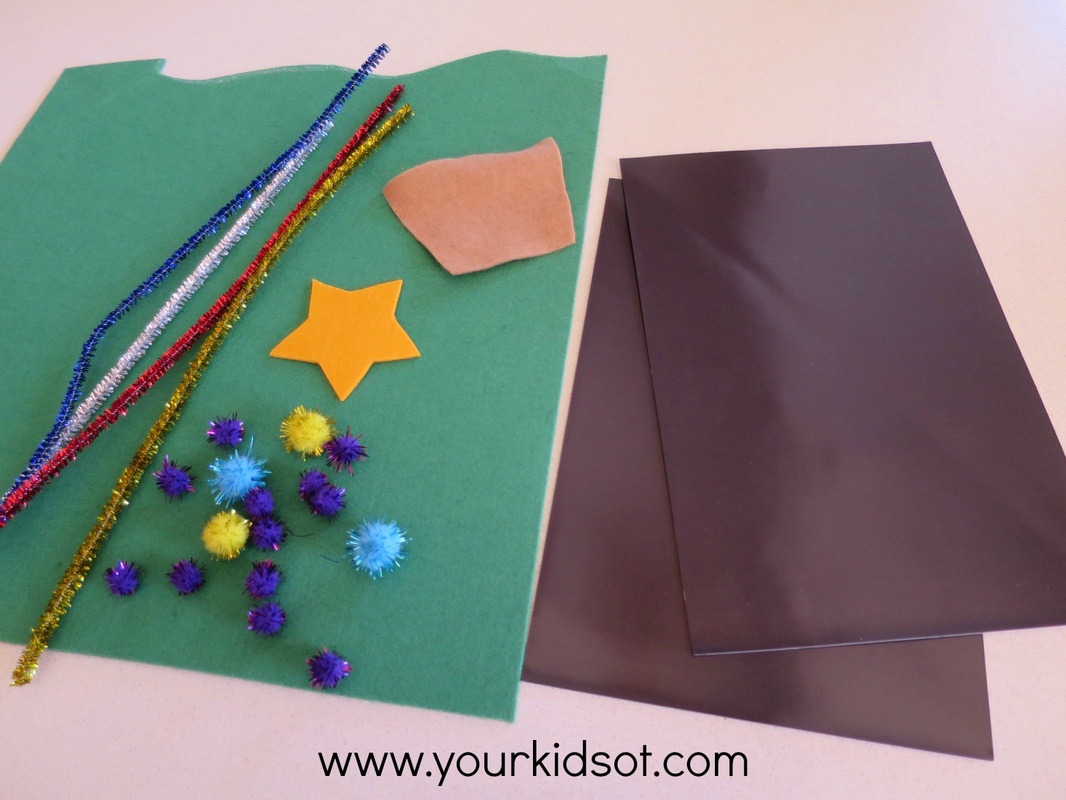
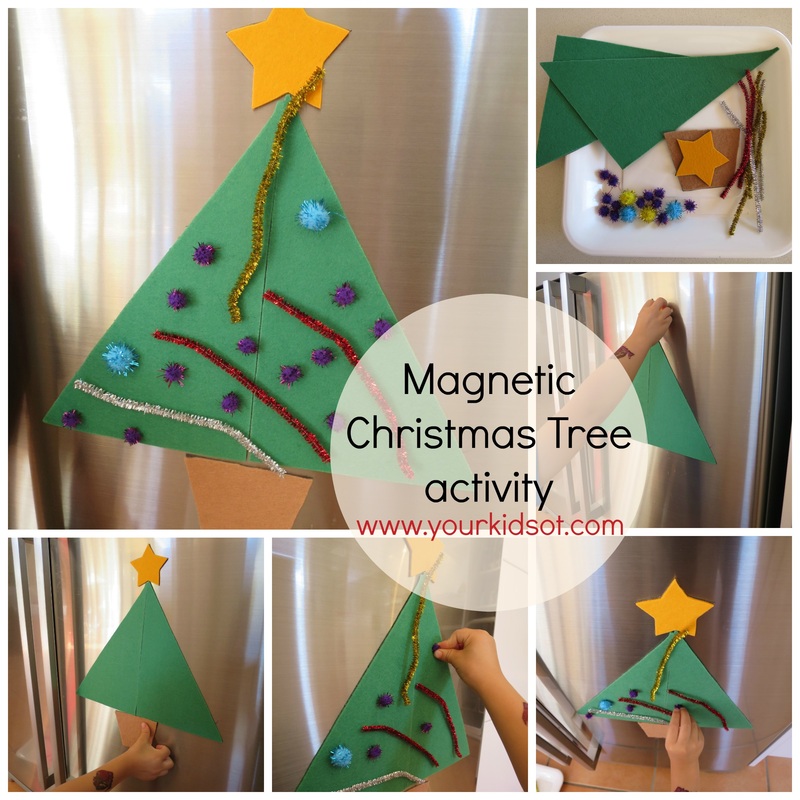
Make your own magnetic Christmas tree to keep your toddlers and preschoolers busy whilst you are in the kitchen. This Christmas tree activity is perfect for your fridge door! A few simple craft supplies and just a few minutes to prepare. What do you need to do? Cut out two large green triangles, a tree base and a star. Stick the felt onto the photo-magnets and cut around the shapes again. You may also like to cut the pipe cleaners in half. Assemble the felt magnetic pieces, pom poms and pipe cleaners onto a plastic plate and this activity is ready! This is a no-mess activity that your toddlers and preschoolers can do independently. They may need assistance initially with the tree shape or alternatively you could place the tree on for them and they can decorate. They will enjoy putting the pom poms and pipe cleaners where-ever they want to. They will also enjoy taking them off and doing it all over again! Picking up the pom poms and pipe cleaners encourage a pincer grasp. A little visual motor planning and organisation is subtly required to position the tree, star, base and spread out the pom poms and pipe cleaners to fit on the tree. The best thing about this activity is there is no right or wrong way to decorate a tree! Older children may also like to help their younger siblings to decorate the tree. Your toddler or preschooler will love this festive activity! What else do your little kids like to do whilst you are in the kitchen? You may also like...
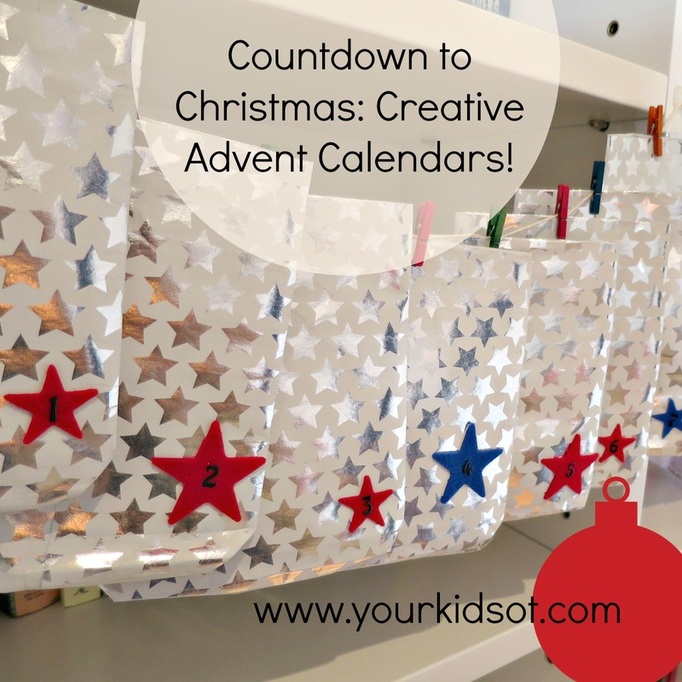
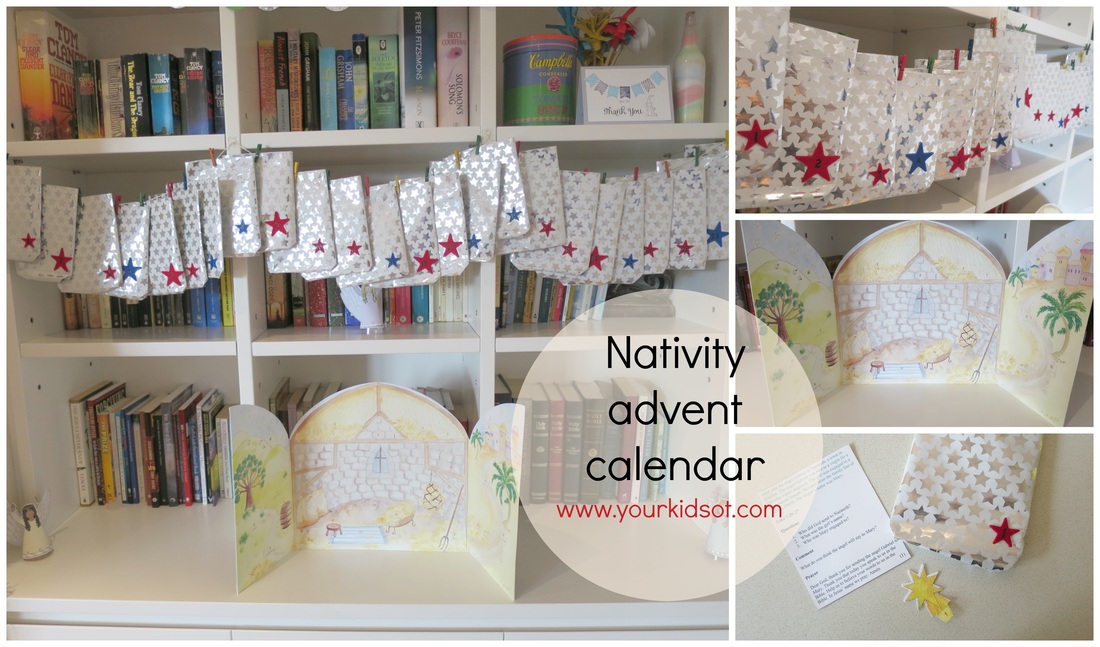
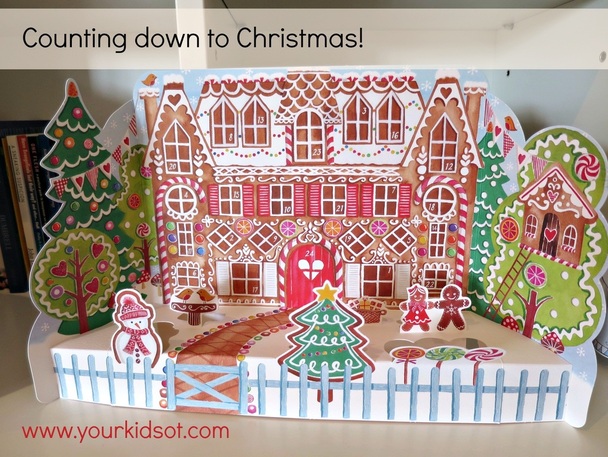
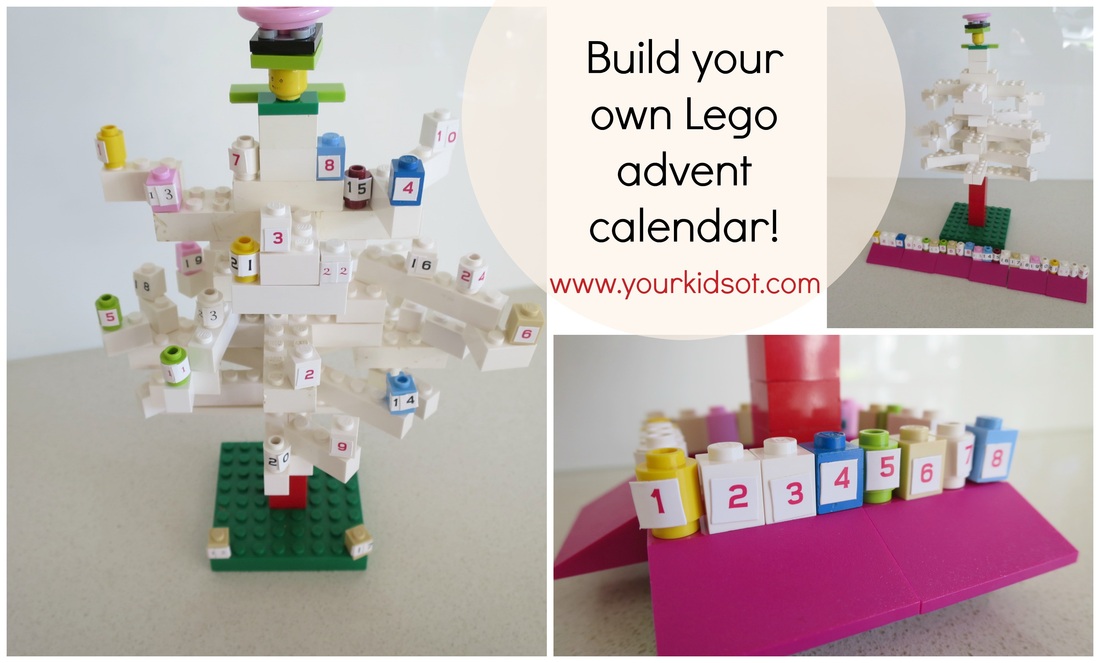
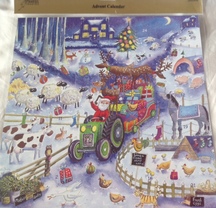
It is beginning to look a lot like Christmas everywhere you go! With family birthdays and a wedding anniversary all wrapped up in November, I can start looking forward to Christmas! Have you put up your tree? We usually put the tree up on the first of December, however we started early this year! We needed a little cheering up after a sad start to the weekend {death of beloved pet guinea pigs}. Welcome to Your Kids OT's Countdown to Christmas! You will find some fabulous Christmas crafts, activities and cooking here over the next few weeks. I hope you love them as much as I have loved putting them together. When you are counting down to Christmas, there is no better way of doing this with your kids than to use an advent calendar. This is a visual tool that helps kids to see in a physical way how many days there are until Christmas. The concept of time can be so difficult to understand for kids as they grasp how long is one hour, one day, one week.... We have used a number of different calendars over the years, favouring those with no food treats. Here are some new and old ones we are using this year... (1) Nativity advent calender - This is an old favourite we have been using for a number of years. The nativity scene was purchased from Phoenix Trading and comes with 24 numbered little picture pieces that can be added to the scene. I made the silver bags from Christmas wrapping paper, attached a star sticker and number to each bag, pegging the bag to a piece of string. Each little bag contains a picture for the nativity scene and an instruction card which goes through the Christmas story of the birth of Jesus in small sections and one or two prompt questions. Some instructions cards include words to a Christmas carol or song. My kids love the anticipation of "what's next" in the bag of the day. We take turns to put the pictures in the calendar. It is a lovely little routine that helps us to "countdown to Christmas"! (2). We were recently given a different advent calendar from a friend which happens to also be by Phoenix Trading (as a personal gift and not for the blog). My children can't wait to open the windows and doors of this gorgeous gingerbread house advent calendar. (3) If you have been following Your Kids OT, you will know of our Lego Challenge earlier in the year. If you missed it you can find the "wrap up" here. Well we couldn't go past Christmas without one last challenge.... to build a Christmas Tree Advent calendar. The original idea was found here. We built a white Christmas tree and placed number stickers on our small Lego "ornament" pieces. In case you are wondering that is an "angel" that was built for the top of the tree. Advent calendars are such fun! Did you like the Phoenix Trading advent calendars seen here? You have a chance to win ONE Phoenix Trading Advent Calendar for your family but be quick! Entries will close this Thursday 27th November at 12:00am. This is a game of skill and will require you to like Your Kids OT on Facebook and answer "What is the most creative way you have or would like to countdown to Christmas?". Entries only open to Australian residents. See below to enter and for further terms and conditions. Find fabulous Christmas cards, birthday cards, wrapping paper and much more at Phoenix Trading. I can't wait to hear "What is the most creative way you have or would like to countdown to Christmas?" Note: I have not received remuneration or compensation from Phoenix Trading. I have been gifted the following advent calendar for this giveaway. All comments and opinions are my own. Win this fantastic Phoenix Trading Advent Calendar!
|
AuthorHi, I'm Cindy and I am an Occupational Therapist. I enjoy working creatively with children to see them reach their potential. Read more about me here. SEARCH THIS SITE
Archives
June 2024
Categories
All
Popular Posts |
Join the YKOT e-newsletter!
Subscribe to get our latest content by email and receive
the SHAPE ROADS PRINTABLE NOW!

Success! Now check your email to confirm your subscription and receive your free printable!
Join our Mailing List!
Subscribe to get our latest content by email and receive
the SHAPE ROADS PRINTABLE NOW as a thankyou!

Success! Now check your email to confirm your subscription and receive your free printable!
Disclaimer: The information on this site is general in nature and should be used for educational and entertainment purposes. The activities are safe for most children, however, you should consult an Occupational Therapist or health professional to address specific movement, sensory or other medical conditions. This blog does not replace formal therapeutic professional advice given by a health professional or medical practitioner. Reviews and endorsements of products will only be made based on my expertise and personal opinion; and deemed worthy of such endorsement. The opinions shared in sponsored content will always be my own and not that of the advertising company or brand. Content, advertising space or posts will be clearly identified if paid, affiliated or sponsored. Affiliate links may be found throughout this website in advertising. This means that if you follow through with a purchase from these links, Your Kids OT will receive a percentage of the sale. Your Kids OT undertakes to meet the requirements of the "Social Media Policy" as published by Australian Health Practitioner Regulation Agency (AHPRA). Further information about this policy can be found here.
Find meFollow me |
About me
AuthorHi, I'm Cindy and I am an Occupational Therapist. I enjoy working creatively with children to see them reach their potential. Read more about me here. |
Copyright © 2017 Your Kid OT
























 RSS Feed
