
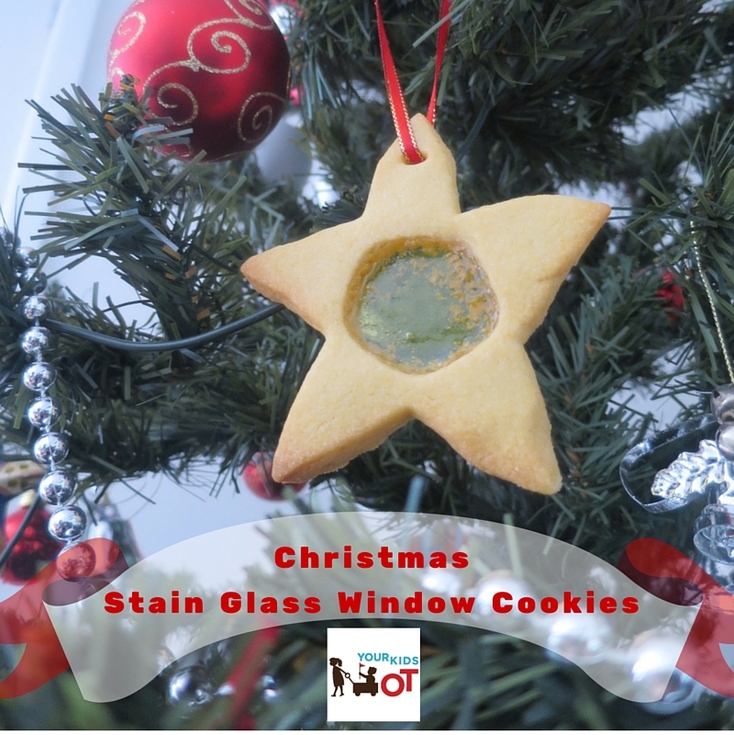

Christmas Stain Glass Cookies are so pretty and the kids love to eat them too! You can make them into decorations by making a hole with a straw before baking, then stringing them up for your tree. My kids just preferred to eat them!
I used a basic vanilla cookie which is fairly crisp (rather than short bread) so that it would hold its shape. These cookies are delicious even without the "stain glass" section. I have played around with the amount of sugar trying variations of 1 cup, 3/4 cup and 1/2 cup....they all work, so it really depends how sweet your tooth is and if you are trying to cut down sugar in your (your children's) food as to how much you might want to put into the cookie. I make these cookies in a Thermomix, however you can use a food processor too! Ingredients 185g butter, roughly chopped ½ cup sugar (90 grams) 1 tsp vanilla 2½ cups plain flour (390 grams) 1 egg and 1 extra egg yolk Boiled hard candy (various colours) 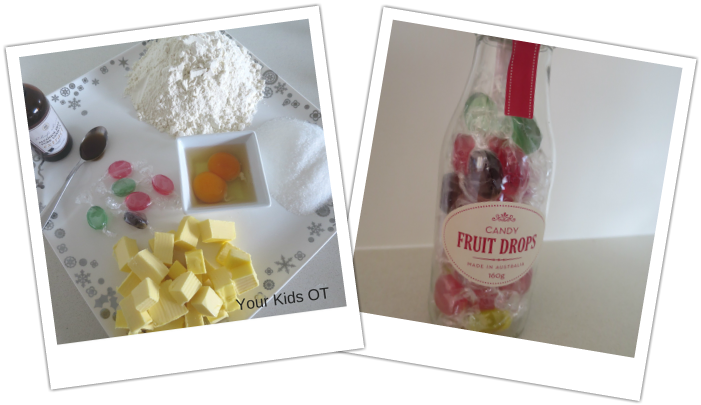
Thermomix Method.
1. Place the butter, sugar and vanilla into the TM bowl. Place on the lid and MC. Blitz for 25 seconds, spd 5. 2. Place the flour, egg and egg yolk into the TM bowl. Place on the lid and MC. Mix for 20 seconds, spd 5. 3. Scrape down the TM bowl with a spatula. Place on the lid and the MC. Knead for 30 seconds. 4. Repeat step 3. 5. Tip out the dough onto a piece of plastic kitchen wrap. Wrap the dough firmly with the plastic wrap and place it into the fridge for at least half an hour. 6. Preheat your oven to 180ºC. Place section of dough between two sheets of kitchen baking paper. 7. Using a rolling pin, roll over the top sheet of baking paper until the dough is approximately 5mm thick. 8. Lift off the kitchen baking paper and use a floured cookie cutter to cut out your shapes. 9. Place on baking trays lined with non-stick baking paper. 10. Use a smaller cutter to cut out a section of each cookie. 11. Place a candy into each cookie. 12. Bake in the oven for 15 minutes (until candy is melted and cookie is slightly brown). 13. Cool on baking tray for 2 minutes before transferring the cookie to a wire rack. 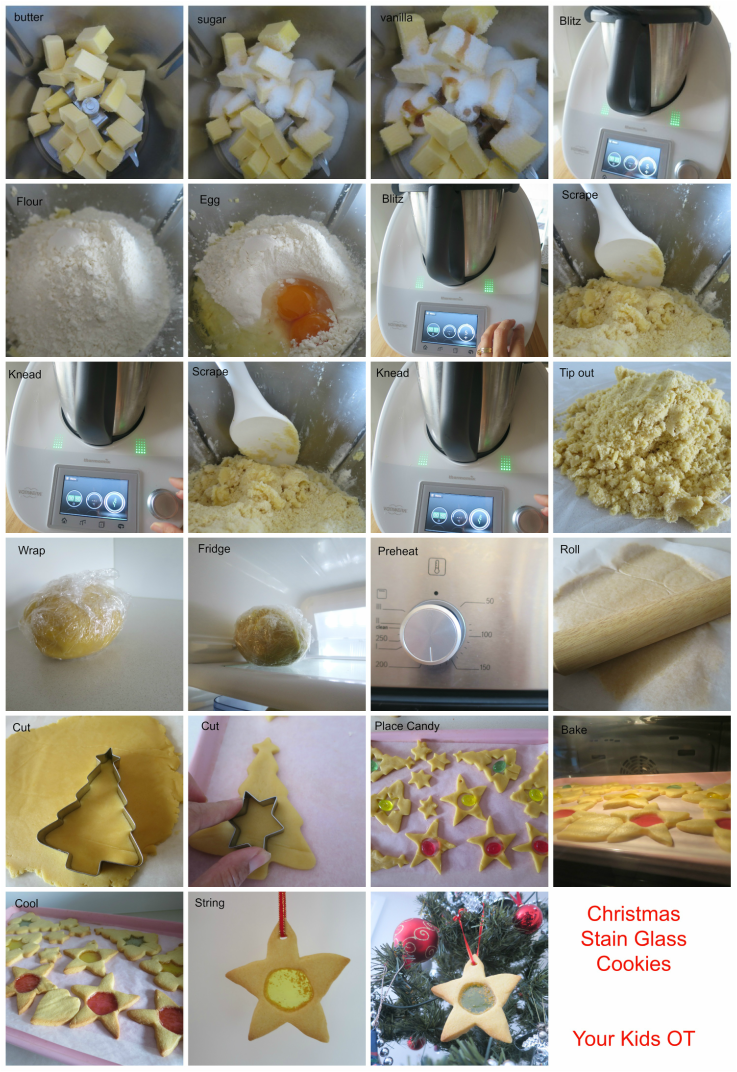

Traditional Method.
1. Place the butter, sugar and vanilla into a food processor. Blitz for approximately 25 seconds until combined. 2. Place the flour, egg and egg yolk into the food processor. Process until all the ingredients are combined and they form a smooth ball. 3. Tip out the dough onto a piece of plastic kitchen wrap. Wrap the dough firmly with the plastic wrap and place it into the fridge for at least half an hour. 4. Preheat your oven to 180ºC. Place section of dough between two sheets of kitchen baking paper. 5. Using a rolling pin, roll over the top sheet of baking paper until the dough is approximately 5mm thick. 6. Lift off the kitchen baking paper and use a floured cookie cutter to cut out your shapes. 7. Place on baking trays lined with non-stick baking paper. 8. Use a smaller cutter to cut out a section of each cookie. 9. Place a candy into each cookie. 10. Bake in the oven for 15 minutes (until candy is melted and cookie is slightly brown). 11. Cool on baking tray for 2 minutes before transferring the cookie to a wire rack. Tips: Don't roll your pastry out too thin, otherwise it will difficult to lift up the cookie. Oven temperatures may vary so you may need to adjust the cooking time. Children should be supervised when using the oven. 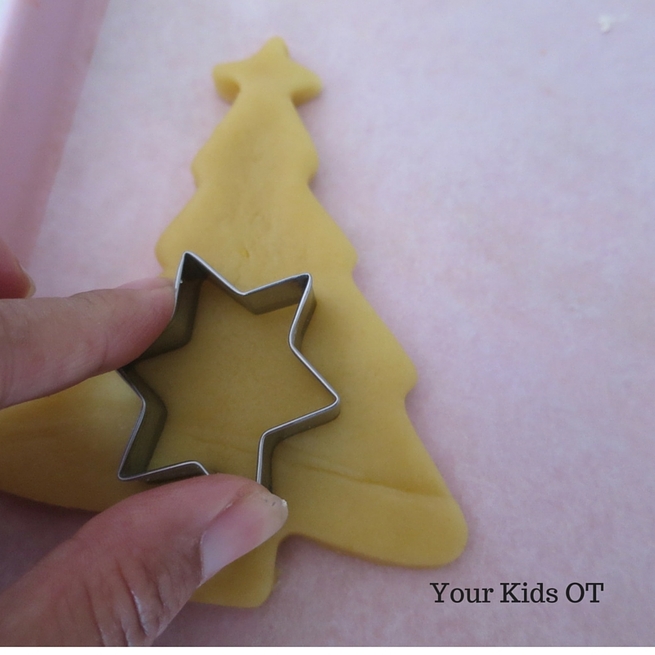

Your kids will love helping to make these cookies. They will love measuring out and adding the ingredients. They will love rolling the dough and using cookie cutters. They may especially love unwrapping the candy to add to the centre!
I love a cookie that can do double duty or triple duty.... these ones not only taste great, they look great on the tree and they make great gifts! Happy Baking! 
You may also like:
Comments are closed.
|
AuthorHi, I'm Cindy and I am an Occupational Therapist. I enjoy working creatively with children to see them reach their potential. Read more about me here. 

SEARCH THIS SITE

Archives
June 2024
Categories
All
Popular Posts


 |


 RSS Feed
Join the YKOT e-newsletter!
Subscribe to get our latest content by email and receive
the SHAPE ROADS PRINTABLE NOW!

Join our Mailing List!
Subscribe to get our latest content by email and receive
the SHAPE ROADS PRINTABLE NOW as a thankyou!
Disclaimer: The information on this site is general in nature and should be used for educational and entertainment purposes. The activities are safe for most children, however, you should consult an Occupational Therapist or health professional to address specific movement, sensory or other medical conditions. This blog does not replace formal therapeutic professional advice given by a health professional or medical practitioner. Reviews and endorsements of products will only be made based on my expertise and personal opinion; and deemed worthy of such endorsement. The opinions shared in sponsored content will always be my own and not that of the advertising company or brand. Content, advertising space or posts will be clearly identified if paid, affiliated or sponsored. Affiliate links may be found throughout this website in advertising. This means that if you follow through with a purchase from these links, Your Kids OT will receive a percentage of the sale. Your Kids OT undertakes to meet the requirements of the "Social Media Policy" as published by Australian Health Practitioner Regulation Agency (AHPRA). Further information about this policy can be found here.
Find meFollow me |

|
About me
AuthorHi, I'm Cindy and I am an Occupational Therapist. I enjoy working creatively with children to see them reach their potential. Read more about me here. 
|
Copyright © 2017 Your Kid OT