|
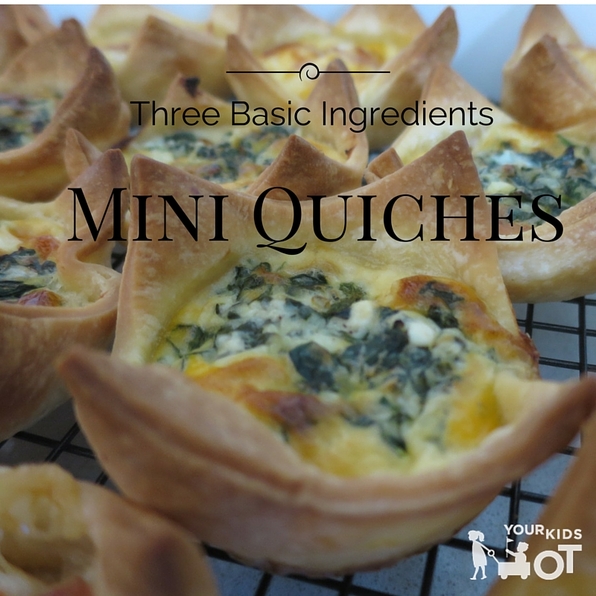
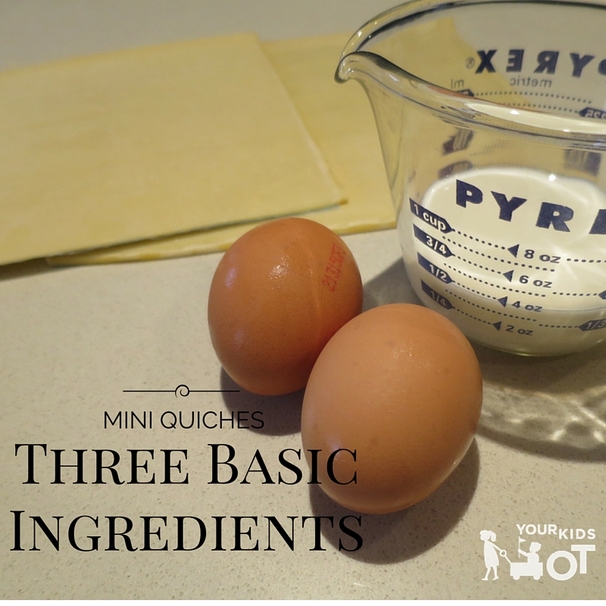
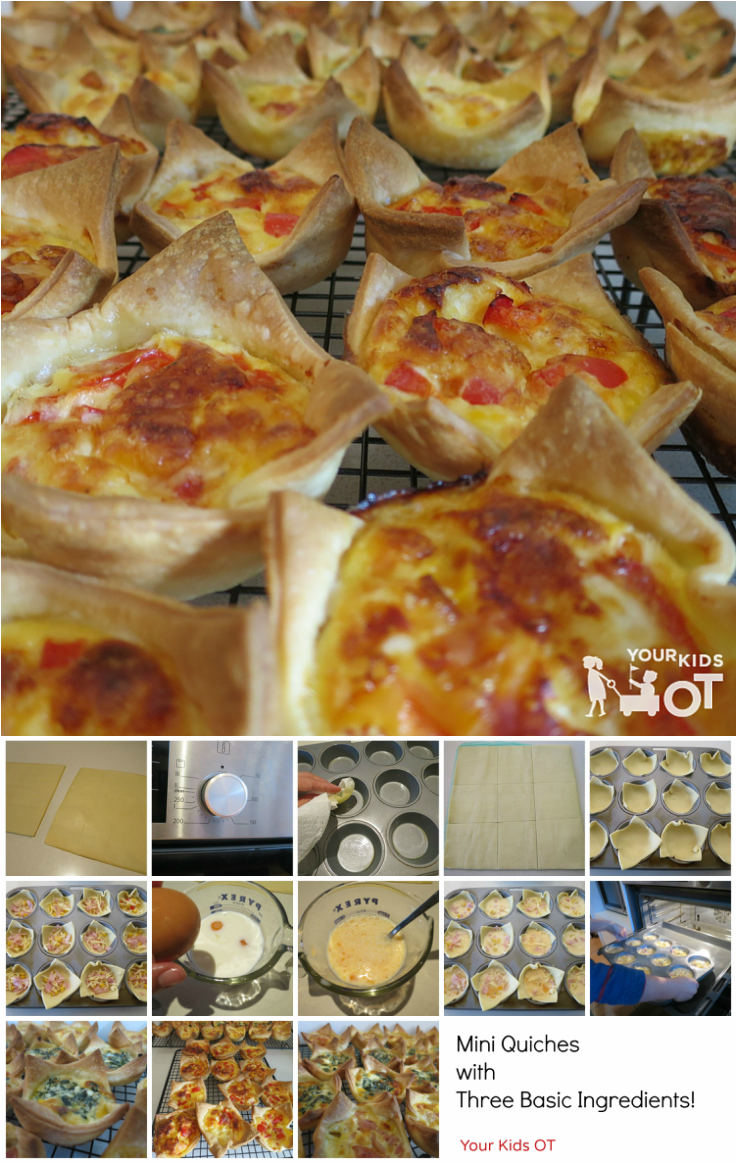
These mini quiches are enjoyed by the whole family! Recipes like this are perfect for encouraging your kids into the kitchen. They are easy to make and perfect for school lunch boxes. These mini quiches use three basic ingredients - milk, eggs and shortcrust pastry. This also makes a great school holiday activity (especially with all this rain we have been having)!
I often thaw out a whole packet of shortcrust pastry and multiply our ingredients to use up all the pastry. They are perfect for a picnic, birthday party or school lunch box! I even have a sneaky sweet way to use up any left over pastry - you will have keep reading to find out what we do!
The fillings are really only limited by your imagination. It is also a good way to use up odds and ends in the fridge.
We love these combinations- * ham, cheese and corn * spinach and feta * red capsicum (pepper) and corn * caramelized onion and goat's cheese
Each of these variations will make approximately 12 mini quiches.
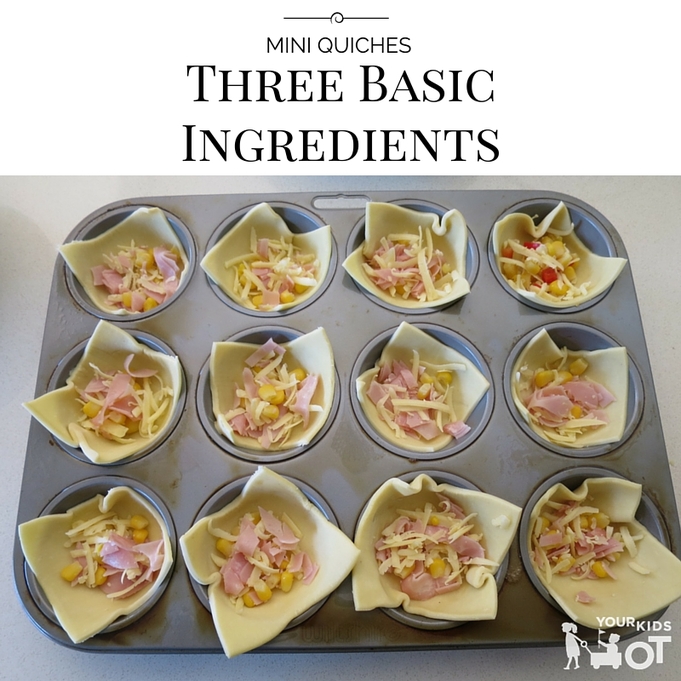
Mini Quiches with Three Basic Ingredients Ingredients * 2 eggs * 1.5 sheets of shortcrust pastry * 100 ml milk Filling Ingredients * 1/2 cup grated cheese, 1/2 cup corn, 1/2 cup ham (finely sliced) or * 1 handful spinach (blanched in hot water, finely sliced), 6 tsp feta or * 1/2 cup red capsicum (finely diced), 1/2 cup corn, 1/2 cup grated cheese or * 1 onion (sliced and slowly carmelized in a saucepan), 6 tsp goat's cheese or Equipment needed * small knife * measuring jug * fork * 12 hole muffin tray * oven Method 1. Separate shortcrust pastry sheets and leave on the kitchen bench to thaw for a few minutes. 2. Preheat the oven to 180° C (356°F). 3. Lightly grease the muffin tray. 4. Once thawed, use the knife to cut each pastry sheet into 9 squares. 5. Place one square of pastry into each hole in the muffin tray. 6. Place your chosen filling into each pastry square. 7. In a jug, pour the milk and the eggs. 8. Use a fork to whisk the eggs and milk together. 9. Pour some of the milk mixture into each pastry square. 10. Place the muffin tray into the oven (use oven mitts). 11. Bake for 20 minutes until set. 12. Cool quiches on a wire rack until ready to eat. Notes: You may use a 8cm cookie cutter to cut out circles in the pastry if you prefer. Oven temperatures may vary so baking times may differ. Children will need supervision with use of knives and ovens. Use oven mitts (unlike Mr 5 here who forgot the oven was hot)! These mini quiches may be frozen (in a single layer). Reheat in the oven before serving.
I mentioned you may have leftover pastry. This is how we used ours up!
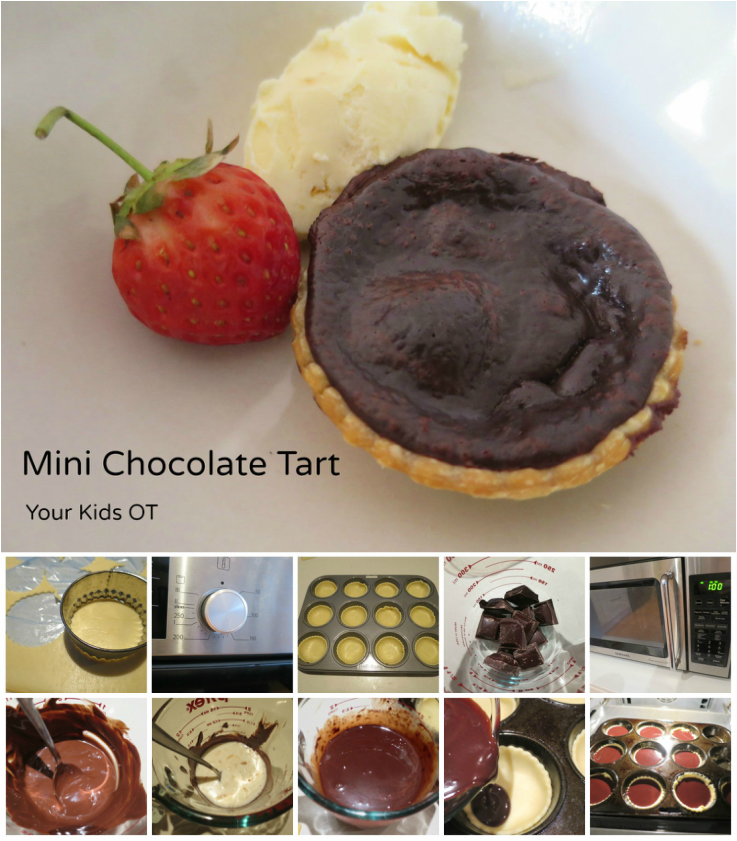
A sweet variation: Mini Chocolate Tarts! Ingredients * 200g dark cooking chocolate * 100ml milk Method 1. Use a cookie cutter (8cm) to cut up leftover thawed pastry. 2. Preheat the oven to 180° C (356°F). 3. Place the cooking chocolate into a microwave safe jug. 4. Heat for one minute in the microwave. 5. Stir the chocolate. 6. Add the milk to the chocolate and stir. 7. Place the pastry circles into the muffin tray. 8. Pour the chocolate mixture into pastry circles. 9. Bake in the oven for 20 minutes until set. Note: Microwave cooking times may vary. Be careful not to burn the chocolate. You may need to heat the milk briefly with the chocolate if it does not combine well. You may want to increase or decrease the filling quantity depending on how much pastry you have to use.
Serve up your chocolate tarts with some icecream and berries....yum! They are great warm or cold.
What is your favourite quiche filling? Savoury or sweet?
You may also like:
28/9/2015 08:31:48 am
This is great! I make mine the same way but sometimes use wraps instead of pastry! Great recipe! 29/9/2015 05:10:54 pm
What a great idea to use wraps! We will have to try that! 28/9/2015 11:00:43 am
Ooh I LOVE how easy these are to make, perfect for a quick and yummy afternoon tea. 5/10/2015 08:54:38 am
I honestly never thought to do a sweet quiche but it totally makes sense. Can I go half half :) Comments are closed.
|
AuthorHi, I'm Cindy and I am an Occupational Therapist. I enjoy working creatively with children to see them reach their potential. Read more about me here. SEARCH THIS SITE
Archives
June 2024
Categories
All
Popular Posts |
Join the YKOT e-newsletter!
Subscribe to get our latest content by email and receive
the SHAPE ROADS PRINTABLE NOW!

Success! Now check your email to confirm your subscription and receive your free printable!
Join our Mailing List!
Subscribe to get our latest content by email and receive
the SHAPE ROADS PRINTABLE NOW as a thankyou!

Success! Now check your email to confirm your subscription and receive your free printable!
Disclaimer: The information on this site is general in nature and should be used for educational and entertainment purposes. The activities are safe for most children, however, you should consult an Occupational Therapist or health professional to address specific movement, sensory or other medical conditions. This blog does not replace formal therapeutic professional advice given by a health professional or medical practitioner. Reviews and endorsements of products will only be made based on my expertise and personal opinion; and deemed worthy of such endorsement. The opinions shared in sponsored content will always be my own and not that of the advertising company or brand. Content, advertising space or posts will be clearly identified if paid, affiliated or sponsored. Affiliate links may be found throughout this website in advertising. This means that if you follow through with a purchase from these links, Your Kids OT will receive a percentage of the sale. Your Kids OT undertakes to meet the requirements of the "Social Media Policy" as published by Australian Health Practitioner Regulation Agency (AHPRA). Further information about this policy can be found here.
Find meFollow me |
About me
AuthorHi, I'm Cindy and I am an Occupational Therapist. I enjoy working creatively with children to see them reach their potential. Read more about me here. |
Copyright © 2017 Your Kid OT


 RSS Feed
