
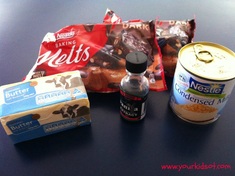
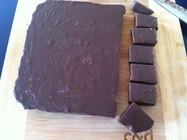
 Ingredients 50g butter 1 tin condensed milk 500g dark chocolate Vanilla extract  Equipment needed Knife Kitchen scales Spatula Can opener Microwave safe bowl Foil lined tray (approx 20cm square) Method 1. Place the butter, condensed milk and dark chocolate in a bowl. 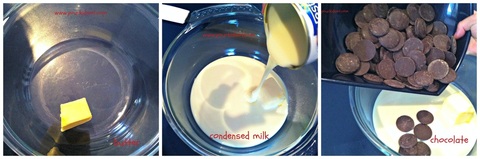 2. Heat in the microwave on high for 1 minute. Remove from the microwave and stir. 3. Heat in the microwave for 30 seconds.. 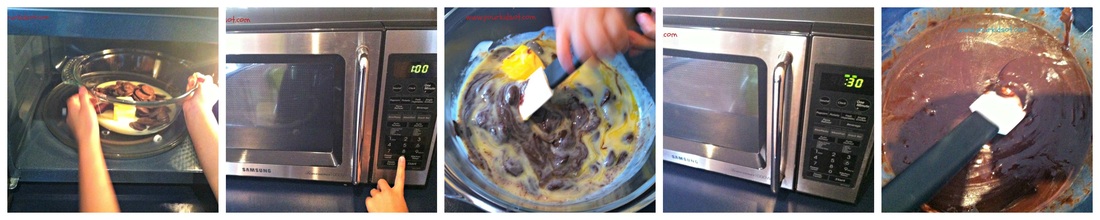 4. Add a few drops of vanilla extract to the mixture.. 5. Stir and pour the mixture into the foil lined tray. 6. Place in the fridge and allow it to set for 1 hour. 7. Cut and serve.
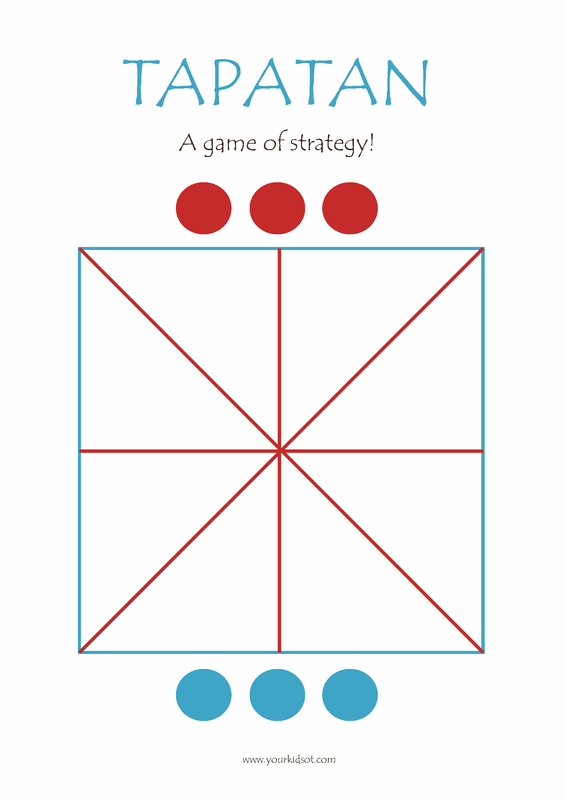
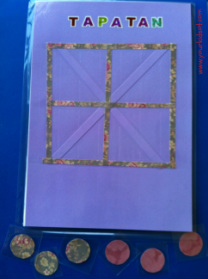
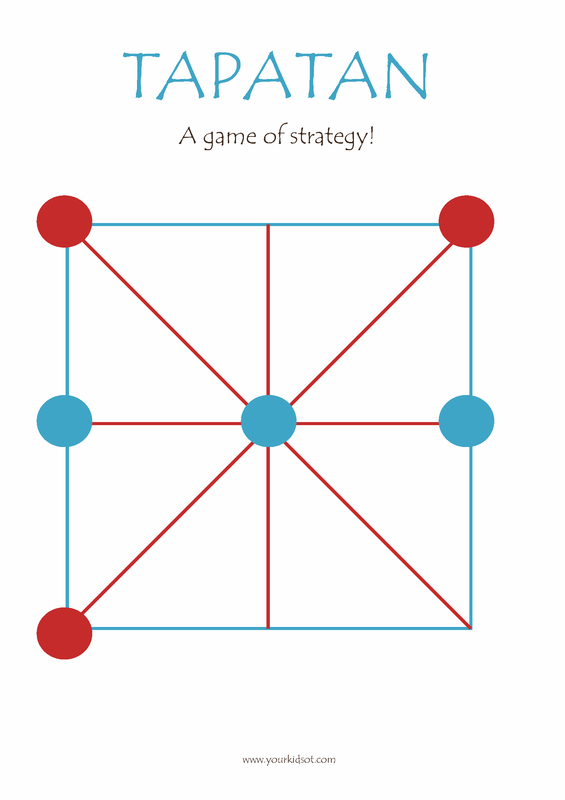
Note: For new followers to Your Kids OT, you may have missed the post about why I have a "Kids in the Kitchen" section on this blog and website. Here is a summary from the original post below. Tapatan is a fun three in a row game originally from the Philippines. It is closely related to "Tic Tac Toe" (also known as noughts and crosses). It is a new alternative "fine motor" activity for me to use in therapy and fun for kids as an alternative to "Tic Tac Toe".
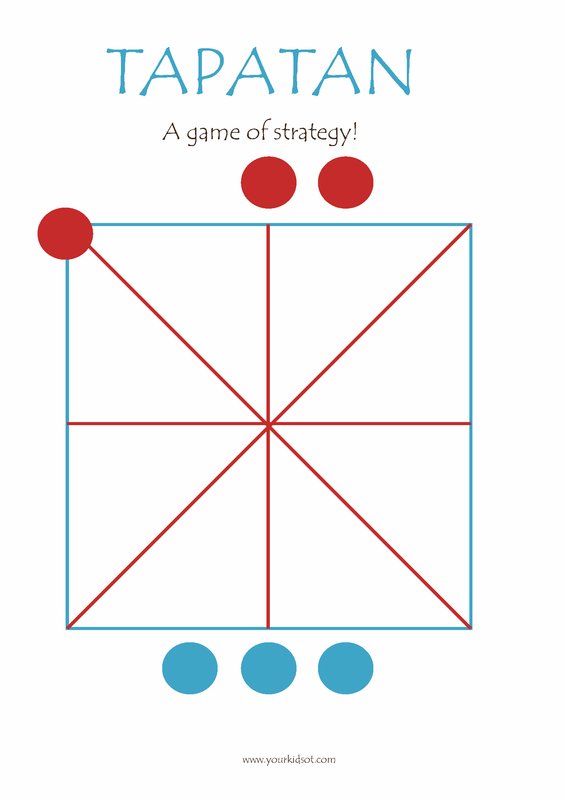
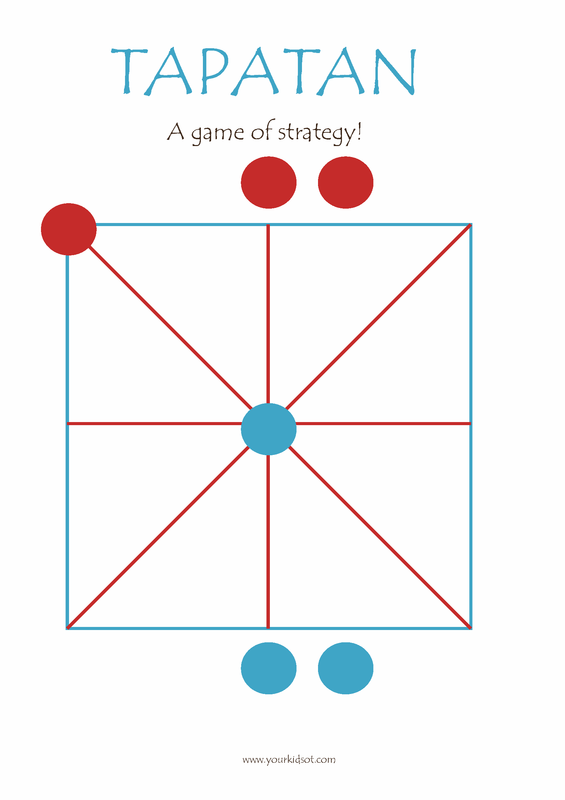
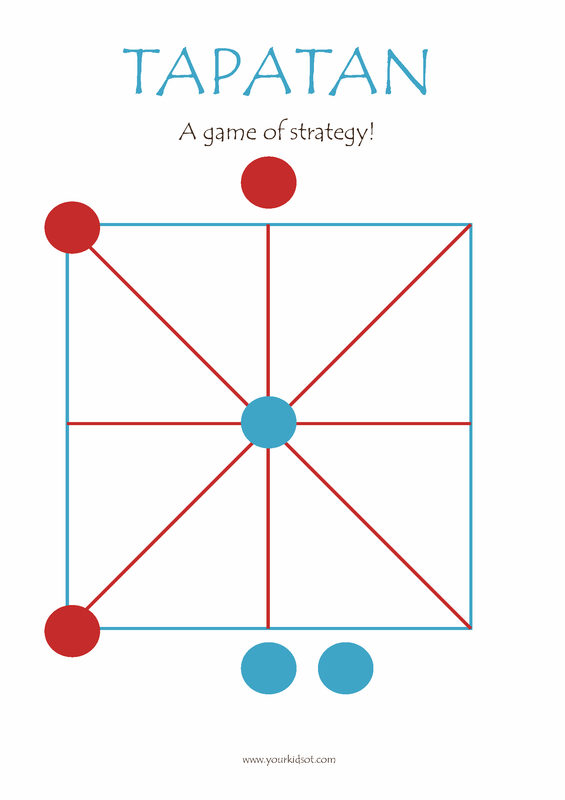
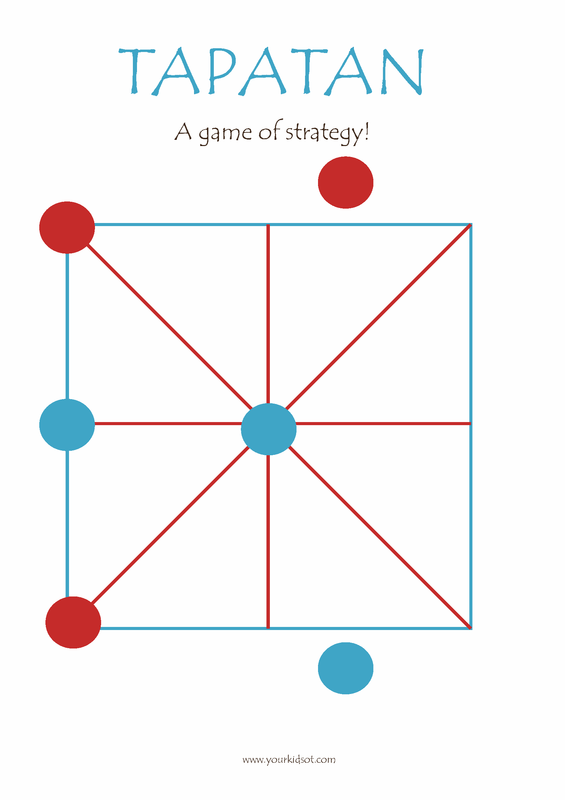
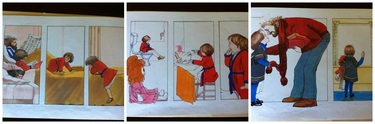
Game objective First player to get three checkers in a row (horizontal, vertical or diagonal line) is the winner. How to play 1. Players begin with 3 checker pieces each. 2. Players take turns to place their checker pieces onto the board until all checker pieces have been played (unless the first player wins). 3. After all the checker pieces have been player, players may move one of their checkers to an adjacent unoccupied space on the board. 4. Play continues until one player achieves three checkers in a row or a stalemate is declared when one player cannot move their checkers or a position is repeated three times.
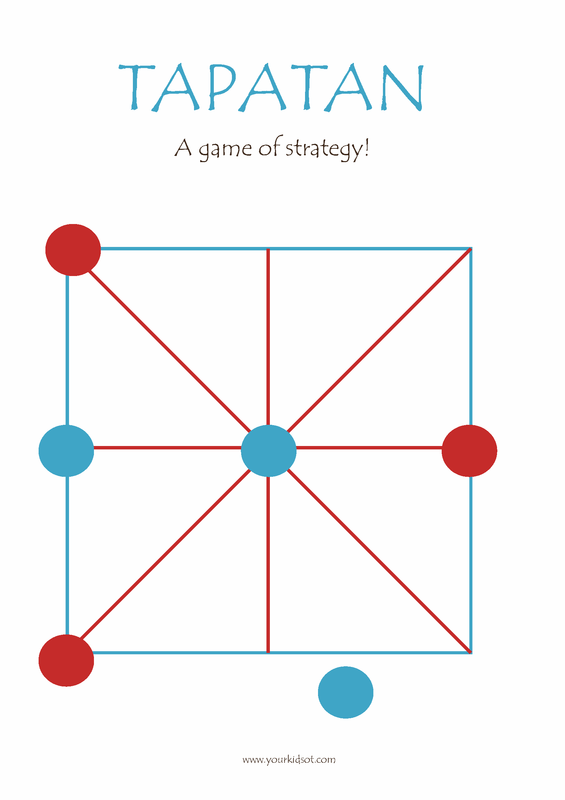
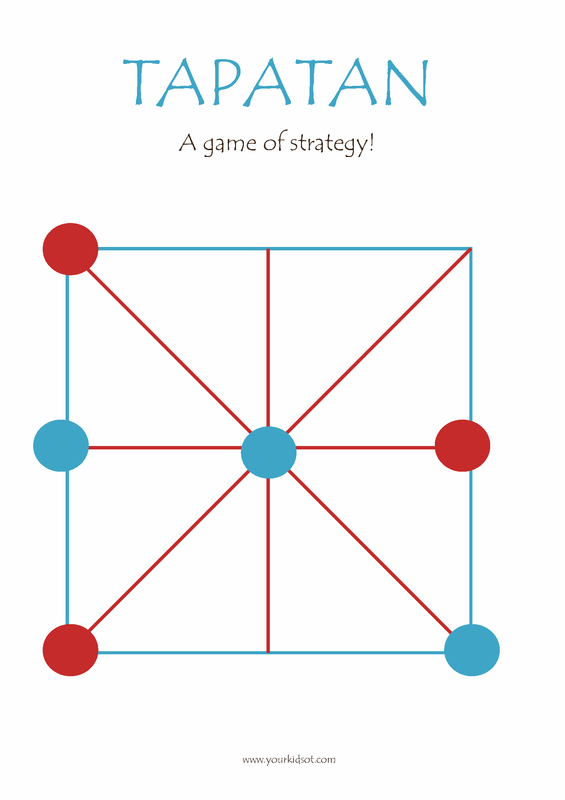
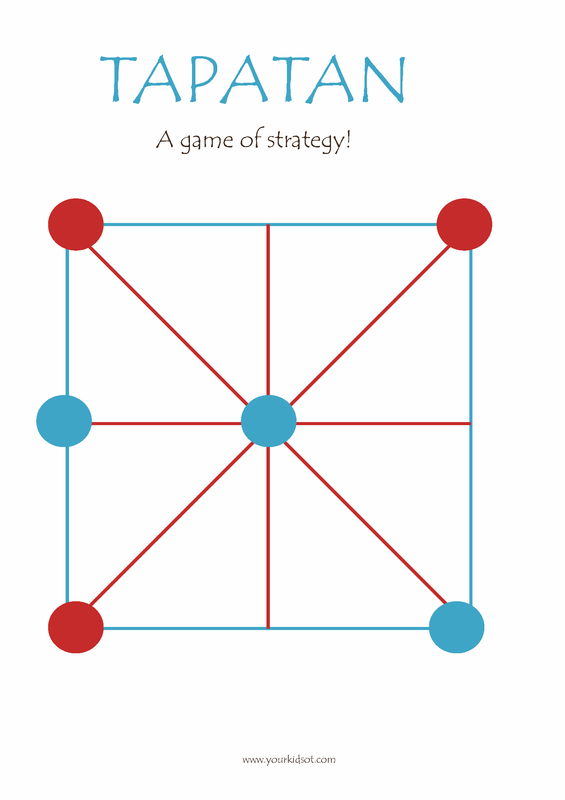
Here is a sample game unfolding...
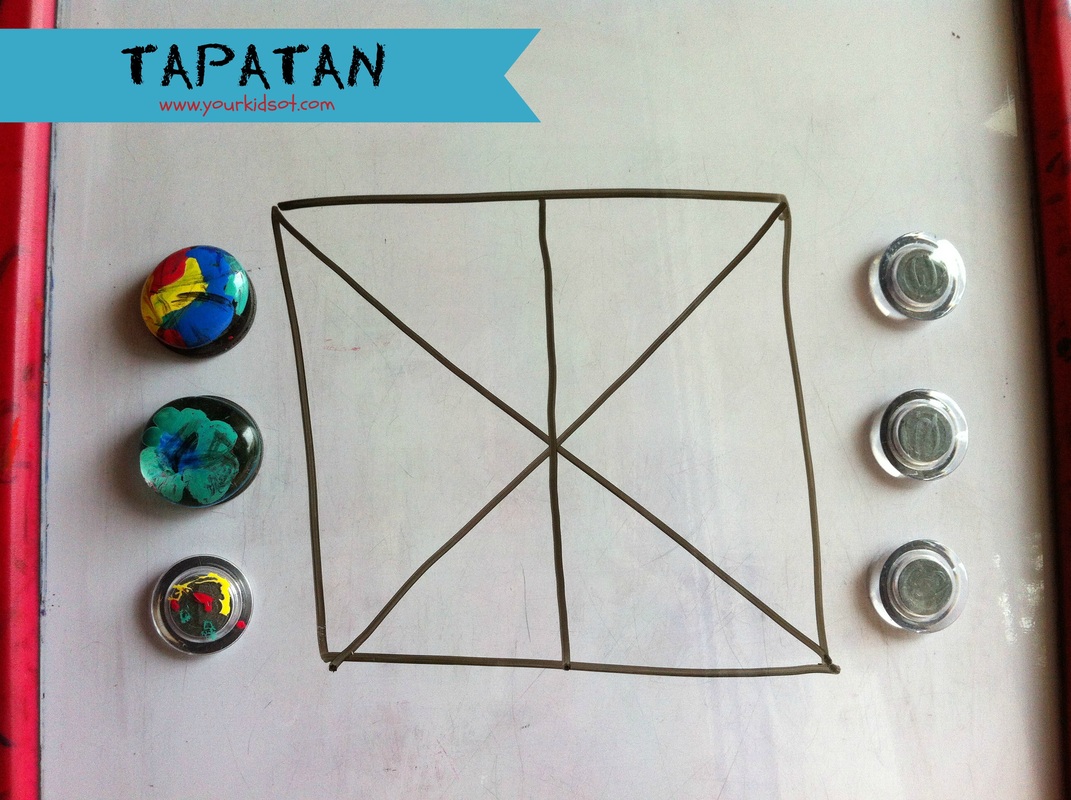
Your school age kids will love TAPATAN! Download it today or make your own game board this weekend. Teachers, why not get your class to measure out the sides of the square and intersecting lines, then play the game. Let me know if your kids love it. I would love to see photos if you have a go. Try it this weekend.
Note: For those with a keen eye, yes I did notice that both my TAPATAN squares are slightly askew. Hopefully you can draw a straighter line than me.
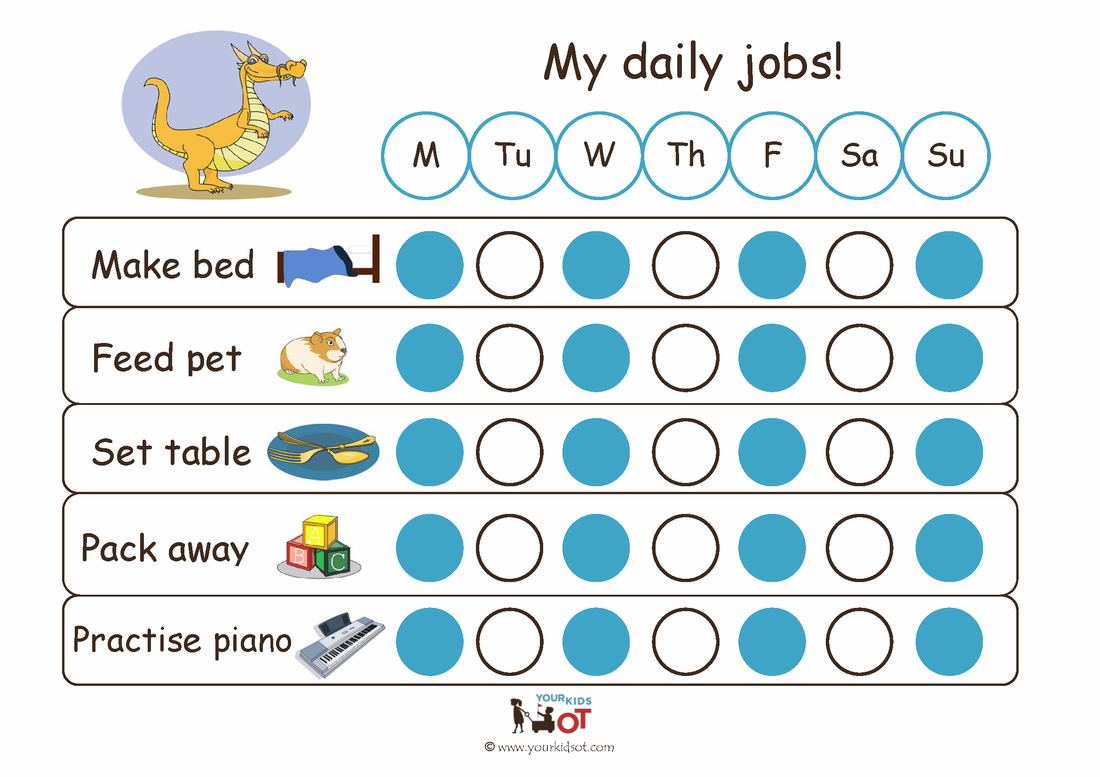
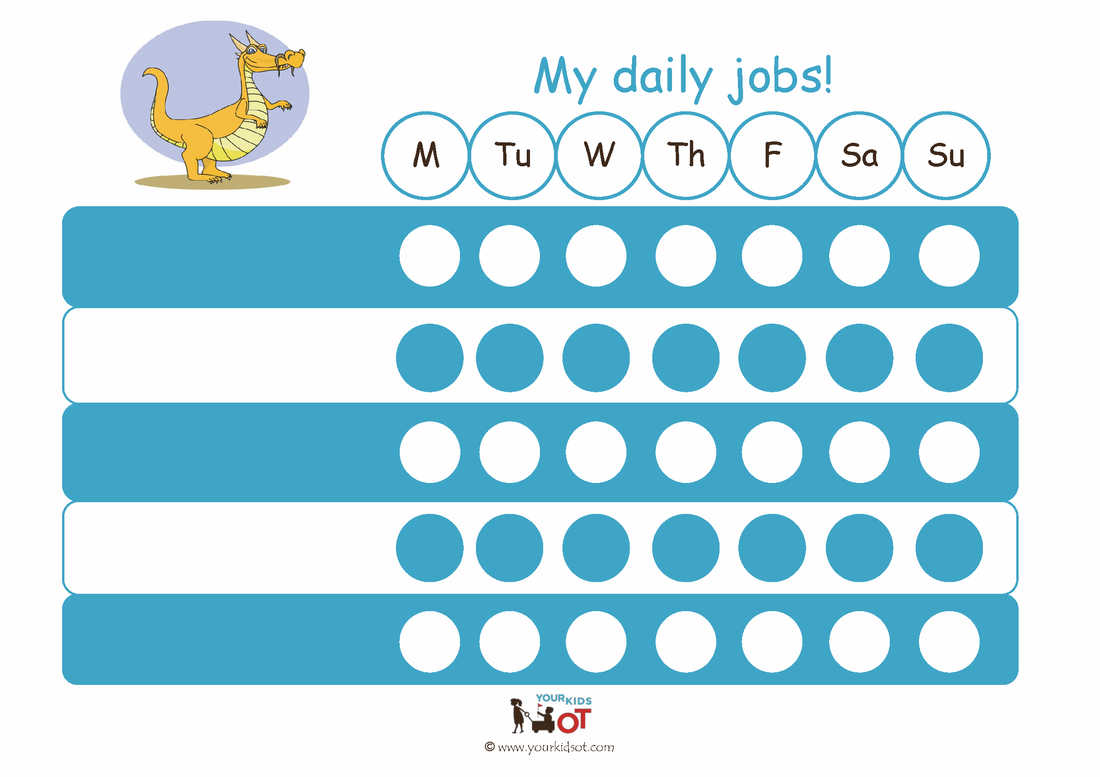
Are you looking for a checklist to help your child to complete their daily chores? A visual checklist may assist to motivate your child and help them to organise themselves to complete their daily jobs. Find a range of "My daily jobs" charts in the Your Kids OT shop. Each package includes three charts with either pre-selected jobs or a blank chart to enable you to customise it for your child. There are a range of charts to appeal to girls and boys. Laminate the charts for durability and repeat use.
Children from toddlers to teenagers can help with daily jobs around the house. This helps to promote a range of skills including: * Social skills - turn taking, waiting, cooperation, language development, sharing, time with other family members in a shared experience. * Planning and organisation - planning and organisation of equipment and time; sequencing the procedure, motor planning. * Personal skills - self confidence, sense of achievement, sense of belonging to a family, independence and responsibility. A chore such as "setting the table" may be divided up among family members if you have more than one child in your family. For example, Child A takes the plates and cutlery, Child B takes the cups and serviettes. "My daily job" charts allow both children and parents to monitor what chores are completed in a week. This may be useful when pocket money or other "rewards" are given when chores are completed. Do your kids do chores around the home? What are they?
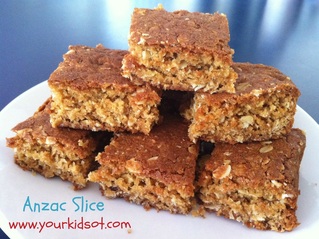
ANZAC stands for Australian and New Zealand Army Corps. The soldiers in those forces quickly became known as Anzacs, and the pride they took in that name endures to this day. ANZAC Day – 25 April – is probably Australia's most important national occasion. It marks the anniversary of the first major military action fought by Australian and New Zealand forces during the First World War when the landed at Gallipoli, Turkey. Anzac biscuits (or bikkies) have been associated with Anzac day as it is claimed the biscuits were sent by wives to soldiers because the ingredients do not spoil easily and the biscuits kept well during naval transportation. We love Anzac bikkies! 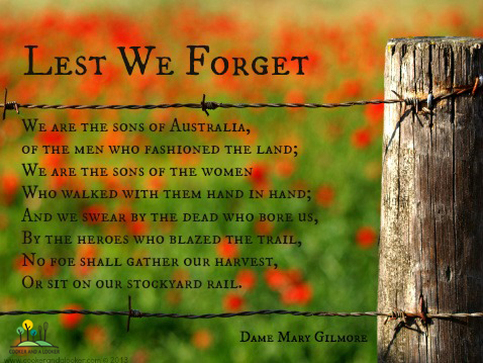 Image used with permission from www.cookerandlooker.com
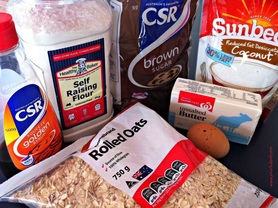
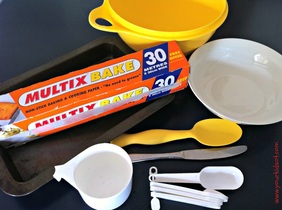
Method 1. Preheat the oven at 180°C (350°F). 2. Place butter in a microwave safe bowl. Place the bowl in the microwave and heat for 1 minute. Remove and set aside. 3. In the mixing bowl, pour flour, coconut, oats and brown sugar. 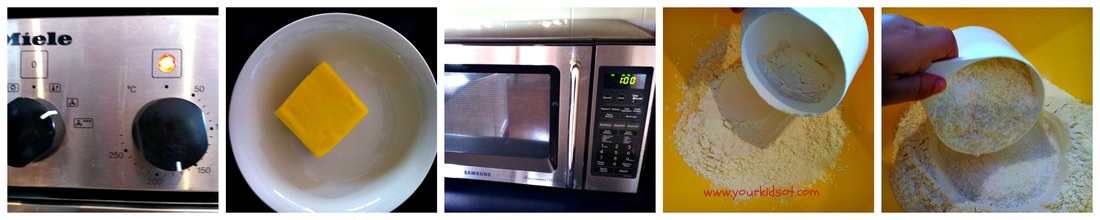 4. Add the melted butter, egg and golden sryup. 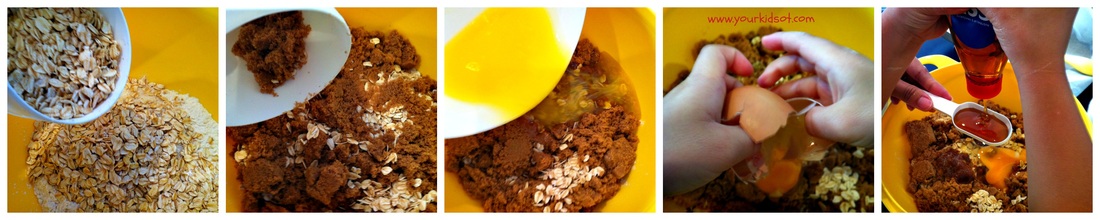 5. Stir with a spoon. 6. Line the baking tin with baking paper. Pour the mixture in the baking tin. 7. Place in the oven and bake for 30 minutes. 8. Remove and cool. Slice into squares and serve.  This slice is enjoyed all year round at our house (as are ANZAC biscuits). It is our "go to" slice and is perfect for school lunch boxes or to share with others. Try it today! Happy baking and "lest we forget" this Anzac Day.
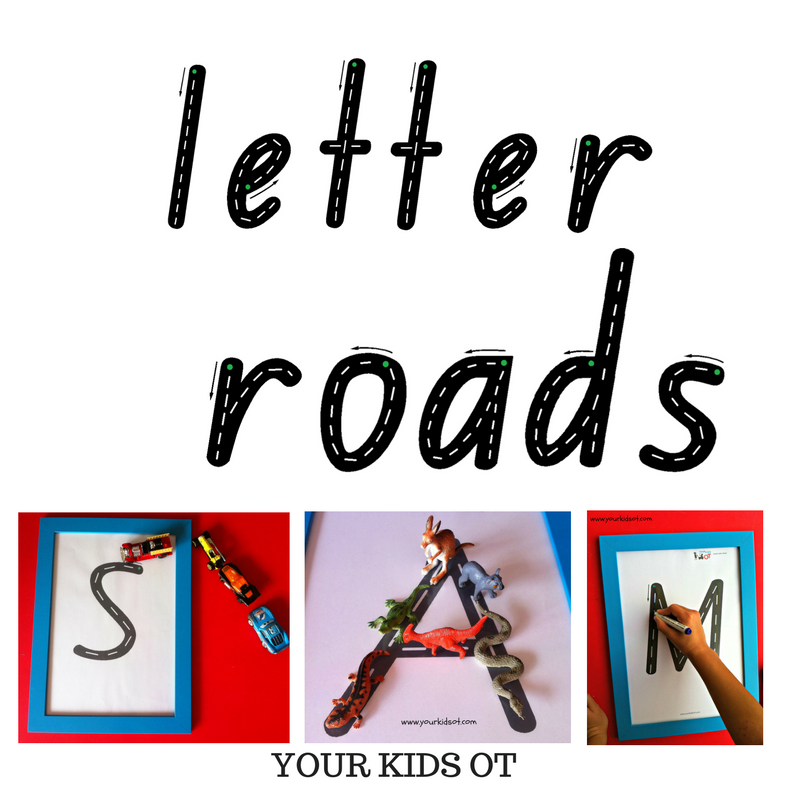
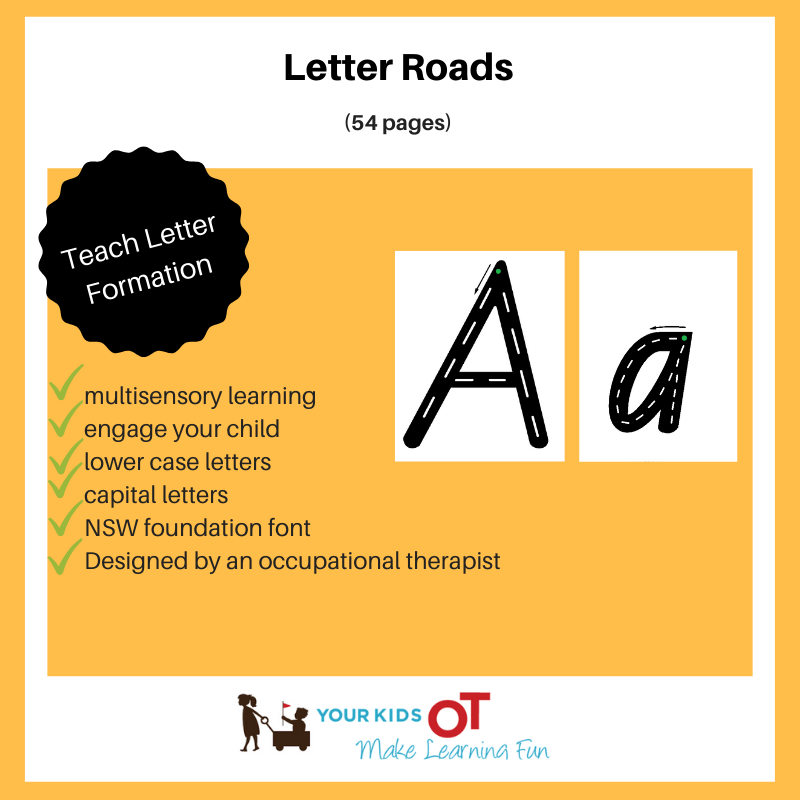
"Letter roads" is a fun engaging way to encourage letter identification, familiarization and formation! Each letter of the alphabet is a road with a black background and white road lines. The letters were created in NSW Foundation font. There is a green starting dot and an arrow to indicate initial direction for correct letter formation.
Whilst becoming familiar with the alphabet, your child can also work on fine motor skills such as a pincer grasp or tripod grasp. They can also use their favourite toys to help form the letters. Here are a few suggestions for how to use Letter Roads... 1. Encourage your child to identify the starting point for each letter by finding the green dot. 2. If your child is unfamiliar with letter formation, you may demonstrate the correction directionality. Some children will require hand over hand assistance to obtain correct directionality. 3. You may introduce one letter at a time or a group of letters according to the current goals for your child (eg. letter of the week, a child’s name, line letters, tall letters). Refer to previous blog about Letter Families. 4. Use your finger to draw along each letter road. 5. Use a car or vehicle to drive along each letter road. 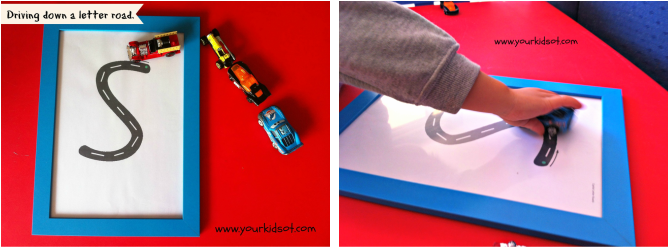
Use a car to drive down the Letter Road.
6. Use figurines or plastic animals to walk along the letter road.
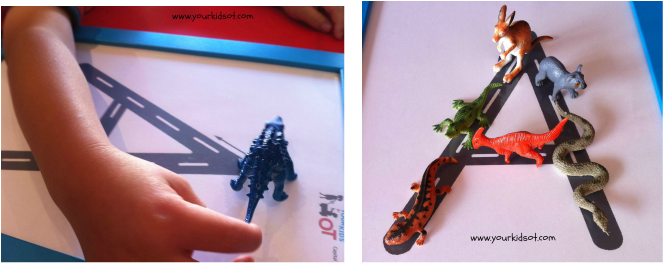
Dinosaurs on a letter road parade.
7. Paint along the letter road using a paintbrush and shaving cream.
8. Roll out playdough to place along the letter road. 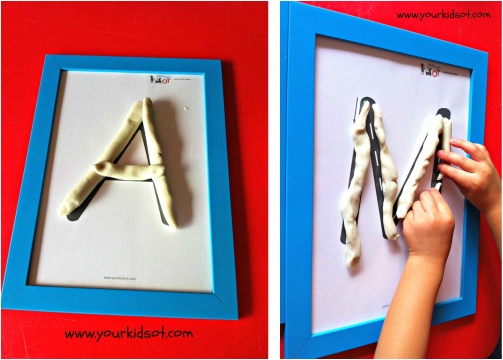
Playdough letter roads.
9. Roll a marble or small ball along each letter road.
10. Pour rice over the sheet and clear the letter road with a finger or paintbrush. 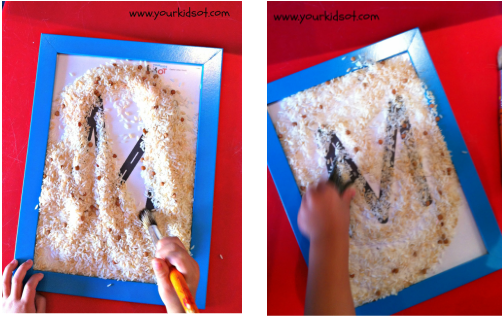
Brushing rice away from letter roads.
11. Write the letter using a dry-erase marker. Use different colours and make a rainbow road. Write the letter next to the example.
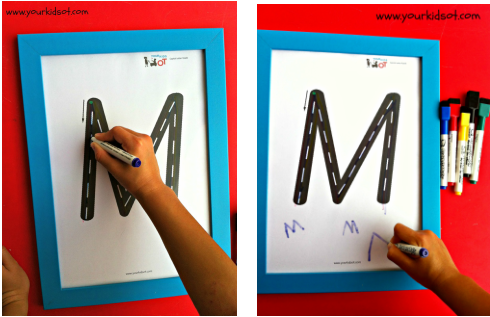
Writing using a dry-erase marker and letter roads.
Laminate your letter roads for durability, place them in a zip lock back, place them in a plastic sleeve or even place them into a plastic frame. This is a fantastic resource for your child to learn letters and practise writing them. It is also a great addition to the therapist's tool kit as you can vary the activity and grade it with various children.
Purchase your own set of letter roads today at theYour Kids OT shop.

Cindy is a registered occupational therapist practising in Sydney, Australia. She has two growing children who are a constant source of inspiration and learning. Cindy loves working creatively to help children to reach their potential, finding opportunities in everyday living and making learning fun. She is also addicted to making printables (even when they take a long time to complete). Cindy is the author of the Occupational Therapy website and blog Your Kids OT and Sensory Diet Activity Guidebook (ebook).
Cindy is a member of the Functional Skills for Kids Therapy Team. They have together published THE HANDWRITING BOOK, THE SCISSORS SKILLS BOOK and THE TOILETING BOOK. The information on this site is general in nature. The activities are safe for most children, however, you should consult an Occupational Therapist or health professional to address specific movement, sensory or other medical conditions. Affiliate links are used throughout this website to promote products I love and recommend. I receive a commission if any purchases are made through these links. Please see my disclosure policy for more details. Your Kids OT blog - https://www.yourkidsot.com/blog Your Kids OT shop- https://www.yourkidsot.com/store/c1/Featured_Products.html Your Kids OT Teachers Pay Teachers - www.teacherspayteachers.com/Store/Your-Kids-Ot Your Kids OT Facebook Page - https://www.facebook.com/yourkidsot/ Your Kids OT Instagram - https://www.instagram.com/yourkidsot Your Kids OT Pinterest - http://www.pinterest.com/yourkidsot Your Kids OT Amazon store - https://www.amazon.com/shop/yourkidsot
Watch Letter Roads on You-Tube: https://youtu.be/mTmKkj_HeAg
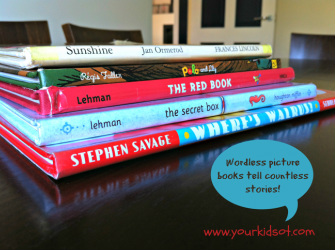
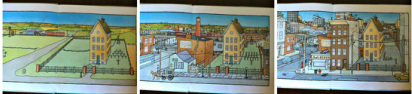
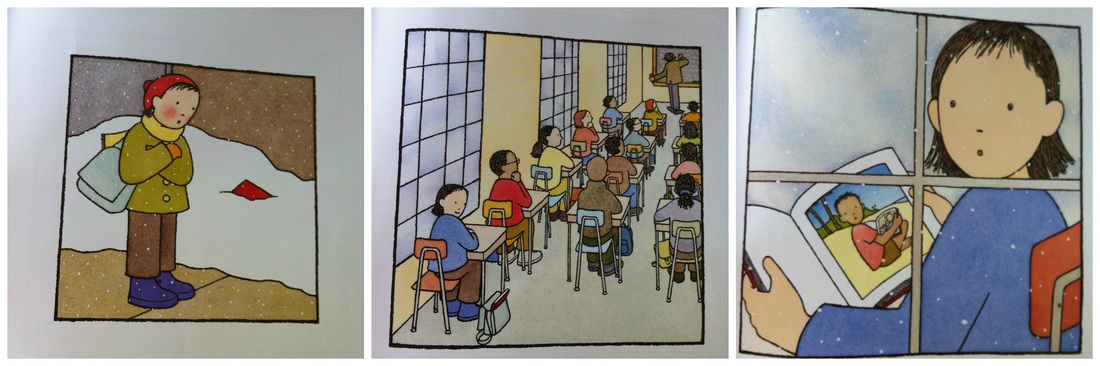
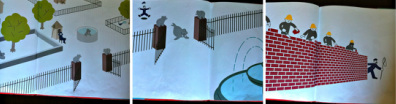
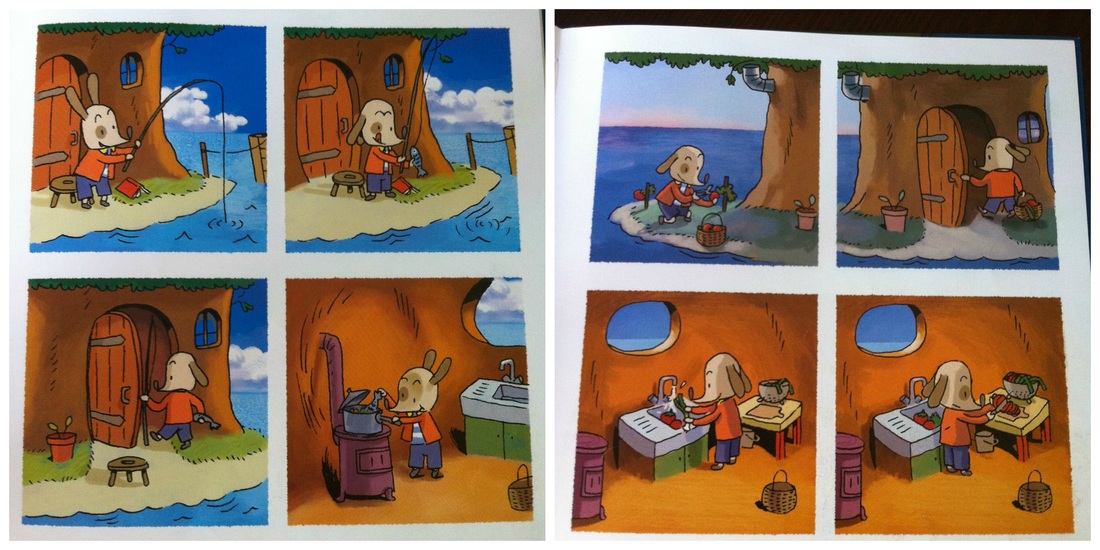
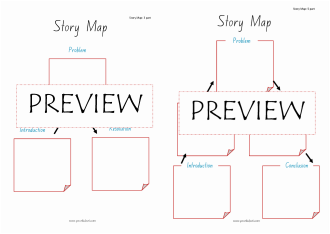
I have listed a few ways that wordless books can be used at home, in school and therapy sessions. You may focus on different goals depending on your child's age and current difficulties. You may also work through a progression over different "sessions" at the pace suitable for your child. For example, If you have a school-age child who has difficulty with handwriting and putting thoughts on paper; you may choose to focus on your child describing and telling with the wordless books without a pencil/paper component. If you have at toddler, you may spend many times facilitating the story for your child when one day they decide to "read" the book for themselves.
Have you "read" wordless picture books with your children? Have you used them as a therapist? What's your favourite wordless picture book? 
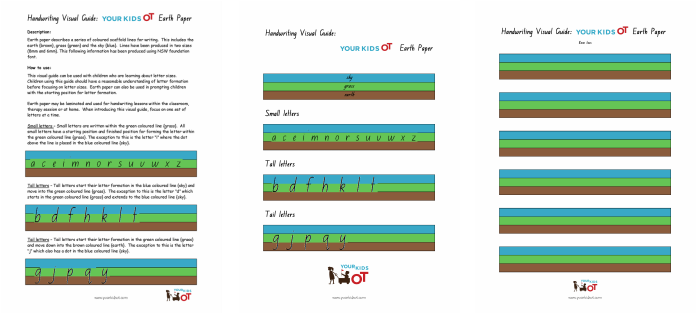
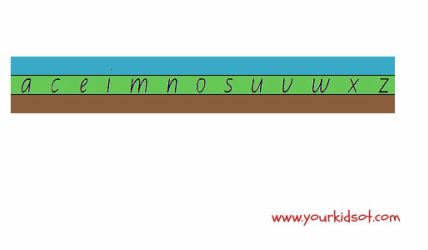
Occupational Therapists have been using "earth" paper for a while. Typically "earth" paper is a series of lines (baseline and scaffold lines) for handwriting. The lines are coloured to provide a visual guide for letter placement and size. Working on letter size and placement helps handwriting legibility when printing.
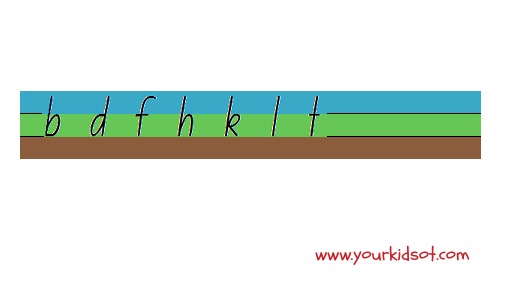
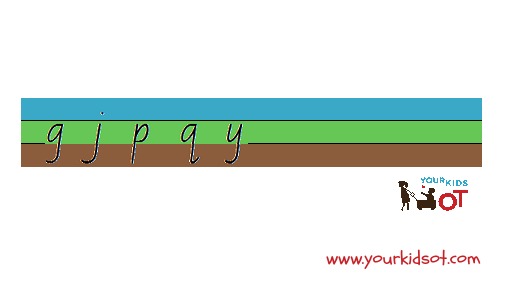
I have used my version of "earth" paper in therapy sessions with great success to help with letter size and letter formation. The results are neatness and legibility as well as child's understanding of how letters look in relation to each other. I have developed a set of "earth" paper which is unlike those found elsewhere. There are solid coloured lines for the earth {brown}, grass {green} and the sky {blue}. Lines have been produced in two sizes (8mm and 6mm). My version of "earth paper" can be purchased from the Your Kids OT shop. I usually use "earth" paper when introducing letter sizes and reinforcing starting points for letter formation. "Earth" paper is great when introducing letter families according to size of the letters {Refer to previous post for descriptions about letter families in "Meet my Letter Families"} . "Earth" paper may be laminated for durability to use with multiple children or repeated use with one child. You can take a photo of their work so that you have a record of progress. Alternatively you could colour photocopy numerous pages of "Earth paper" to use as needed with a class or individual children. As a child becomes familiar with writing on the paper, I may place a copy of the "earth" paper under their regular notebook as a faint guide. I will then withdraw the use of the paper as the child shows more consistency with letter size and formation. I may come back to the "earth" paper with the same child if they have a future block of therapy or after a break such as the school holidays. Here is a guide for using "earth" paper.
"Earth" Paper may be purchased from the Your Kids OT shop. This PDF visual guide contains a how to use guide, wall poster with NSW foundation font letters placed on the "earth paper" and two pages of blank "earth paper". Lines have been produced in two sizes (8mm and 6mm). See a preview of this paper below.
Have you used "earth" paper? Has your child shown an improvement in handwriting legibility after using "earth" paper?
Banana sour cream muffins are a quick yummy snack, perfect for the school lunch box or afternoon tea. The sour cream keeps the muffin moist and the cinnamon sugar on top adds a special touch of yum!
Method 1. Preheat the oven to 180°C (350°F). 2. Peel and mash the banana in the mixing bowl. Add 2 eggs, sour cream, vanilla and oil. 3. Whisk these ingredients together until well combined. 4. Add the sugar. Sift in the flour and baking powder. Stir mixture gently with spoon. 5. Line muffin tray with patty pans. Spoon mixture into patty pans. 6. Sprinkle cinnamon sugar on each muffin. 7. Bake in the oven for 15 minutes. 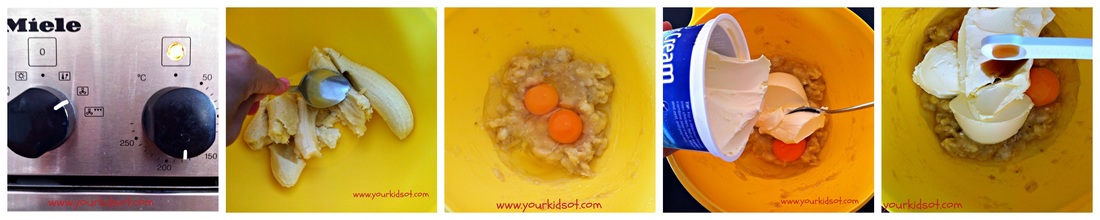 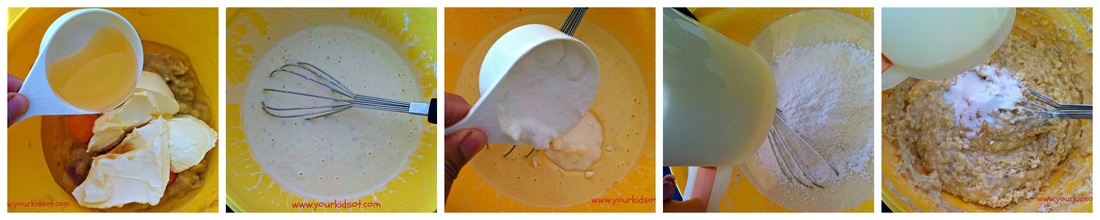 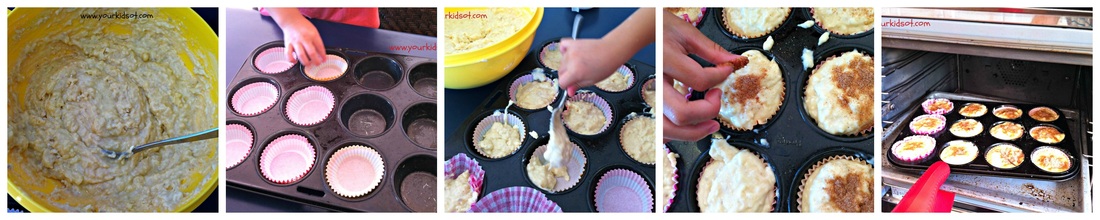 You could adapt this recipe with different flavours (white chocolate and raspberry, blueberry, choc chip, apple and cinnamon). What is your favourite muffin flavour? Happy Baking!

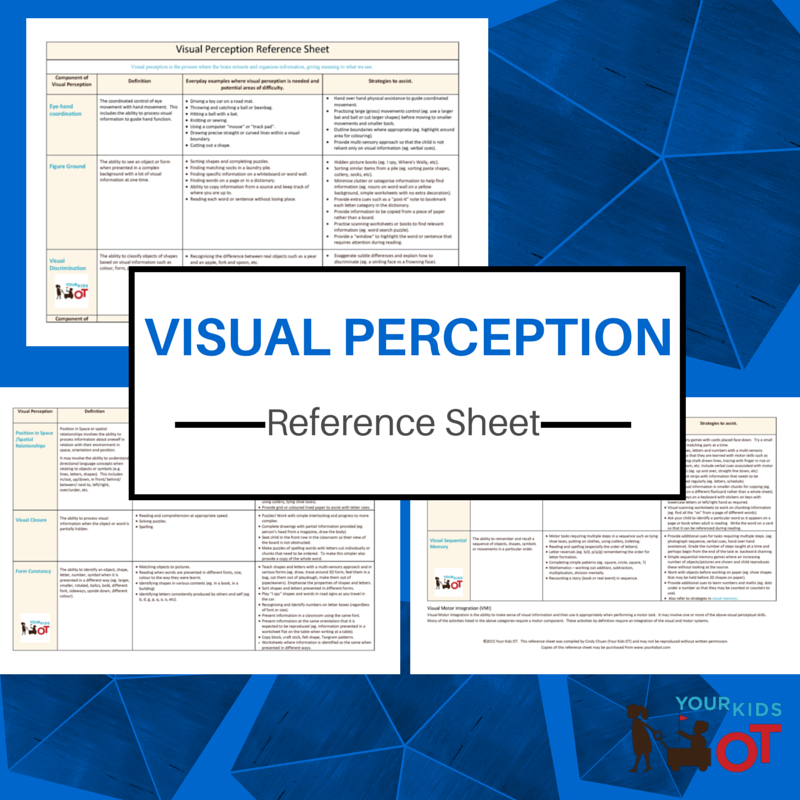
Visual perception is the process of extracting and organising information, giving meaning to what we see. It is required to perform everyday tasks, such as reading, copying information from a board or understanding symbols. Read more about visual perception on the Visual Perceptual Skills homepage.
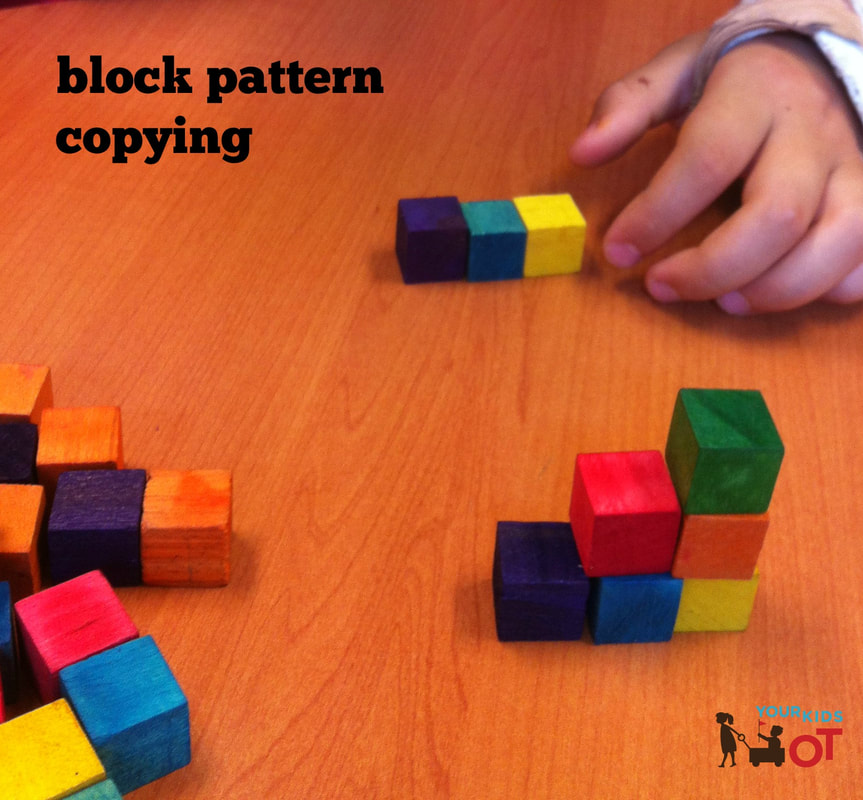
As children develop visual perceptual skills and visual spatial skills, they develop an awareness of how they relate to the world around the. They develop body awareness and work out how to relate to objects. They also become aware of how objects relate to each other.
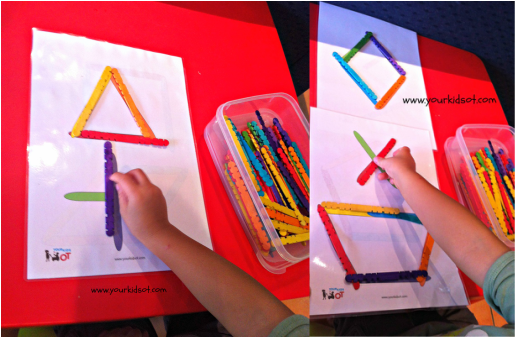
This simple shape matching activity is great for toddlers and preschoolers. It helps kids to become familiar with shapes and understand how to position something in space to match the picture given. This is a really important skill when they learn to draw and write, as they need to "figure out" where lines are in relation to each other to form a picture or letter.
How to use:
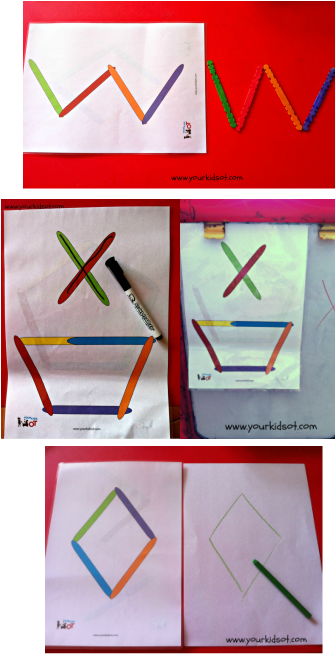
Simply match the craft stick {or other item} to the shape pattern sheets. Your child can match the appropriate colour as well. You could also make the patterns for your child to copy without the pattern sheet. But wait, there's more.... here are suggestions to progress this with your child. The list below is also useful for therapists who may carry this one activity in their "tool kit" and vary it for various children seen within a day according to their skills.
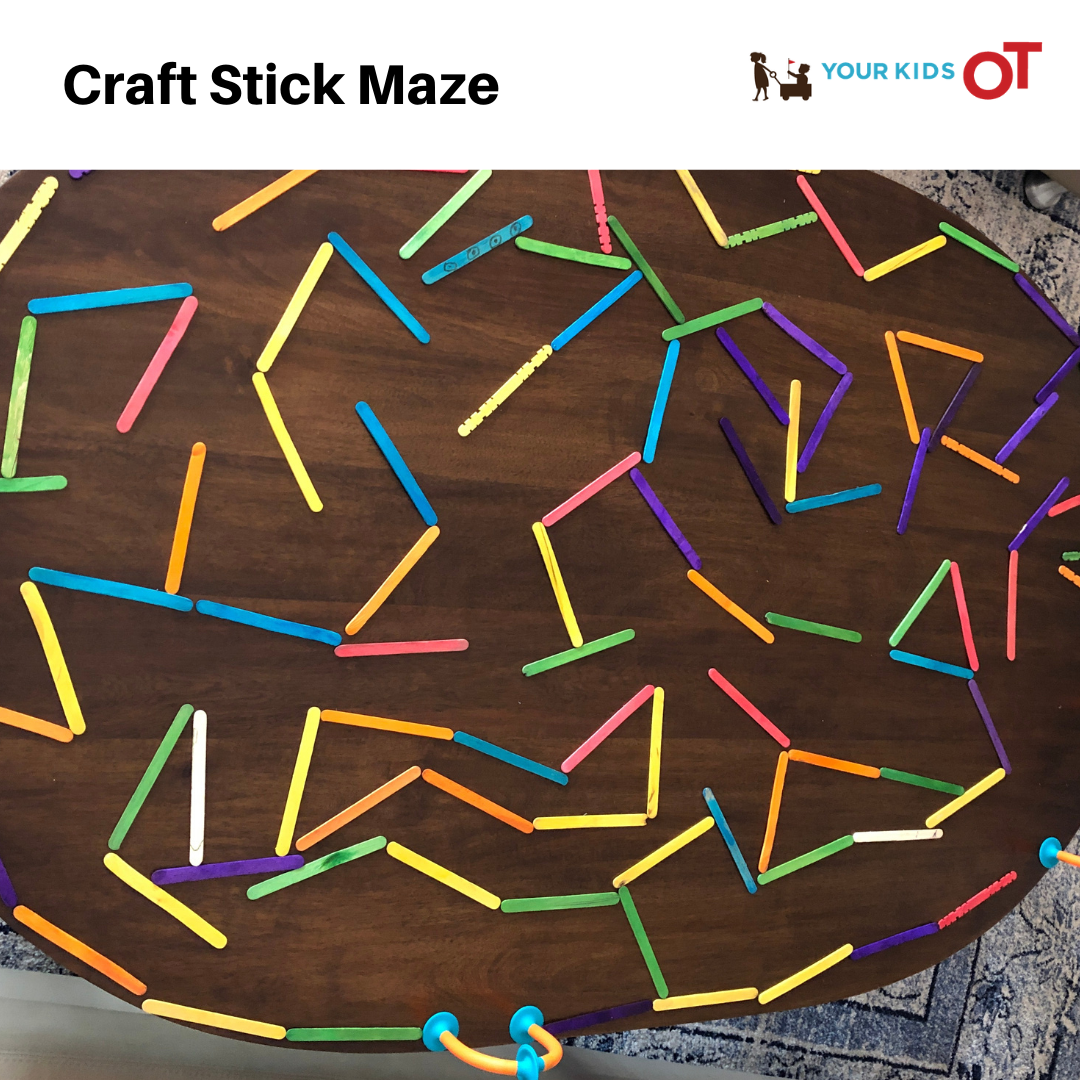
Older children might like the challenge of building a maze with their craft sticks!
For Telehealth OT, I've been using the pattern sheet via a "share screen" or "share pdf" with the children I'm seeing. I can select the pattern and then we can build it together using sticks in front of each of us. I have also used this to encourage drawing from the screen.
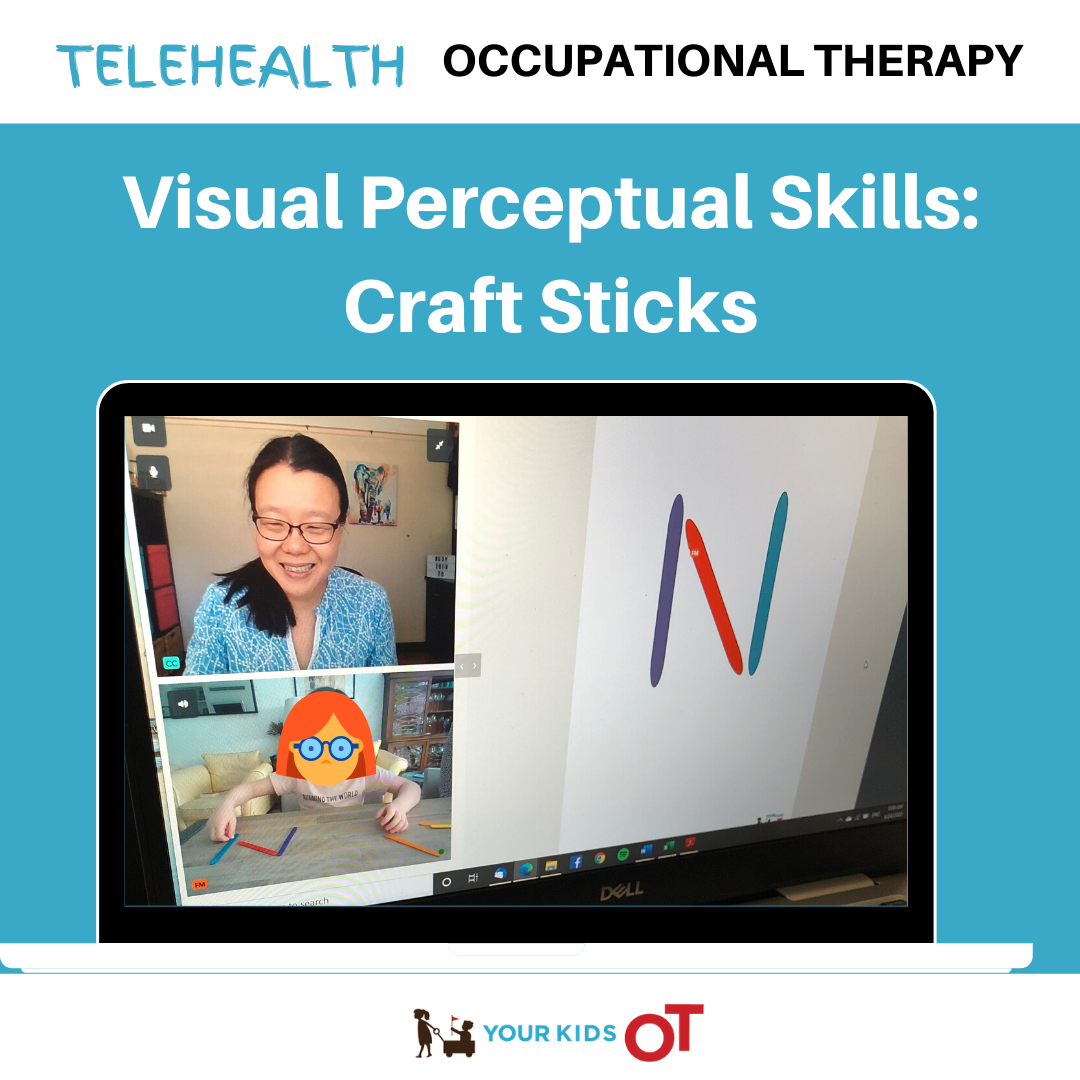
Watch how you can use craft sticks on the You-tube video below or via this link --->
If you have an older child having difficulty with letter formation, then it is worth re-visiting shapes and pattern making. Don't forget to visit theYour Kids OT shop for your copy of these shape pattern sheets.Craft Stick Pattern Copy Templates
Cindy is a registered occupational therapist practising in Sydney, Australia. She has two growing children who are a constant source of inspiration and learning. Cindy loves working creatively to help children to reach their potential, finding opportunities in everyday living and making learning fun. She is also addicted to making printables (even when they take a long time to complete). Cindy is the author of the Occupational Therapy blog Your Kids OT. Read more articles from Your Kids OT at https://www.yourkidsot.com/blog
Cindy is a member of the Functional Skills for Kids Therapy Team. They have together published THE HANDWRITING BOOK, THE SCISSORS SKILLS BOOK and THE TOILETING BOOK. The information on this site is general in nature. The activities are safe for most children, however, you should consult an Occupational Therapist or health professional to address specific movement, sensory or other medical conditions. Affiliate links are used throughout this website to promote products I love and recommend. I receive a commission if any purchases are made through these links. Please see my disclosure policy for more details. Amazon Store: https://www.amazon.com/shop/yourkidsot YKOT shop: https://www.yourkidsot.com/store/c1/Featured_Products.html Teachers Pay Teachers: https://www.teacherspayteachers.com/Store/Your-Kids-Ot Facebook: https://www.facebook.com/yourkidsot Instagram: https://www.instagram.com/yourkidsot/ Pinterest: https://www.pinterest.com.au/yourkidsot/
You may also like:
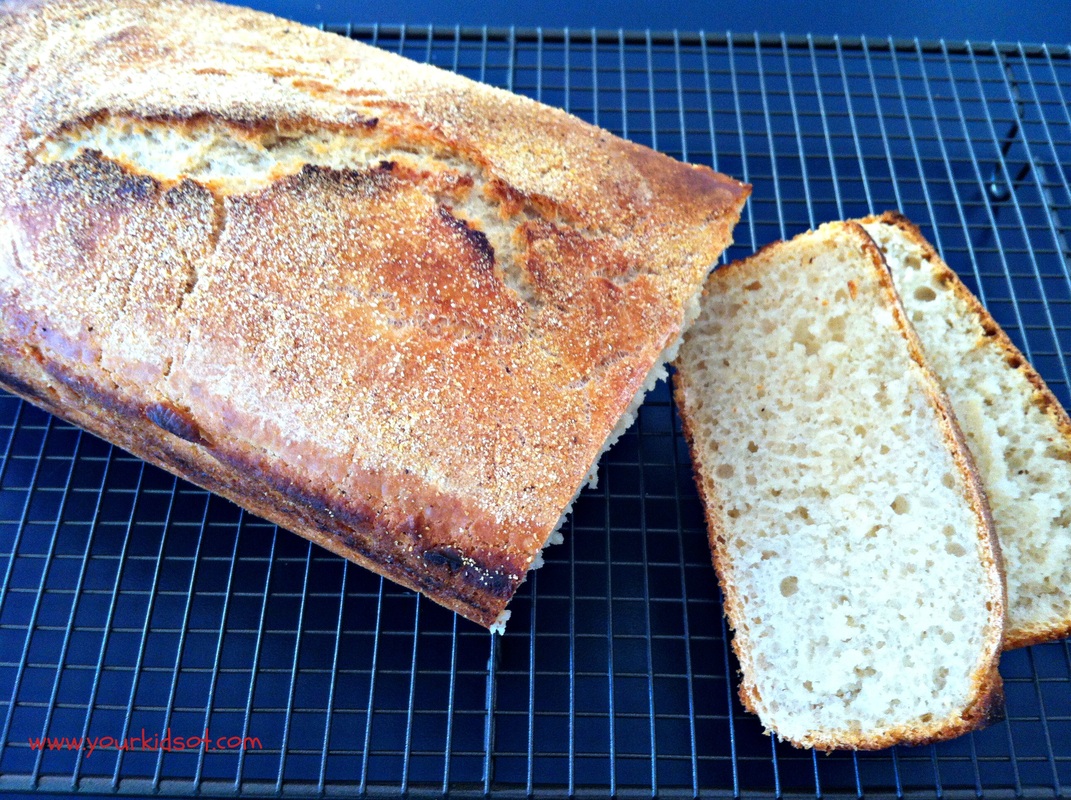
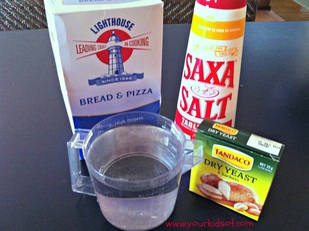
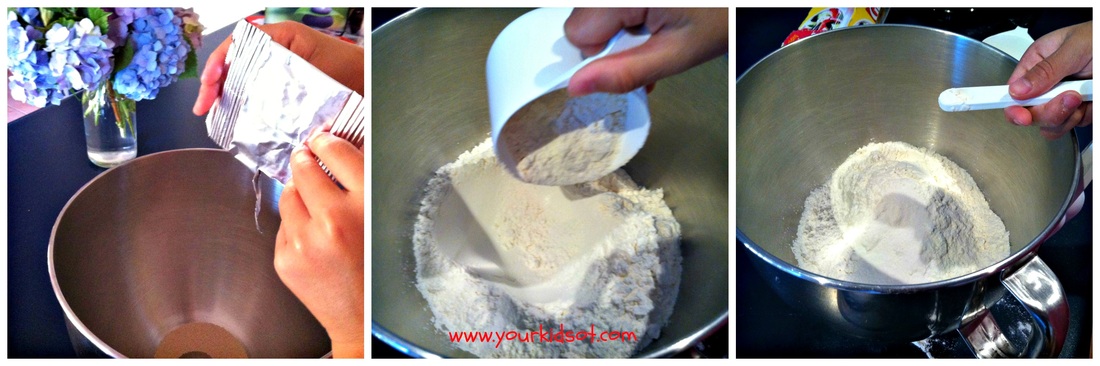
Method: Stage 1 1. Mix all flour, water, salt and yeast in a bowl using a flat-bladed knife. 2. Cover with plastic wrap and leave for 18 hours (overnight, however time is not critical).
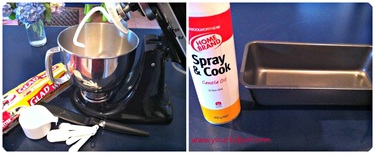
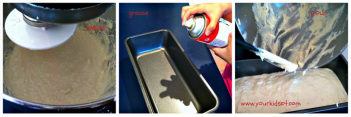
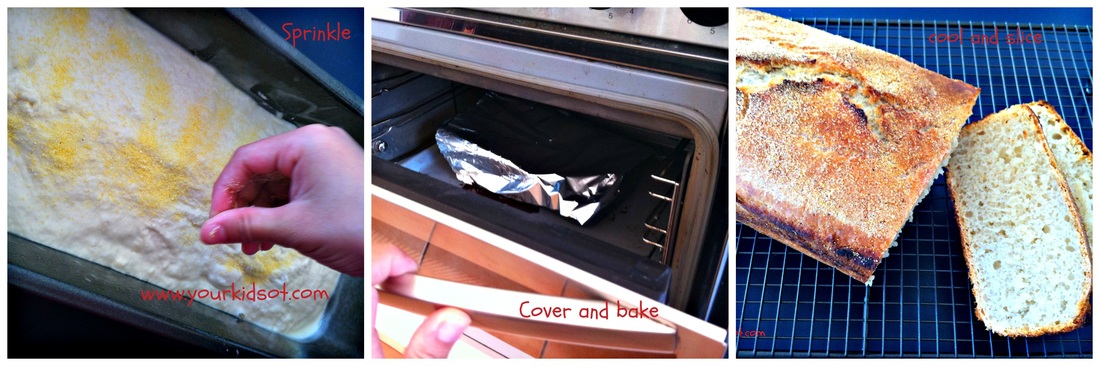
Stage 2 1. Preheat the oven to 250°C (or your highest setting). 2. Use a mixer with dough hook (or hands) to knead the mixture. Dough should be pourable consistency (ie. still quite wet). Add more flour if necessary. 3. Grease the baking tin with cooking spray. Pour dough into the baking tin. Sprinkle with extra flour or polenta (not essential). 4. Cover baking tin with foil and bake for 40 mins, then remove foil and cook for another 5 mins. 5. Cool on a wire rack. When cool, transfer to a chopping board to slice and serve.
Message to adults... · The mixture can be “knocked down” and kneaded by hand. Dip your hands in cold water occasionally to help with handling the sticky mixture. It is easier in a mixing bowl as it is very sticky. · The dough may be placed on a greased oven tray as a free form loaf or shaped into smaller loaves. You may pre-heat the oven tray or baking tin, however, I have found the recipe to work without this step. · Oven temperatures may vary so there may be a variation in cooking time. · Adult supervision may be required when handling the baking tin and oven. Happy baking!
|
AuthorHi, I'm Cindy and I am an Occupational Therapist. I enjoy working creatively with children to see them reach their potential. Read more about me here. 
SEARCH THIS SITE

Archives
April 2024
Categories
All
Popular Posts

 |


 RSS Feed
Join the YKOT e-newsletter!
Subscribe to get our latest content by email and receive
the SHAPE ROADS PRINTABLE NOW!

Success! Now check your email to confirm your subscription and receive your free printable!
Join our Mailing List!
Subscribe to get our latest content by email and receive
the SHAPE ROADS PRINTABLE NOW as a thankyou!
Success! Now check your email to confirm your subscription and receive your free printable!
Disclaimer: The information on this site is general in nature and should be used for educational and entertainment purposes. The activities are safe for most children, however, you should consult an Occupational Therapist or health professional to address specific movement, sensory or other medical conditions. This blog does not replace formal therapeutic professional advice given by a health professional or medical practitioner. Reviews and endorsements of products will only be made based on my expertise and personal opinion; and deemed worthy of such endorsement. The opinions shared in sponsored content will always be my own and not that of the advertising company or brand. Content, advertising space or posts will be clearly identified if paid, affiliated or sponsored. Affiliate links may be found throughout this website in advertising. This means that if you follow through with a purchase from these links, Your Kids OT will receive a percentage of the sale. Your Kids OT undertakes to meet the requirements of the "Social Media Policy" as published by Australian Health Practitioner Regulation Agency (AHPRA). Further information about this policy can be found here.
Find meFollow me |

|
About me
AuthorHi, I'm Cindy and I am an Occupational Therapist. I enjoy working creatively with children to see them reach their potential. Read more about me here. 
|
Copyright © 2017 Your Kid OT