
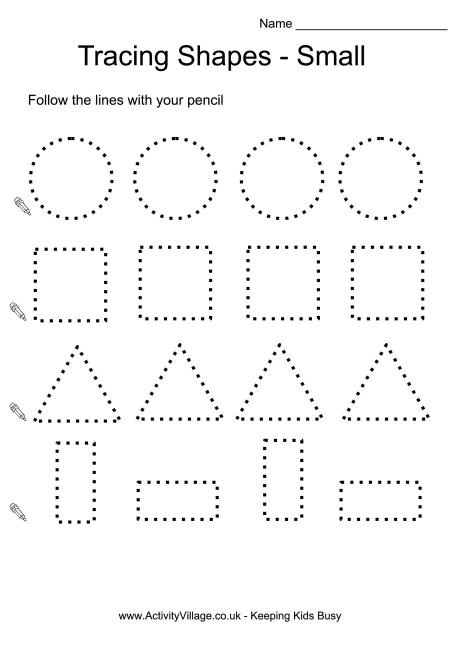
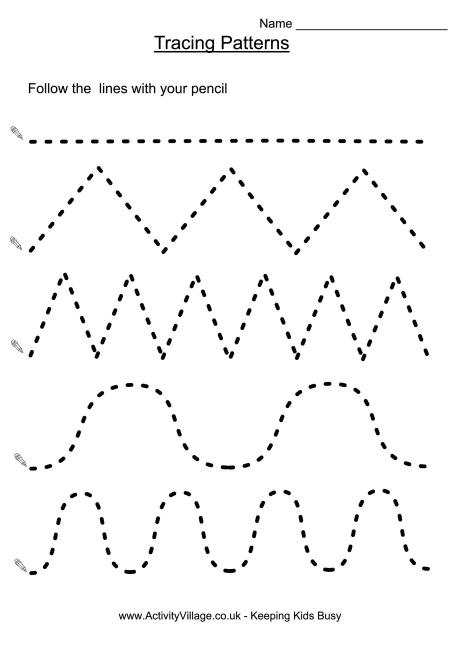
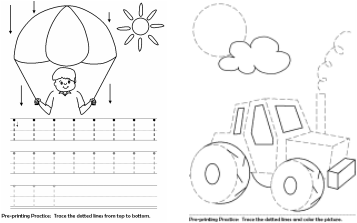
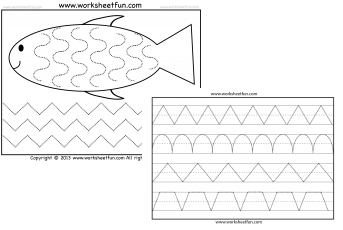
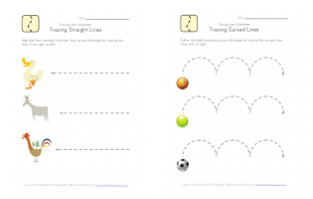
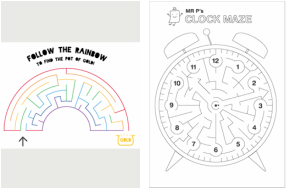
Here are some of my favourites. Click on the title or the photo for links directly to the relevant website. Get those printer ink cartridges ready! Pre-writing skills
I hope you have enjoyed the first "Freebie Friday". Future categories will include cutting skills, drawing and games. What are your favourite websites for "free" printables?
Do you have a child who is learning their "sight words" for school? Once children begin school (Kindergarten in NSW or Reception/Prep/Pre-Primary/Foundation Year depending on where you live) then reading becomes a priority. Most schools use the Dolch sight words as a part of their literacy program. The Dolch sight word list contains 220 most frequently encountered words in children’s literature. The Dolch sight word list is widely used as a teaching tool for reading, writing and spelling. Many of the Dolch word list cannot be “sounded out” and must be learned by sight, which is why the list is often referred to as “Dolch’ Sight Word List”. Dolch excluded nouns from his main list. As an OT, I like to work with teachers and parents. Since learning sight words is a priority in the early school years, I have developed these worksheets to be used with children as they also learn their sight words. I always check with parents and teachers as to what a student is "up to" as my goal is not usually the reading aspect but the writing component of this activity. This “Box Writing” set of worksheets includes each of the Dolch sight words (ie. 220 words), the box shape outlines for each word and space for writing the word. There are 31 pages included in this set of worksheets. You can purchase this set of worksheets from the Your Kids OT shop. These worksheets may be laminated for durability and used with a dry-erase marker. They then may be used multiple times with one child or with numerous children. Here is sample of the worksheets. 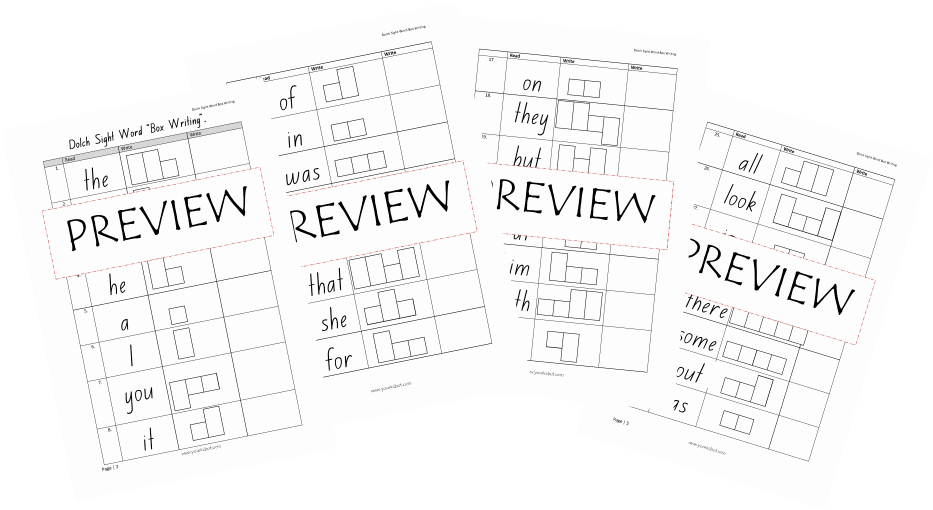 Sample of the Dolch Sight Words "Box Writing" worksheets. “Box Writing” may be used to encourage the development of several skills -
I have also developed a second set of worksheets "Dolch Sight Word Box Writing Match and Write". This set of worksheets encourages your child to match the boxed shaped words with a list of sight words and write them in the appropriate boxes. There are 31 pages in this set of worksheets and you may purchase them from theYour Kids OT shop. Here is a sample of the worksheets. 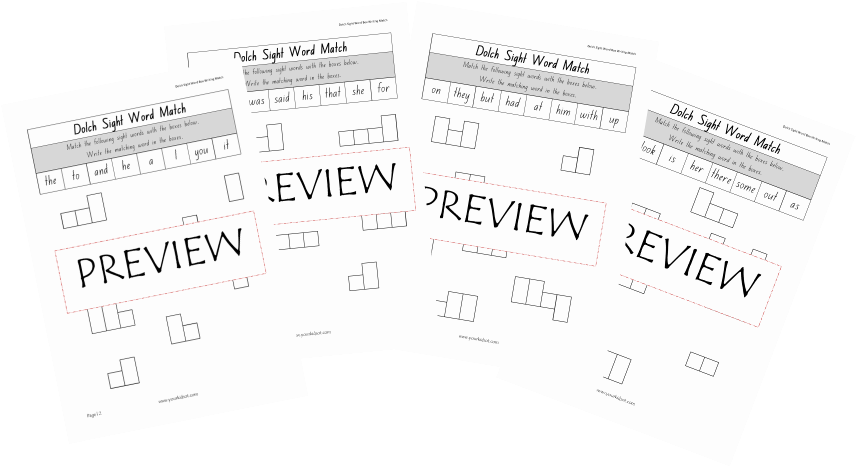 Sample of the Dolch Sight Word Box Writing Match and Write Worksheets. Try these worksheets today! Please take time to browse my other products in the shop. Thanks for your continued support.
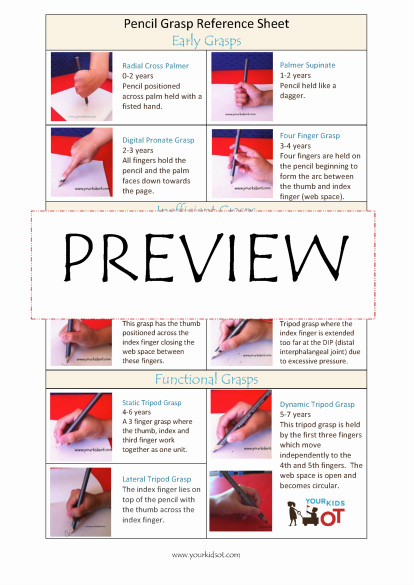
Did you read my first post "Holding a pencil...does it really matter how"? I have put together an A4 reference sheet of all the pencil grasps listed on this blog. It is now available at Your Kids OT shop for purchase for $2.50. The Pencil Grasp Reference Sheet is an excellent resource for teachers and OTs. Purchase it today to add to your "toolkit".
Why not browse the Your Kids OT shop and have a look at my other products? I add new products regularly and this is a way for me to help maintain this website. For those who purchase from "Teachers Pay Teachers" you can also find my products there. Your support is appreciated. Thankyou!
Editors Note September 2014.
It has been brought to my attention that this product of mine is being distributed so I have now added "Preview" to this image. Please purchase this reference sheet for a complete copy! Thank you for your support of Your Kids OT. 
Writer's Hat was created by Linda Amos, a teacher and Assistant Principal from Melbourne, Australia. Ms Amos created Writer's Hat to inspire creative writing, oral literacy and imaginative thinking. It was designed with classroom teachers in mind, however is easily used by therapists and families as well. Writer's Hat is a simple app that consists of a word generator for categories - Who, What, Where and When. Students are encouraged to use the words generated for creative writing. Students who have difficulty with handwriting may also use the app to tell the story (with no writing component). Students may also use the words generated to type out a story on the ipad or desktop computer. 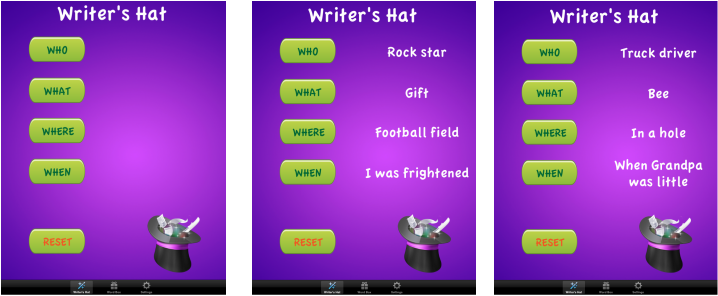 Writer's Hat is an ideas generator to inspire creative writing, oral literacy and imaginative thinking. The app also includes a second page called the "Word Box". This is a word generator for nouns, verbs, adjectives and adverbs. This can be used in the same way as the "Writer's Hat" page.  Word Box generates words for creative writing, oral literacy and imaginative writing. Writer's Hat and Word Box come with an extensive list of words for each category, however you may personalise this by editing the word lists. You could add the names of students and family members. You may edit the spelling of words (which may be different when not in an Australian context). I enjoy using this app with kids in therapy. It is a useful tool to have working with kids who get stuck with ideas and don't know where to start with their creative writing. Kids like the "random" nature of words mysteriously appearing on the screen. You could use this app within a family context to see if you can create a story together. Let me know if your kids enjoy this app or if you find it useful in your context.
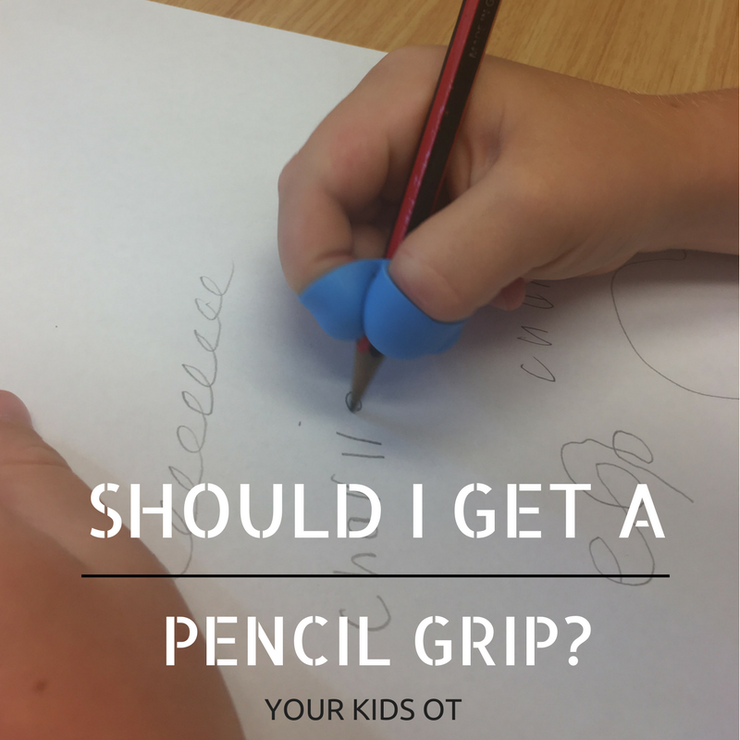
I have to start this post by saying that I try my best not to recommend pencil grips. It may be very "un-OT" of me to say this out aloud but there it is.
Hear me out... the reasons I don't like pencil grips: * they go missing, * children use them incorrectly whilst they are on the pencil, * they are left at home or school and so can't be used in all settings, * they do not always help with writing legibility, * they are seen as the "ultimate help" for handwriting legibility and nothing else is implemented. 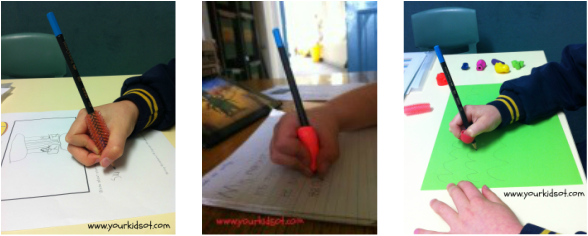
Pencil grips are not always used correctly.
I recommend pencil grips in the following situations:-
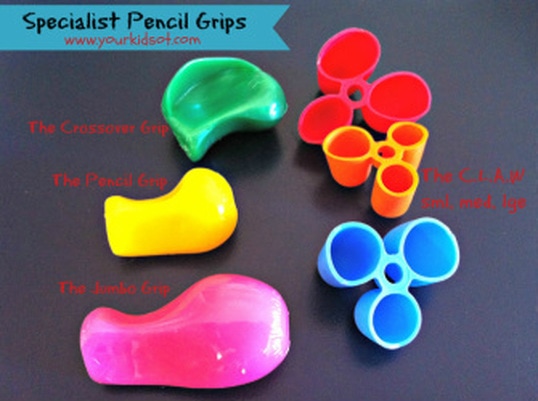
* when an OT uses the grips during therapy sessions to monitor and guide an efficient pencil grasp, * used as a part of a OT plan to address fine motor and handwriting difficulties, * used with the supervision of a teacher and parent so the child uses the pencil grasp in all environments. So then, which one? As each child is an individual, trial a range of pencil grips if possible. A sample pack of grips is an essential for any OT working with school-aged children. Original pencil grips (such as the triangular grip, foam grip, gel ridge grip, stetro grip) provide a guide for finger placement on the pencil. They help to reduce some pressure and may be of assistance to those who hold the pencil too close to the nib or too far away. When a child has established the "wrong" pencil grasp for a long time then using these grips will not be helpful. These grips can be helpful with preschool age children who are just learning about finger placement on the pencil. The most effective pencil grips I have found are "Specialist Pencil Grips". They guide finger placement and are likely to be used correctly by the child trying to alter their pencil grasp.
Specialist Pencil Grips include: -
There are certainly lots of kids who benefit from using a pencil grip. Here are two examples of kids who have found pencil grips to help with pencil grasp and handwriting.
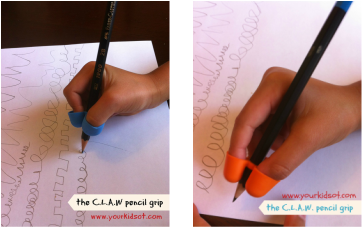
Child 1: Age 8 years 10 months. He used 3 different pencil grasps within one assessment (lateral pencil grasp, static tripod with third finger tucked under pencil, dynamic tripod with hyper-extended index finger). He also moved his hand as one unit whilst writing and held the pencil too close to the nib. This child has found the Writing C.L.A.W holds his fingers into a good position. Mum and teacher have found handwriting legibility has improved. 
Pencil grasp and writing sample from assessment.
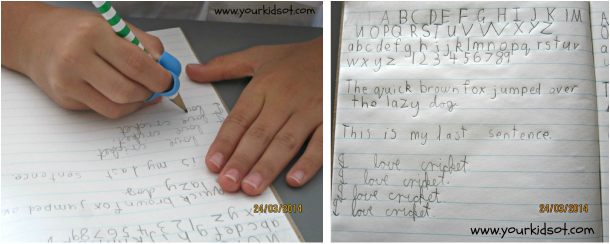
Using the Writing C.L.A.W. and writing sample using this pencil grip for 5 months.
Child 2: Age 5 years 3 months. Pencil grasp was too close to nib of pencil, hyper-extended index finger with wrap around thumb. Too much pressure on the page during assessment although her handwriting legibility was reasonable. Complaints of a "sore" hand after writing. The writing C.L.A.W has helped to position fingers and allow for more dynamic movement of the first three fingers.
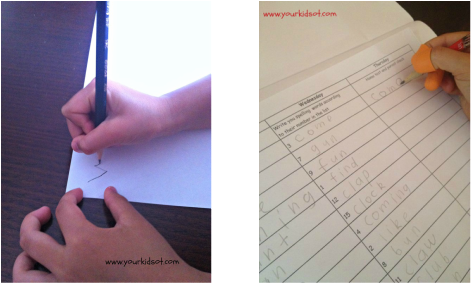
The Writing C.L.A.W pencil grip has helped with dynamic movement of the fingers.
Some children become frustrated when using a pencil grip as they have already established a habit of using an "inefficient" grasp. For these children, check if handwriting speed or fatigue are factors with handwriting and trial different ways to encourage a dynamic tripod grasp. Persist with a pencil grip as they have many years of writing ahead of them {even in this age of technology}.
Once a pencil grip has been chosen as being beneficial for a child, I like to slide it onto a stylus for use with tablet apps. This is a great way to continue encouraging a dynamic tripod grasp as the ipad, iphone or android is usually very motivating. See here for some reviews of ipad apps. Has your child used a pencil grip? Which ones do you like?
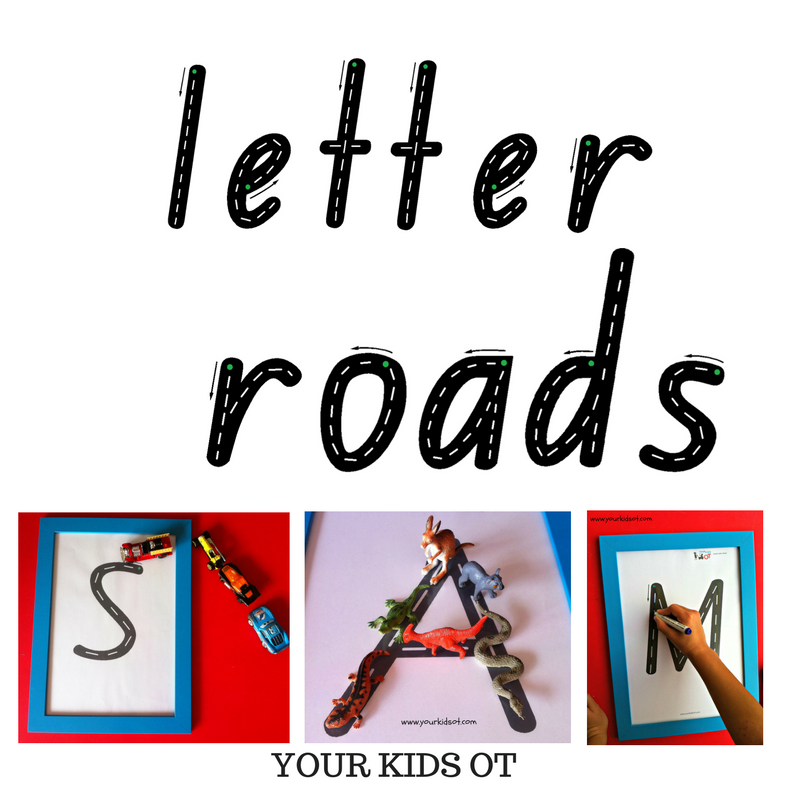
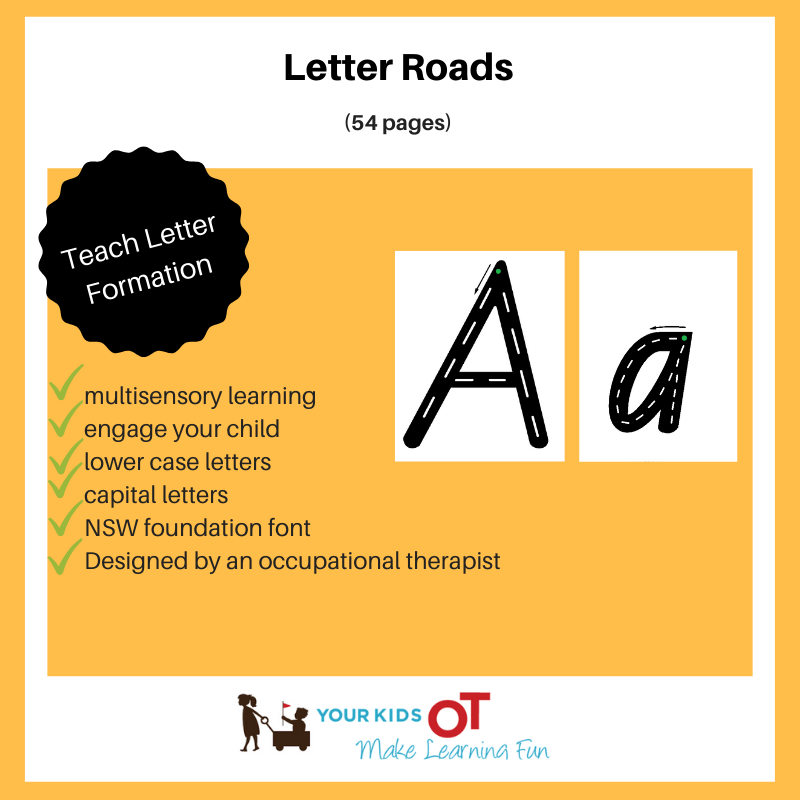
"Letter roads" is a fun engaging way to encourage letter identification, familiarization and formation! Each letter of the alphabet is a road with a black background and white road lines. The letters were created in NSW Foundation font. There is a green starting dot and an arrow to indicate initial direction for correct letter formation.
Whilst becoming familiar with the alphabet, your child can also work on fine motor skills such as a pincer grasp or tripod grasp. They can also use their favourite toys to help form the letters. Here are a few suggestions for how to use Letter Roads... 1. Encourage your child to identify the starting point for each letter by finding the green dot. 2. If your child is unfamiliar with letter formation, you may demonstrate the correction directionality. Some children will require hand over hand assistance to obtain correct directionality. 3. You may introduce one letter at a time or a group of letters according to the current goals for your child (eg. letter of the week, a child’s name, line letters, tall letters). Refer to previous blog about Letter Families. 4. Use your finger to draw along each letter road. 5. Use a car or vehicle to drive along each letter road. 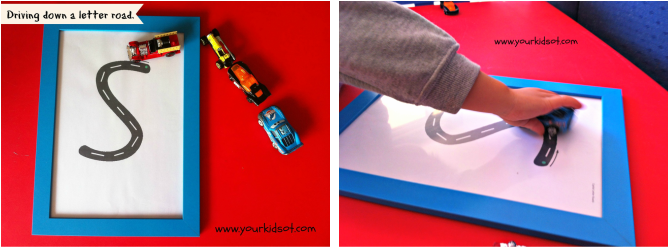
Use a car to drive down the Letter Road.
6. Use figurines or plastic animals to walk along the letter road.
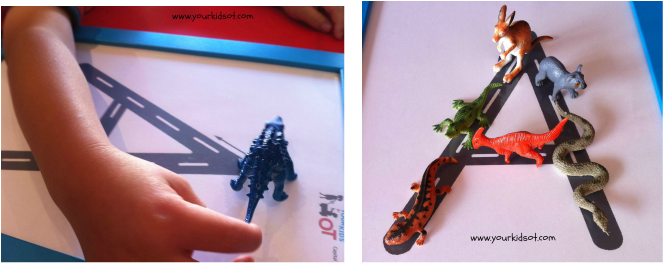
Dinosaurs on a letter road parade.
7. Paint along the letter road using a paintbrush and shaving cream.
8. Roll out playdough to place along the letter road. 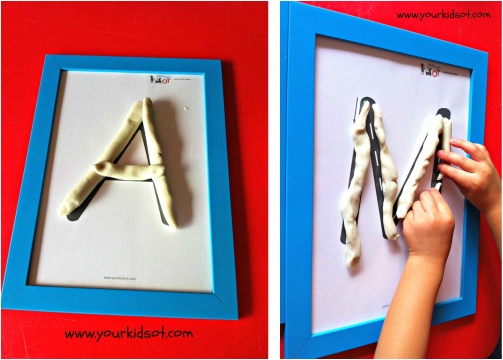
Playdough letter roads.
9. Roll a marble or small ball along each letter road.
10. Pour rice over the sheet and clear the letter road with a finger or paintbrush. 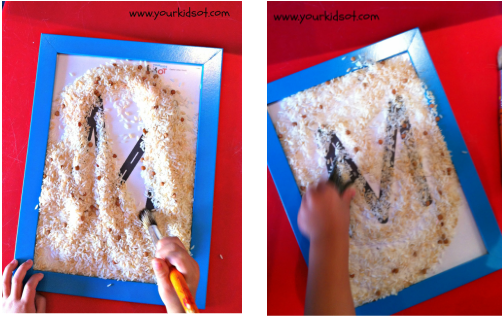
Brushing rice away from letter roads.
11. Write the letter using a dry-erase marker. Use different colours and make a rainbow road. Write the letter next to the example.
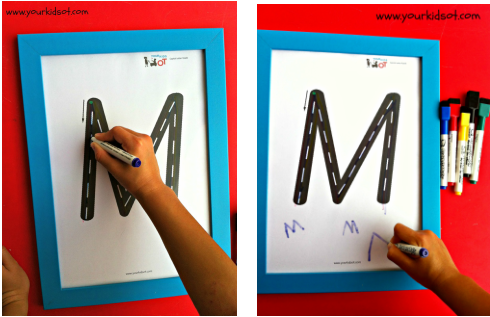
Writing using a dry-erase marker and letter roads.
Laminate your letter roads for durability, place them in a zip lock back, place them in a plastic sleeve or even place them into a plastic frame. This is a fantastic resource for your child to learn letters and practise writing them. It is also a great addition to the therapist's tool kit as you can vary the activity and grade it with various children.
Purchase your own set of letter roads today at theYour Kids OT shop.

Cindy is a registered occupational therapist practising in Sydney, Australia. She has two growing children who are a constant source of inspiration and learning. Cindy loves working creatively to help children to reach their potential, finding opportunities in everyday living and making learning fun. She is also addicted to making printables (even when they take a long time to complete). Cindy is the author of the Occupational Therapy website and blog Your Kids OT and Sensory Diet Activity Guidebook (ebook).
Cindy is a member of the Functional Skills for Kids Therapy Team. They have together published THE HANDWRITING BOOK, THE SCISSORS SKILLS BOOK and THE TOILETING BOOK. The information on this site is general in nature. The activities are safe for most children, however, you should consult an Occupational Therapist or health professional to address specific movement, sensory or other medical conditions. Affiliate links are used throughout this website to promote products I love and recommend. I receive a commission if any purchases are made through these links. Please see my disclosure policy for more details. Your Kids OT blog - https://www.yourkidsot.com/blog Your Kids OT shop- https://www.yourkidsot.com/store/c1/Featured_Products.html Your Kids OT Teachers Pay Teachers - www.teacherspayteachers.com/Store/Your-Kids-Ot Your Kids OT Facebook Page - https://www.facebook.com/yourkidsot/ Your Kids OT Instagram - https://www.instagram.com/yourkidsot Your Kids OT Pinterest - http://www.pinterest.com/yourkidsot Your Kids OT Amazon store - https://www.amazon.com/shop/yourkidsot
Watch Letter Roads on You-Tube: https://youtu.be/mTmKkj_HeAg
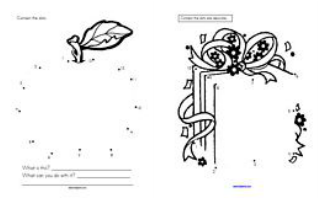
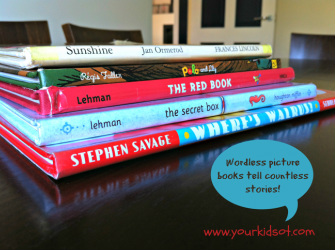
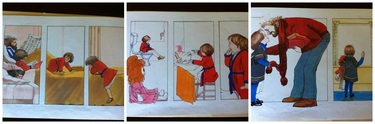
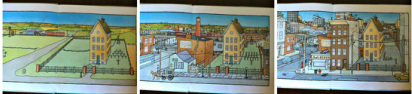
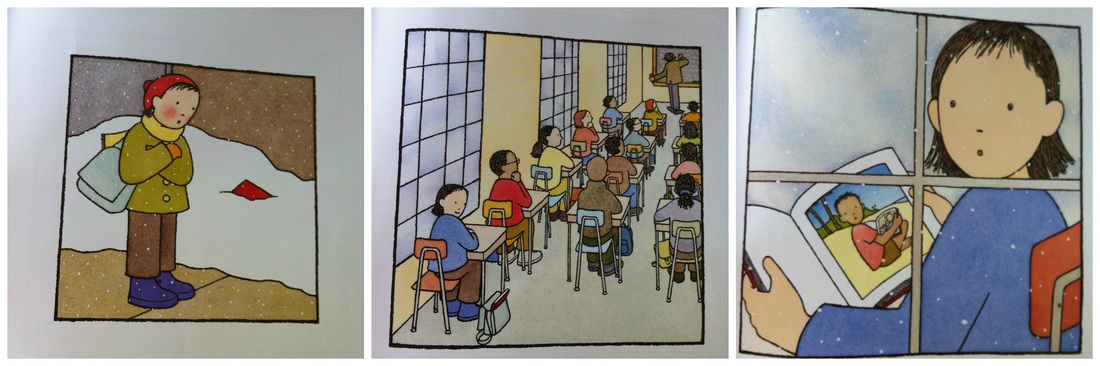
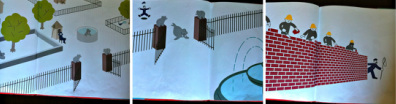
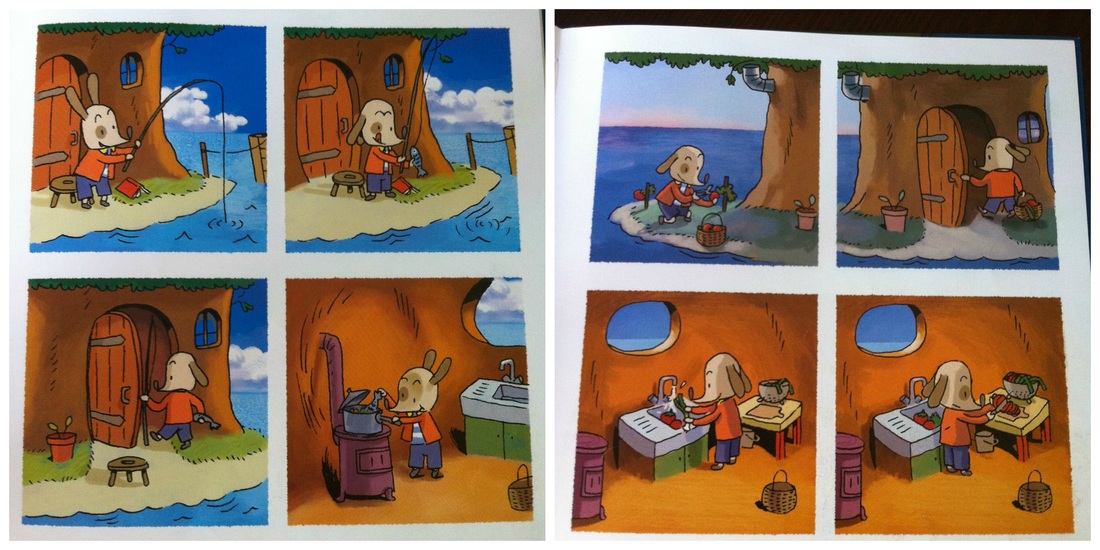
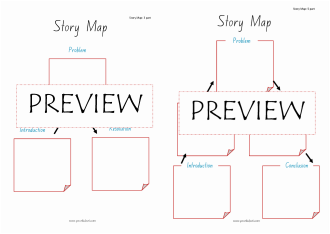
I have listed a few ways that wordless books can be used at home, in school and therapy sessions. You may focus on different goals depending on your child's age and current difficulties. You may also work through a progression over different "sessions" at the pace suitable for your child. For example, If you have a school-age child who has difficulty with handwriting and putting thoughts on paper; you may choose to focus on your child describing and telling with the wordless books without a pencil/paper component. If you have at toddler, you may spend many times facilitating the story for your child when one day they decide to "read" the book for themselves.
Have you "read" wordless picture books with your children? Have you used them as a therapist? What's your favourite wordless picture book? 
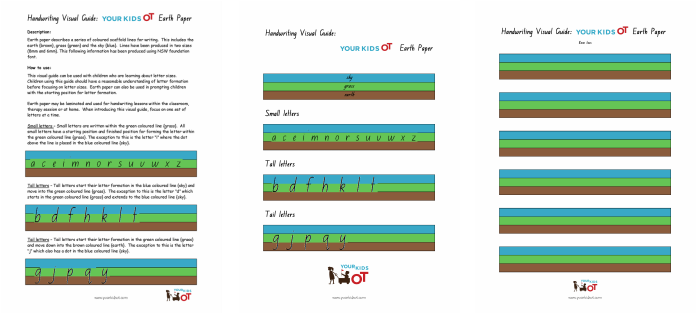
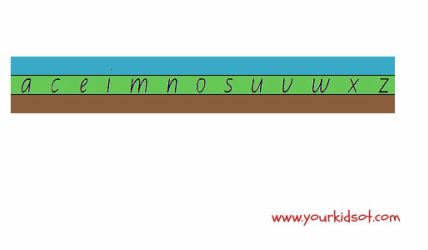
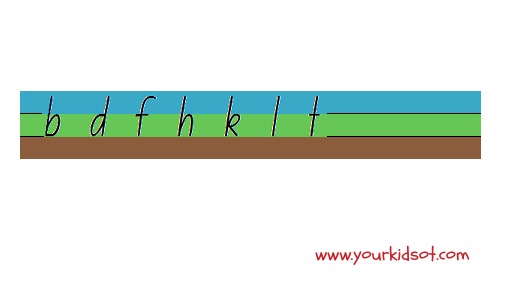
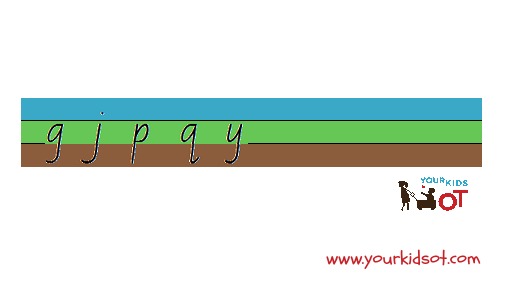
Occupational Therapists have been using "earth" paper for a while. Typically "earth" paper is a series of lines (baseline and scaffold lines) for handwriting. The lines are coloured to provide a visual guide for letter placement and size. Working on letter size and placement helps handwriting legibility when printing.
I have used my version of "earth" paper in therapy sessions with great success to help with letter size and letter formation. The results are neatness and legibility as well as child's understanding of how letters look in relation to each other. I have developed a set of "earth" paper which is unlike those found elsewhere. There are solid coloured lines for the earth {brown}, grass {green} and the sky {blue}. Lines have been produced in two sizes (8mm and 6mm). My version of "earth paper" can be purchased from the Your Kids OT shop. I usually use "earth" paper when introducing letter sizes and reinforcing starting points for letter formation. "Earth" paper is great when introducing letter families according to size of the letters {Refer to previous post for descriptions about letter families in "Meet my Letter Families"} . "Earth" paper may be laminated for durability to use with multiple children or repeated use with one child. You can take a photo of their work so that you have a record of progress. Alternatively you could colour photocopy numerous pages of "Earth paper" to use as needed with a class or individual children. As a child becomes familiar with writing on the paper, I may place a copy of the "earth" paper under their regular notebook as a faint guide. I will then withdraw the use of the paper as the child shows more consistency with letter size and formation. I may come back to the "earth" paper with the same child if they have a future block of therapy or after a break such as the school holidays. Here is a guide for using "earth" paper.
"Earth" Paper may be purchased from the Your Kids OT shop. This PDF visual guide contains a how to use guide, wall poster with NSW foundation font letters placed on the "earth paper" and two pages of blank "earth paper". Lines have been produced in two sizes (8mm and 6mm). See a preview of this paper below.
Have you used "earth" paper? Has your child shown an improvement in handwriting legibility after using "earth" paper?

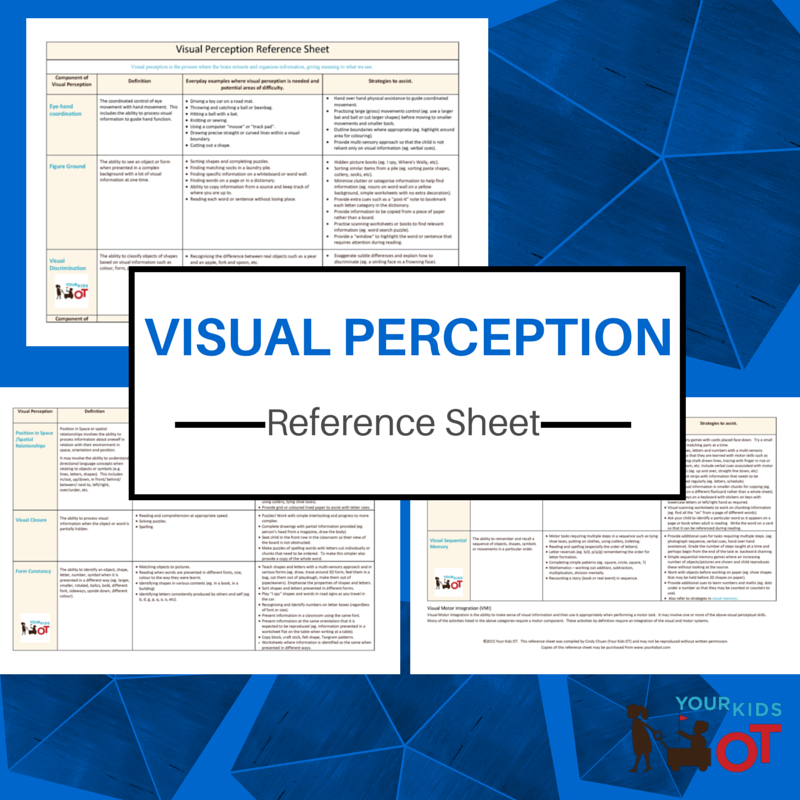
Visual perception is the process of extracting and organising information, giving meaning to what we see. It is required to perform everyday tasks, such as reading, copying information from a board or understanding symbols. Read more about visual perception on the Visual Perceptual Skills homepage.
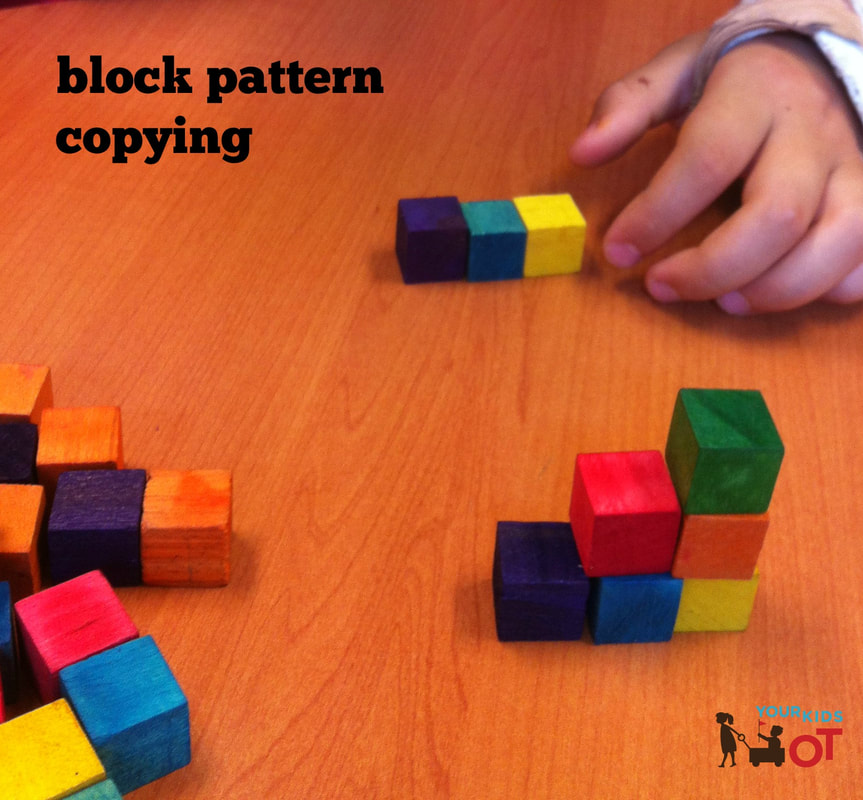
As children develop visual perceptual skills and visual spatial skills, they develop an awareness of how they relate to the world around the. They develop body awareness and work out how to relate to objects. They also become aware of how objects relate to each other.
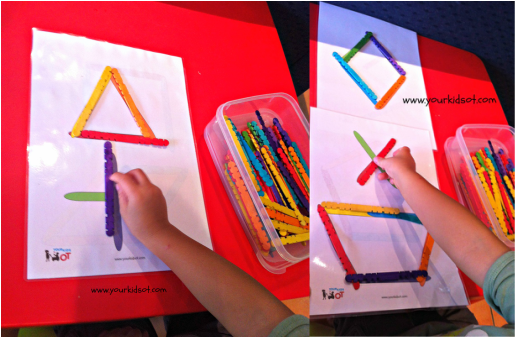
This simple shape matching activity is great for toddlers and preschoolers. It helps kids to become familiar with shapes and understand how to position something in space to match the picture given. This is a really important skill when they learn to draw and write, as they need to "figure out" where lines are in relation to each other to form a picture or letter.
How to use:
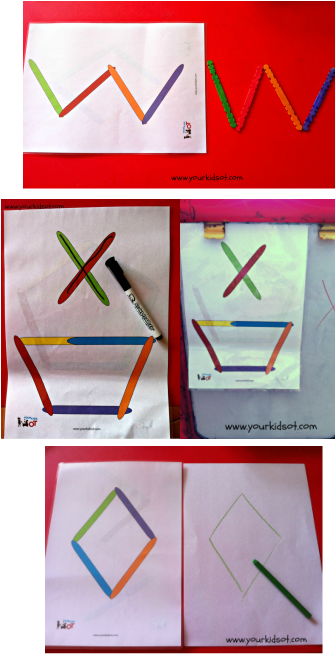
Simply match the craft stick {or other item} to the shape pattern sheets. Your child can match the appropriate colour as well. You could also make the patterns for your child to copy without the pattern sheet. But wait, there's more.... here are suggestions to progress this with your child. The list below is also useful for therapists who may carry this one activity in their "tool kit" and vary it for various children seen within a day according to their skills.
Older children might like the challenge of building a maze with their craft sticks!
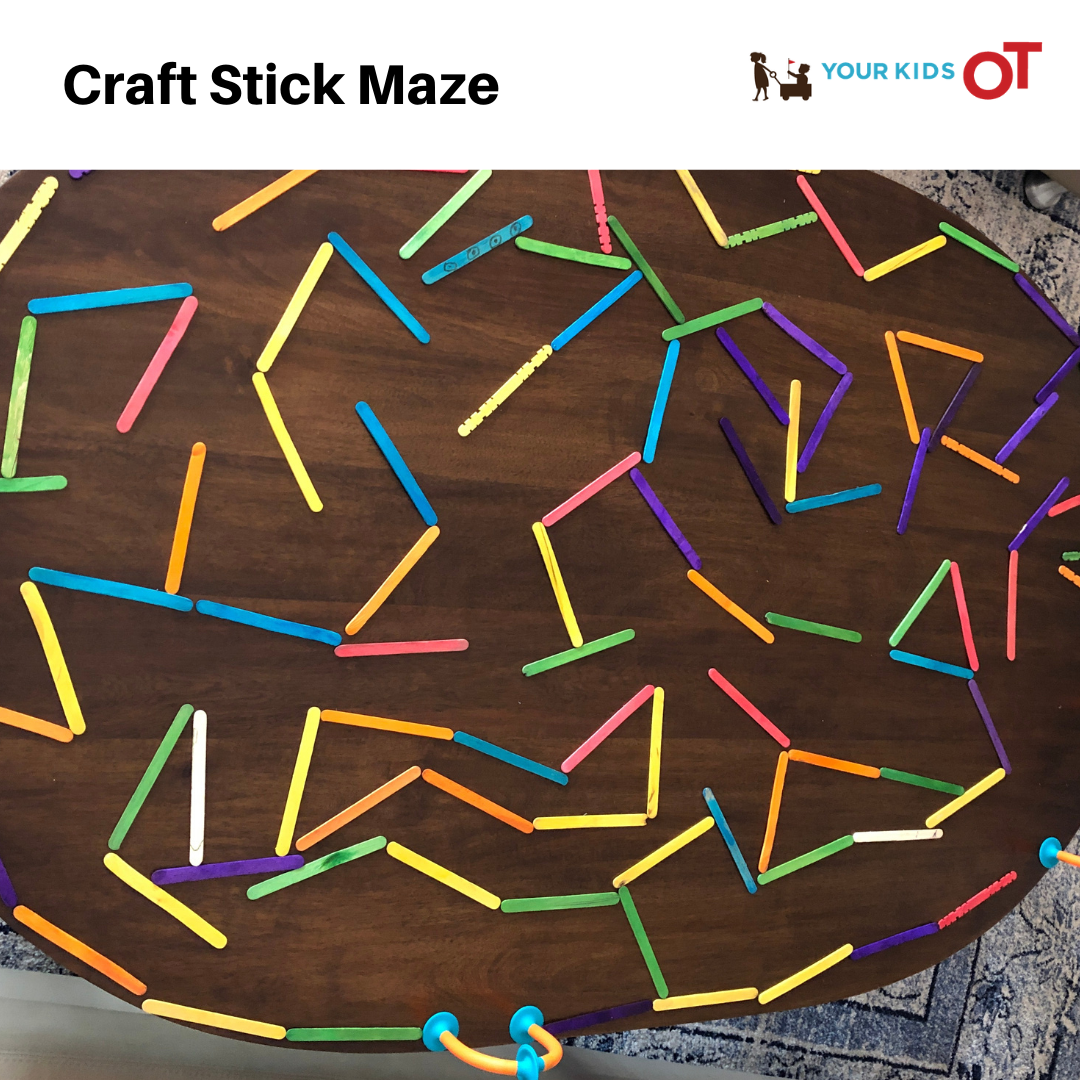
For Telehealth OT, I've been using the pattern sheet via a "share screen" or "share pdf" with the children I'm seeing. I can select the pattern and then we can build it together using sticks in front of each of us. I have also used this to encourage drawing from the screen.
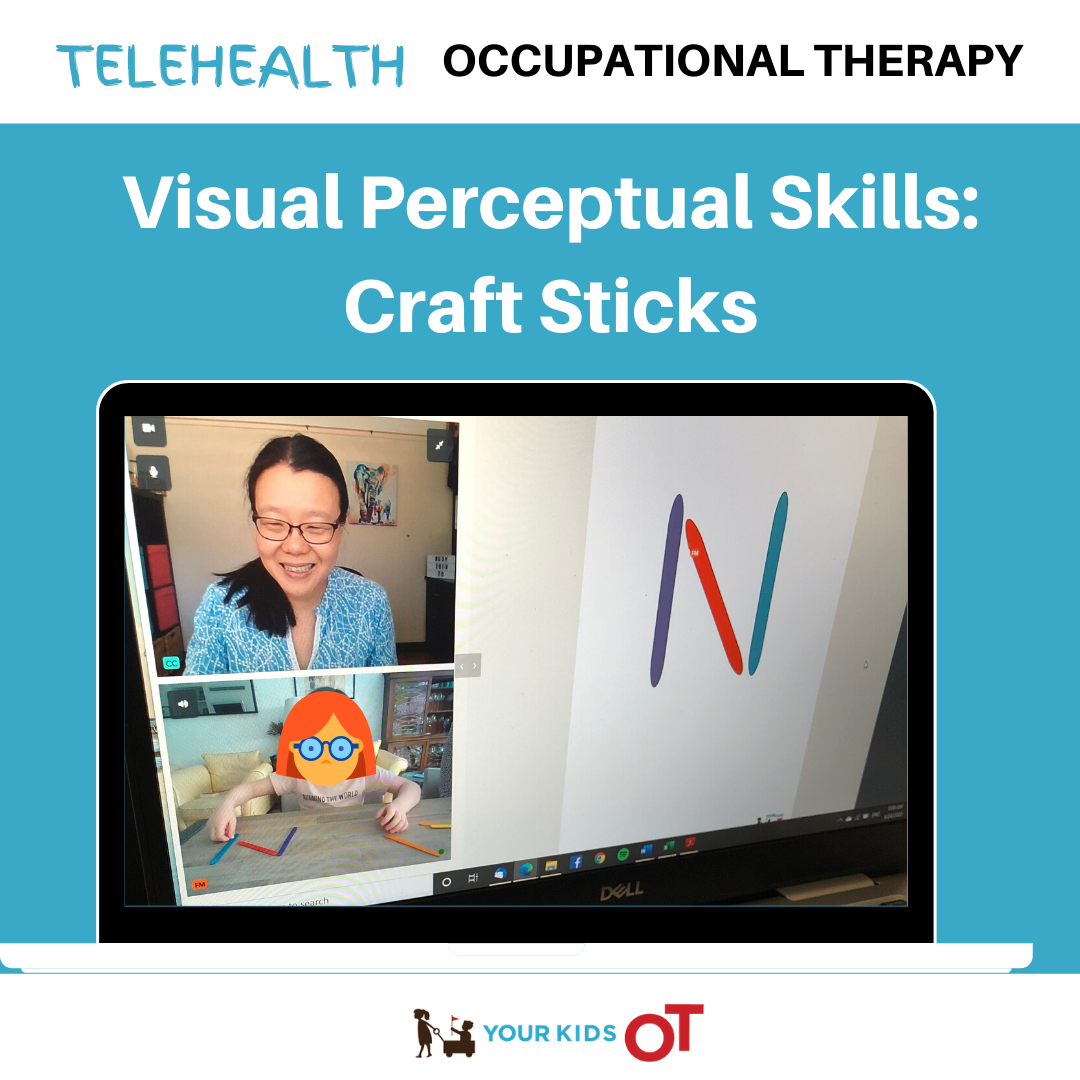
Watch how you can use craft sticks on the You-tube video below or via this link --->
If you have an older child having difficulty with letter formation, then it is worth re-visiting shapes and pattern making. Don't forget to visit theYour Kids OT shop for your copy of these shape pattern sheets.Craft Stick Pattern Copy Templates
Cindy is a registered occupational therapist practising in Sydney, Australia. She has two growing children who are a constant source of inspiration and learning. Cindy loves working creatively to help children to reach their potential, finding opportunities in everyday living and making learning fun. She is also addicted to making printables (even when they take a long time to complete). Cindy is the author of the Occupational Therapy blog Your Kids OT. Read more articles from Your Kids OT at https://www.yourkidsot.com/blog
Cindy is a member of the Functional Skills for Kids Therapy Team. They have together published THE HANDWRITING BOOK, THE SCISSORS SKILLS BOOK and THE TOILETING BOOK. The information on this site is general in nature. The activities are safe for most children, however, you should consult an Occupational Therapist or health professional to address specific movement, sensory or other medical conditions. Affiliate links are used throughout this website to promote products I love and recommend. I receive a commission if any purchases are made through these links. Please see my disclosure policy for more details. Amazon Store: https://www.amazon.com/shop/yourkidsot YKOT shop: https://www.yourkidsot.com/store/c1/Featured_Products.html Teachers Pay Teachers: https://www.teacherspayteachers.com/Store/Your-Kids-Ot Facebook: https://www.facebook.com/yourkidsot Instagram: https://www.instagram.com/yourkidsot/ Pinterest: https://www.pinterest.com.au/yourkidsot/
You may also like:
There are two different "letter families" that I use. Letter families are groups of letters taught at the same time for a specific purpose. I have grouped these letter families when teaching to write NSW Foundation Font lowercase letters in print. NOTE: This blog post will focus on letter families. There are a few references in this blog to look out for future posts about activities that may be done to encourage learning letter families. There is just too much information for one post about this!! Thanks for your patience. Let me introduce you to the first letter family {Magic C letters, Line letters and the odd ones out}. I use this letter family when introducing or focusing on letter formation. Magic C letters are written with the "C" component drawn first during letter formation. Line letters are written with the "line" component drawn first during letter formation. I further categorise these letters according to size teaching tall lines, short lines and then the tail lines. Odd ones out are letters that have no common features. 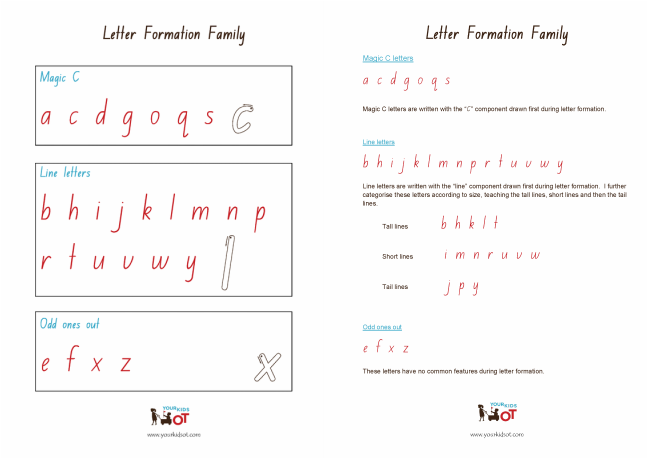
Once letter families are introduced to children, I use several activities to help children classify the letters into the aforementioned groups. This may include sorting out flashcards into piles, using magnetic letters to put groups on different boards, completing a find a word puzzle of one category of letters, etc. Future posts will have photographs and further descriptions. The letters in the second letter family are based on size {small, tall and tail letters}. Look out for future posts for suggestions to work on letter size. 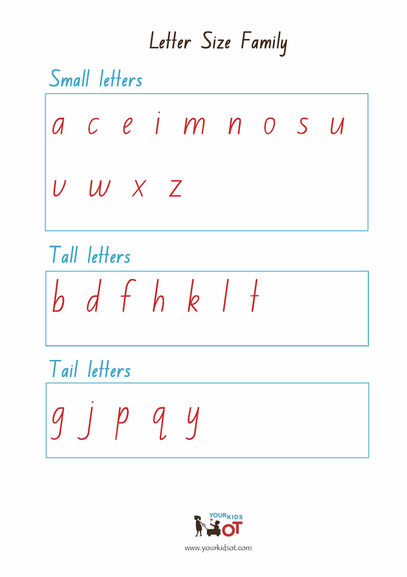 Why letter families? 1) Letter families help children to "group" or "classify" letters. With the letter formation family - children group the letters not only in the way they look but also according to the first motor action it takes to write the letter {eg. draw a line down). This in turn, helps children to plan when writing as they can visualise what they need to do. With the letter size family - children group the letters in relation to each other [eg. tall letters are twice the height of small letters}. This again helps with planning and visualisation for writing. 2) The letter formation family may help with classification of common letters that children "reverse" such as"b" and "d". In this instance, children learn that "b" is a line letter so the line is drawn first. "d" is a magic c letter so the "c" is drawn first. 3) The letter size family can remind children of a letter's "starting point" when writing. For all "tall letters" start up high (with one exception being d). 4) Letter families help children with legibility and neatness. Do you use letter families? What letter families work for your children?
|
AuthorHi, I'm Cindy and I am an Occupational Therapist. I enjoy working creatively with children to see them reach their potential. Read more about me here. 
SEARCH THIS SITE

Archives
April 2024
Categories
All
Popular Posts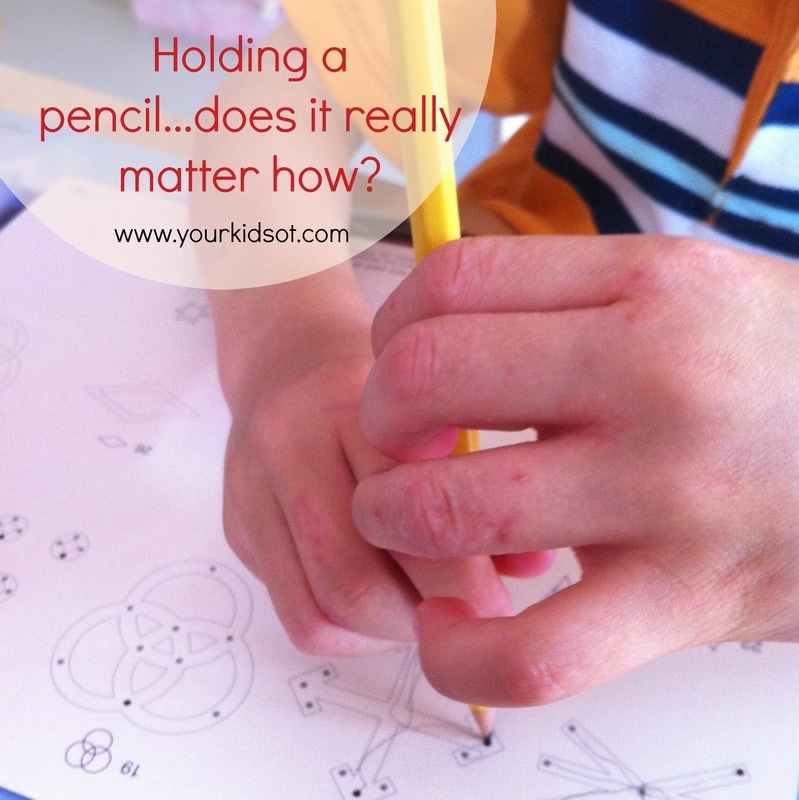

 |


 RSS Feed
Join the YKOT e-newsletter!
Subscribe to get our latest content by email and receive
the SHAPE ROADS PRINTABLE NOW!

Success! Now check your email to confirm your subscription and receive your free printable!
Join our Mailing List!
Subscribe to get our latest content by email and receive
the SHAPE ROADS PRINTABLE NOW as a thankyou!
Success! Now check your email to confirm your subscription and receive your free printable!
Disclaimer: The information on this site is general in nature and should be used for educational and entertainment purposes. The activities are safe for most children, however, you should consult an Occupational Therapist or health professional to address specific movement, sensory or other medical conditions. This blog does not replace formal therapeutic professional advice given by a health professional or medical practitioner. Reviews and endorsements of products will only be made based on my expertise and personal opinion; and deemed worthy of such endorsement. The opinions shared in sponsored content will always be my own and not that of the advertising company or brand. Content, advertising space or posts will be clearly identified if paid, affiliated or sponsored. Affiliate links may be found throughout this website in advertising. This means that if you follow through with a purchase from these links, Your Kids OT will receive a percentage of the sale. Your Kids OT undertakes to meet the requirements of the "Social Media Policy" as published by Australian Health Practitioner Regulation Agency (AHPRA). Further information about this policy can be found here.
Find meFollow me |

|
About me
AuthorHi, I'm Cindy and I am an Occupational Therapist. I enjoy working creatively with children to see them reach their potential. Read more about me here. 
|
Copyright © 2017 Your Kid OT