
|
Looking for a simple homemade activity for a rainy day or the next school holidays? This one will appeal to toddlers, preschoolers and big kids.
To play: Option 1 - Blow into the cup and watch it move along the thread. Have races! {Note: What a great oral motor activity - However, this didn't work well for us as I realised that our thread was fairly low to the ground...so instead we came up with option 2}. Option 2 - Turn your construction into a cable car to ferry passengers. Mr 3 loves his experiences of riding in cable cars, especially when we visit Taronga Zoo! We added some masking tape to the cups and plastic animals placed on the chairs at either end for the "zoo". Lots of pretend play fun! 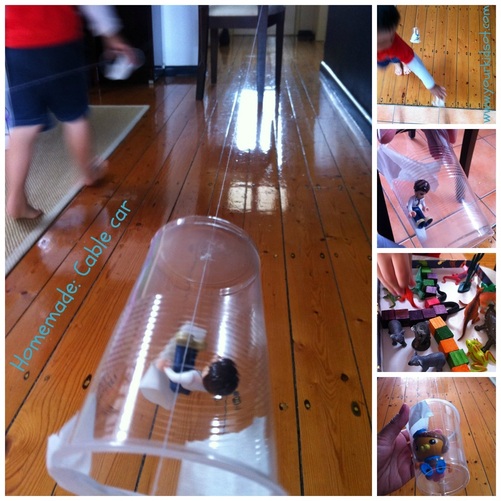 School holidays are a week away for us in Sydney. Try setting up a cable car with a few things you probably have around the house! Do your kids love cable cars?
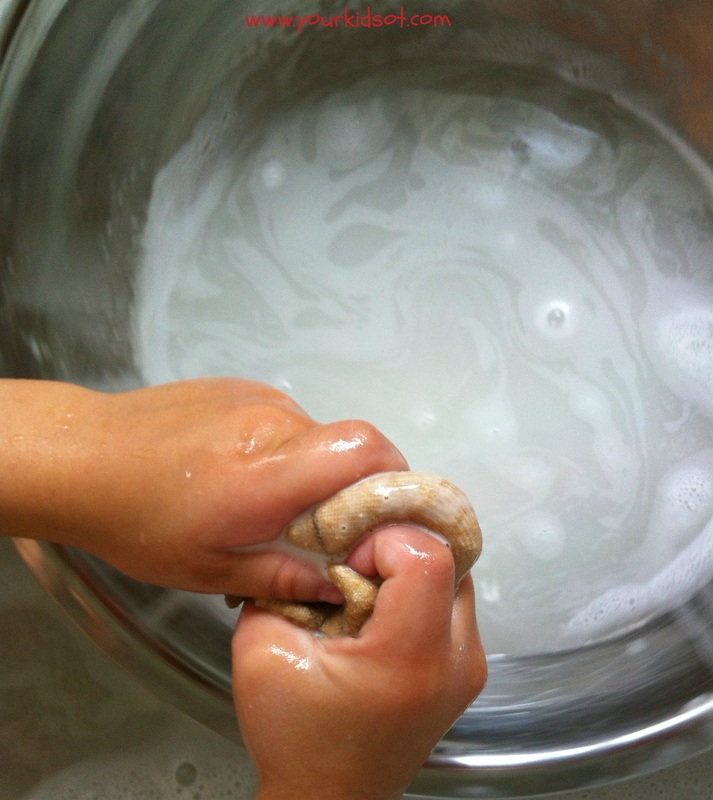
 Oats can be found in many skincare products. They have been clinically shown to help heal dry and itchy skin. Miss 7 has eczema and an "oat-milk bath" was recommended to us by a friend when she was younger. This is what we do.... What do you need? Rolled oats (uncooked and not the instant stuff). Sockette Preparation Place 1/2 cup (or more) of the oats into the sockette. Tie a knot in the sockette. What do you do? Place the oat-filled sockette in some water allowing the oats to soak up the water. Squeeze the sockette. Repeat until you get a milky liquid from the oats. Miss 7 likes using oat-milk on her arms and legs. She rubs the sockette on her skin squeezing out the milk. You can generate quite a lot of oat milk from the 1/2 cup of oats. If you have more than one child in the bath with multiple sockettes, the bath gets quite milky. When finished, discard the oats and wash out the sockette for next time.
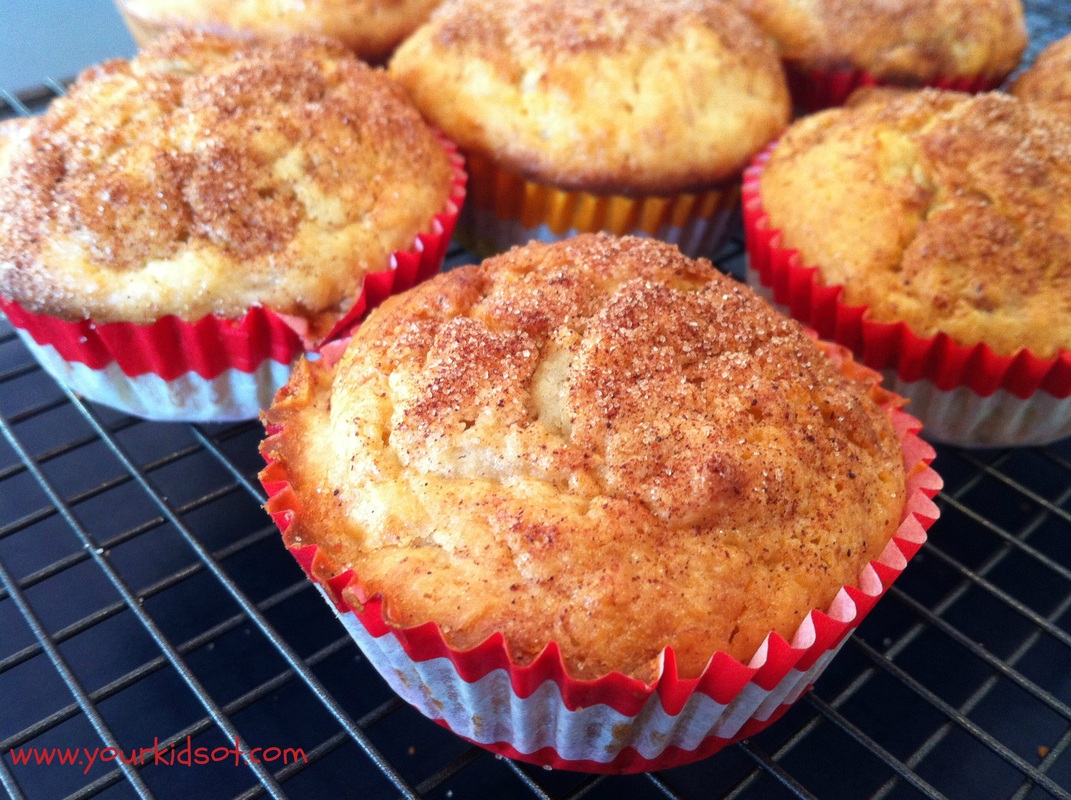
Banana sour cream muffins are a quick yummy snack, perfect for the school lunch box or afternoon tea. The sour cream keeps the muffin moist and the cinnamon sugar on top adds a special touch of yum!
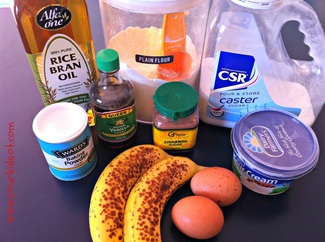
Method 1. Preheat the oven to 180°C (350°F). 2. Peel and mash the banana in the mixing bowl. Add 2 eggs, sour cream, vanilla and oil. 3. Whisk these ingredients together until well combined. 4. Add the sugar. Sift in the flour and baking powder. Stir mixture gently with spoon. 5. Line muffin tray with patty pans. Spoon mixture into patty pans. 6. Sprinkle cinnamon sugar on each muffin. 7. Bake in the oven for 15 minutes. 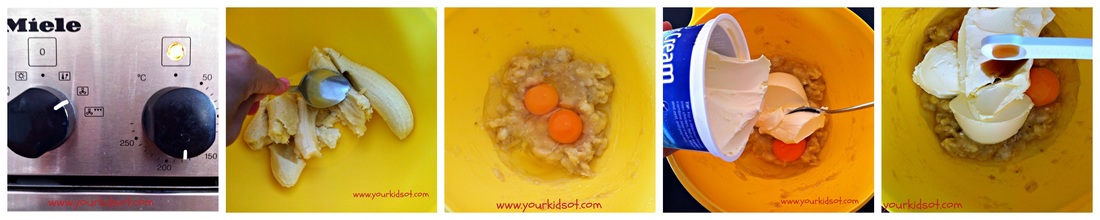 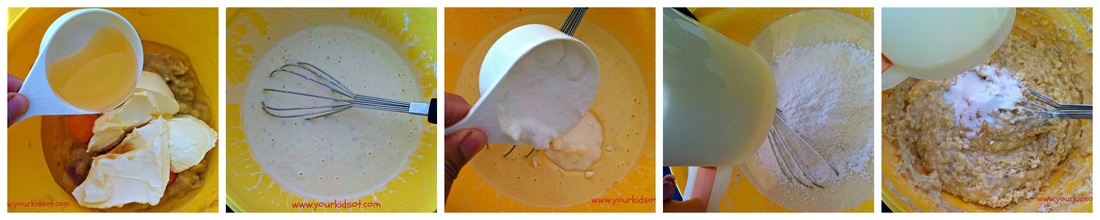 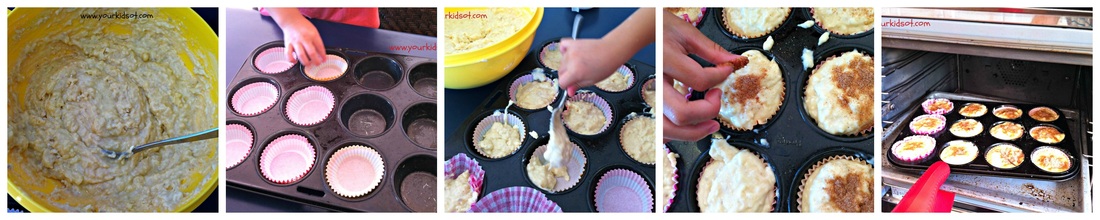 You could adapt this recipe with different flavours (white chocolate and raspberry, blueberry, choc chip, apple and cinnamon). What is your favourite muffin flavour? Happy Baking!
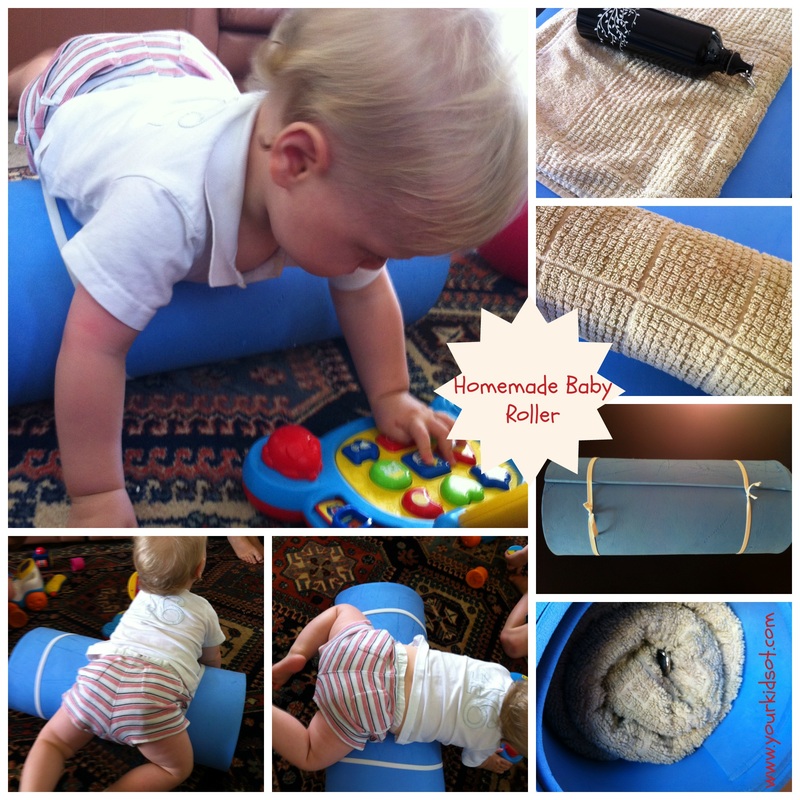
A homemade "roller" for babies to encourage tummy time. The roller allows a baby to weight bear on their arms as they reach for a toy. Encourage your baby to shift weight through their arms when gently moving forward. This is important for getting ready to crawl, strengthening the shoulder girdle and trunk.
How to use? Gently place baby (approximately 6 - 12 months) over the the roller. Provide support around the hips and gently roll the baby towards a toy. Encourage your baby to reach and play with a toy and to weight bear on their arms. Roll them back onto their legs and repeat. Be guided by your baby with how many times to repeat. You may also provide an opportunity for your baby to kneel prior to rolling forward. Caution: Always supervise your baby with the roller. Provide physical assistance and never leave your baby unattended with the roller. Adjustments should be made after each use to make sure it is firmly rolled up. This should not be used with toddlers and older children. A homemade roller is useful for families who are looking to encourage tummy time and crawling without the expense of a store-bought foam roller. Why not share this with your mother's groups or playgroups? This is also great for therapists for use on home visits where budgets are tight. Have you got a baby learning to crawl?
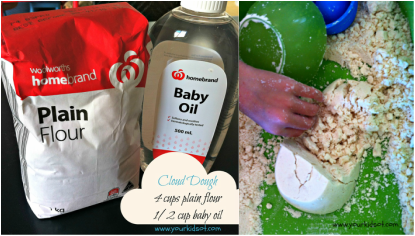
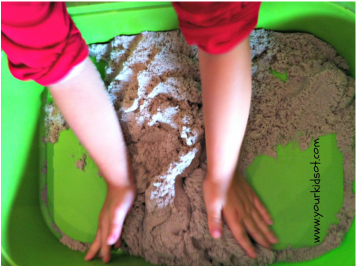
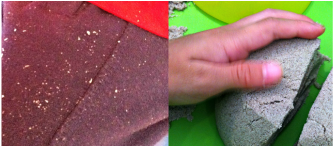
This is the first of many "Dough Wars!" to be found here at Your Kids OT. There are so many "doughs" on the market and many more recipes for various "doughs" on the internet. Today, I'm comparing "Cloud Dough" and "Kinetic Sand". Don't know what they are... read on...
Winner: Cloud dough is the cost effective option. I feel protective of the Kinetic sand each time I see some land on the floor and potentially be thrown away. {Feels a bit precious because of the cost, but that could just be me!}
Winner: Either .... A personal preference here. Both feel great to me!
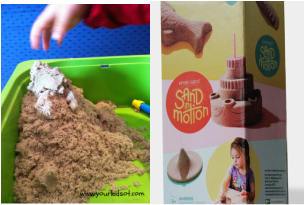
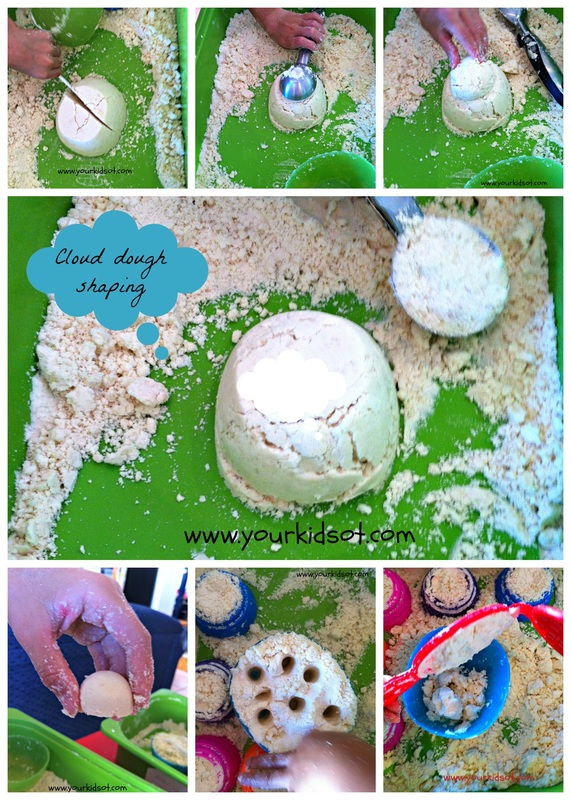
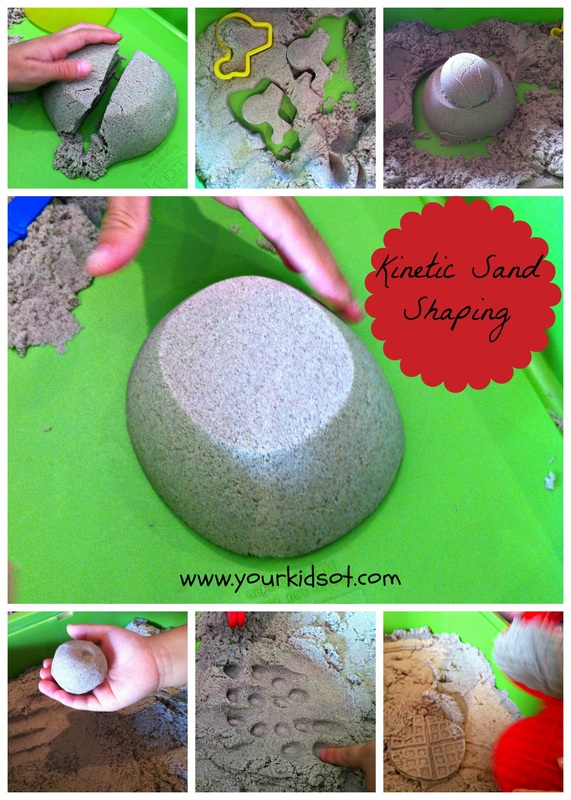
Winner: Kinetic Sand is easier to mould and shape. Both have great properties though.
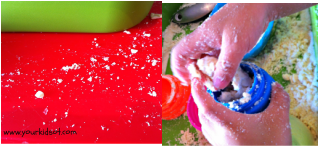
Winner: Kinetic Sand is less messy but not completely mess free. I will leave the overall winner up to you! Both sensory experiences are fantastic. They have unique properties that are better felt than described. Kinetic Sand would be a great present for a child and I can see "Cloud Dough" in preschools and childcare centres across the globe! Try them both and let me know what you think!
Note: Cloud dough should not be consumed. Please supervise children during this activity and it is not recommended for children less than 3 years of age.  Editorial Note after publication:
Looking for more ideas when playing with Kinetic Sand? Read about"7 invitations to play Kinetic Sand".
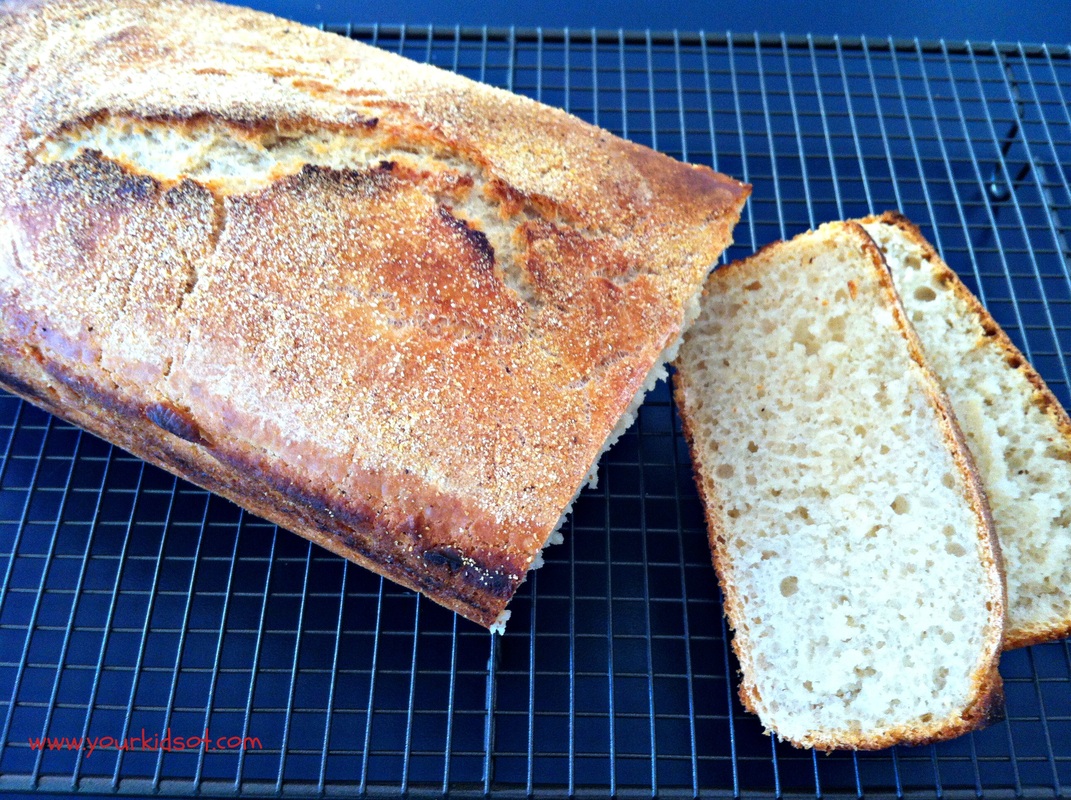
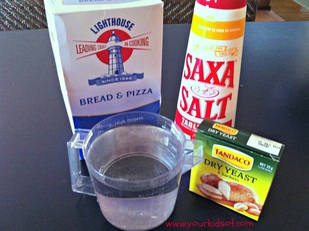
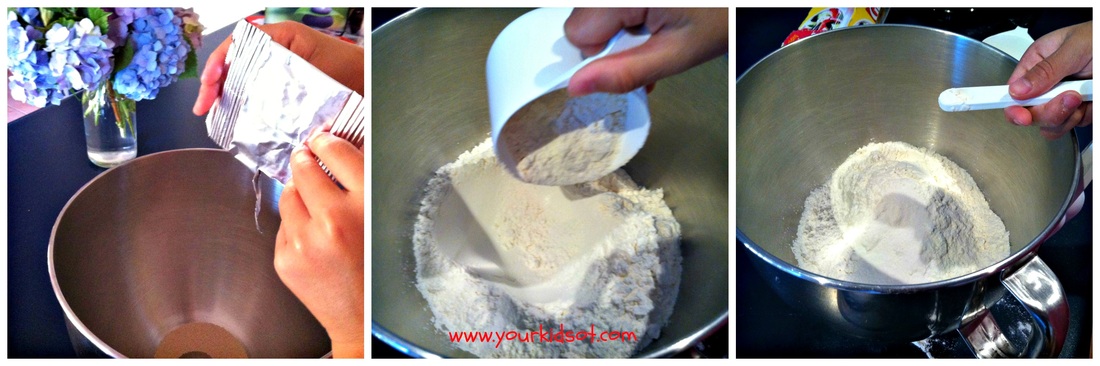
Method: Stage 1 1. Mix all flour, water, salt and yeast in a bowl using a flat-bladed knife. 2. Cover with plastic wrap and leave for 18 hours (overnight, however time is not critical).
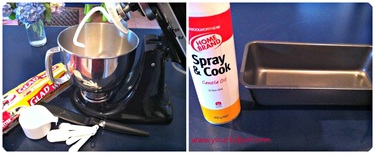
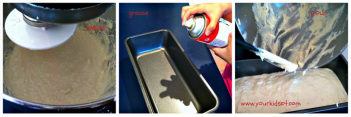
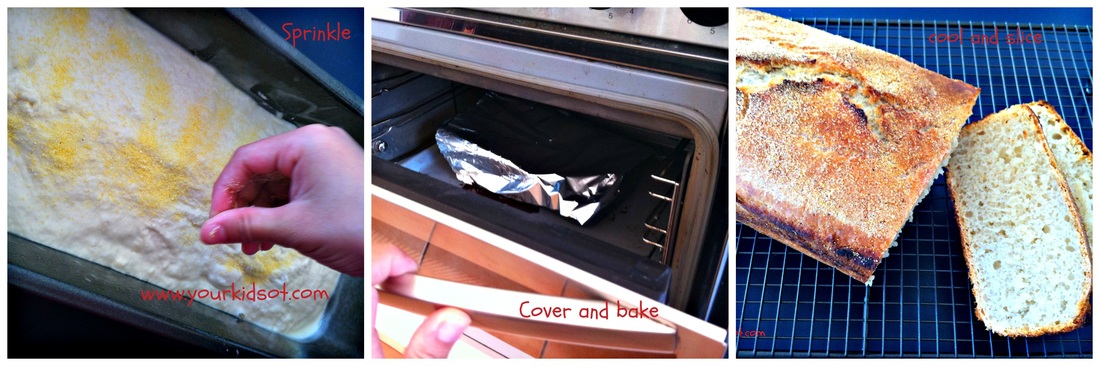
Stage 2 1. Preheat the oven to 250°C (or your highest setting). 2. Use a mixer with dough hook (or hands) to knead the mixture. Dough should be pourable consistency (ie. still quite wet). Add more flour if necessary. 3. Grease the baking tin with cooking spray. Pour dough into the baking tin. Sprinkle with extra flour or polenta (not essential). 4. Cover baking tin with foil and bake for 40 mins, then remove foil and cook for another 5 mins. 5. Cool on a wire rack. When cool, transfer to a chopping board to slice and serve.
Message to adults... · The mixture can be “knocked down” and kneaded by hand. Dip your hands in cold water occasionally to help with handling the sticky mixture. It is easier in a mixing bowl as it is very sticky. · The dough may be placed on a greased oven tray as a free form loaf or shaped into smaller loaves. You may pre-heat the oven tray or baking tin, however, I have found the recipe to work without this step. · Oven temperatures may vary so there may be a variation in cooking time. · Adult supervision may be required when handling the baking tin and oven. Happy baking!
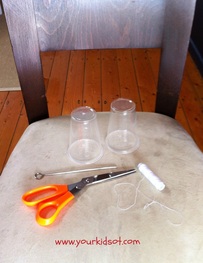
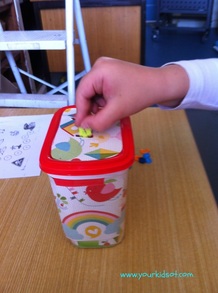
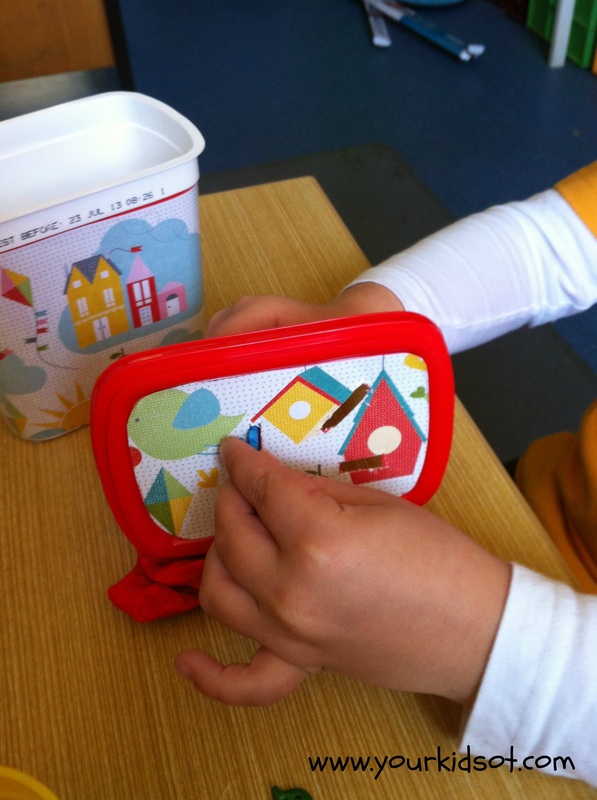
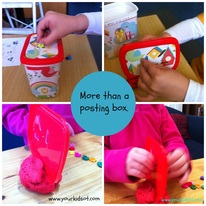
A simple posting box made from a yoghurt container is a brilliant fine motor activity. Read on to see the other benefits of doing this activity. To make: Cover a plastic container with scrapbooking paper (or decorate by painting or with stickers). Cut three slits in the lids using a Stanley knife- horizontal, vertical and diagonal slits. To use:
This activity is suitable for older toddlers, preschoolers and even school age-children. Supervision is required for younger children as the buttons may be a choking hazard. Does your child struggle to do up the buttons of their shirt? Have they ever practised with the correct visual spatial orientation to themselves? Will you be making a posting box?
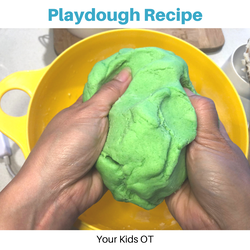
Who loves playdough?
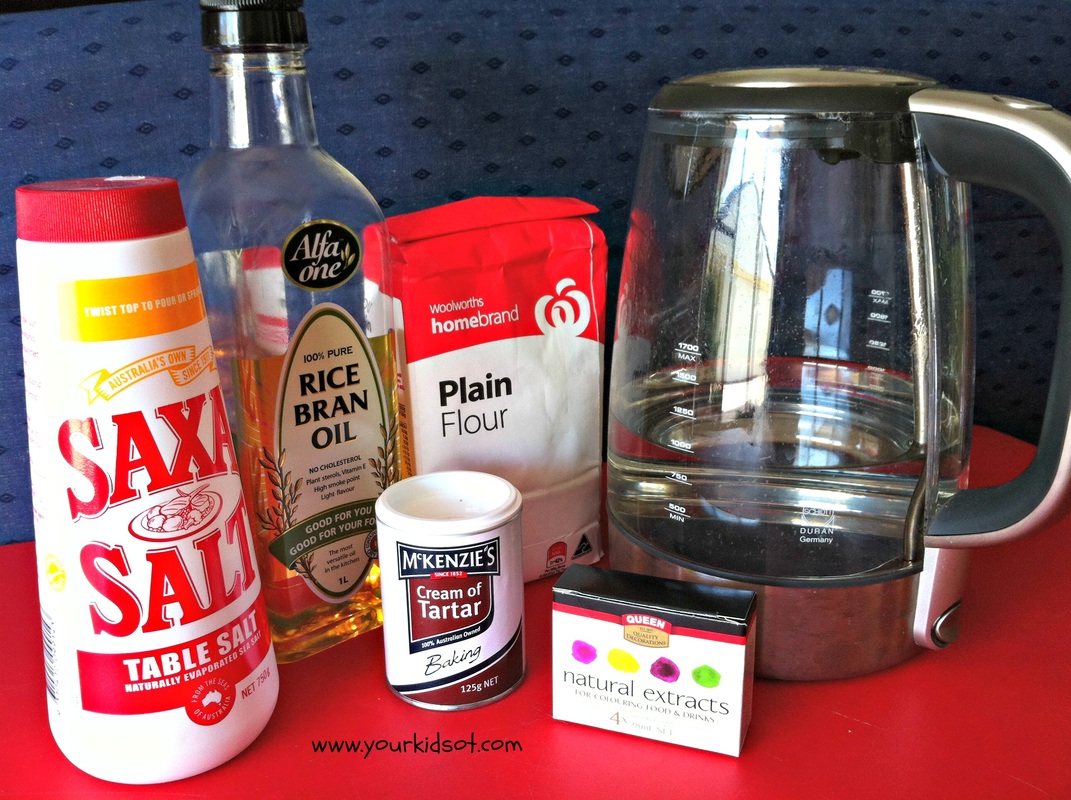
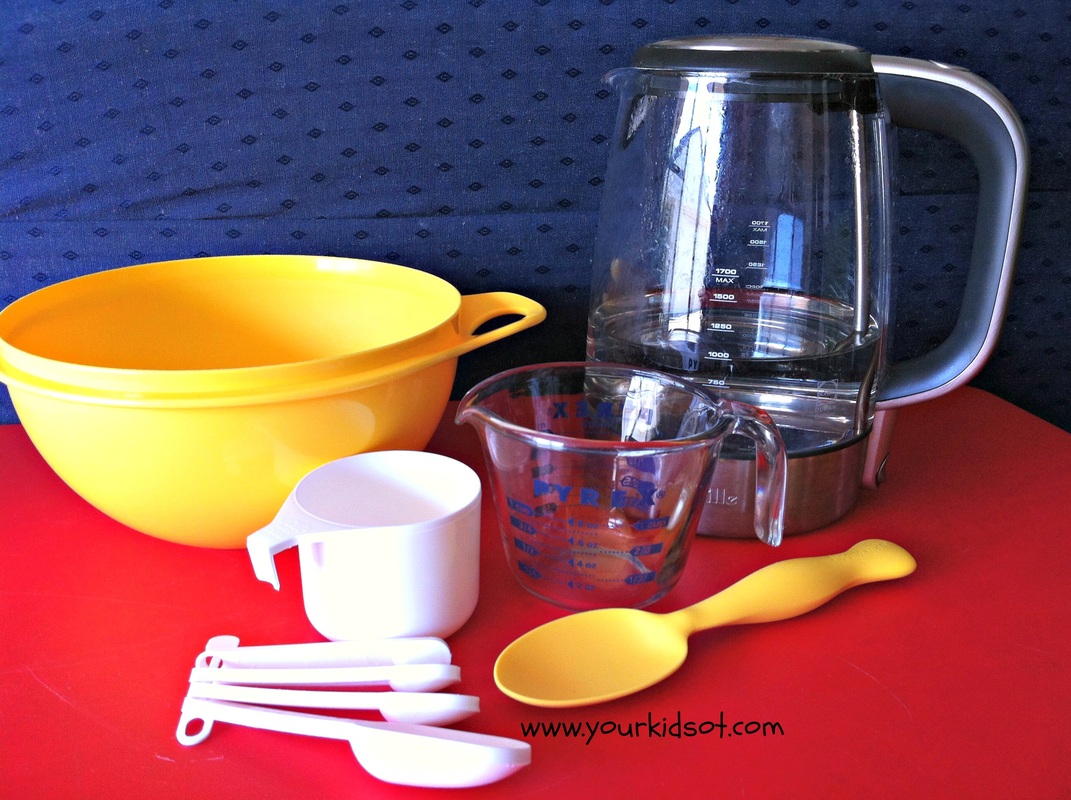
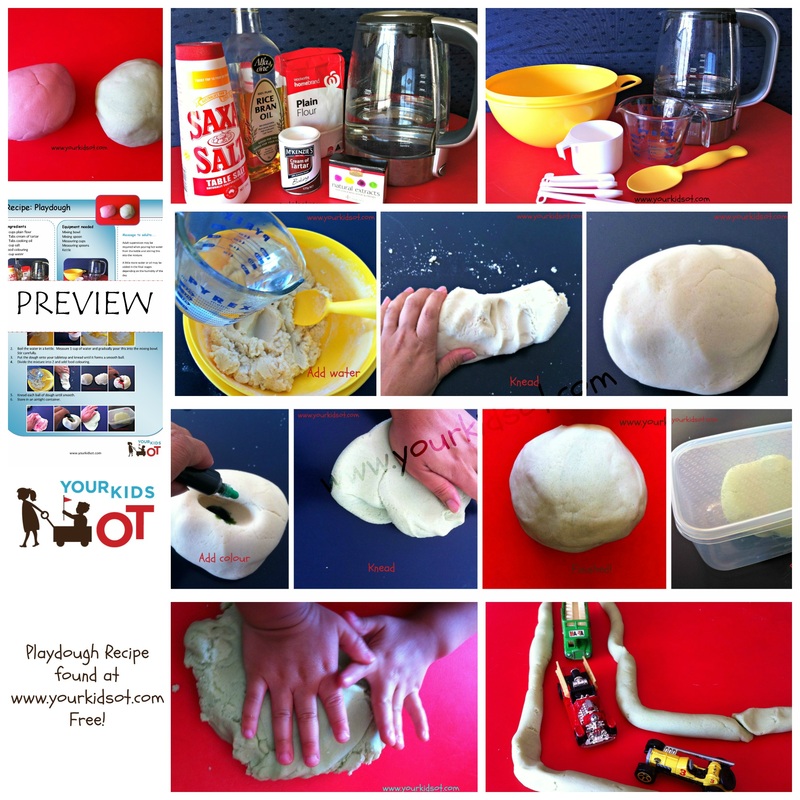
I make playdough using a very simple recipe. It is the boiling water method. Have you tried it? Making playdough yourself allows you to make several colours at one time. You can experiment with glitter or fragrances too. It lasts for a long time...months {even when not refrigerated}. As the colours get mixed together {as the inevitably do with children} you may want to make a fresh batch. In these photos I have used a natural food colouring to make the playdough so the colours are a little dull. Store bought food colouring will give you a vibrant colour. 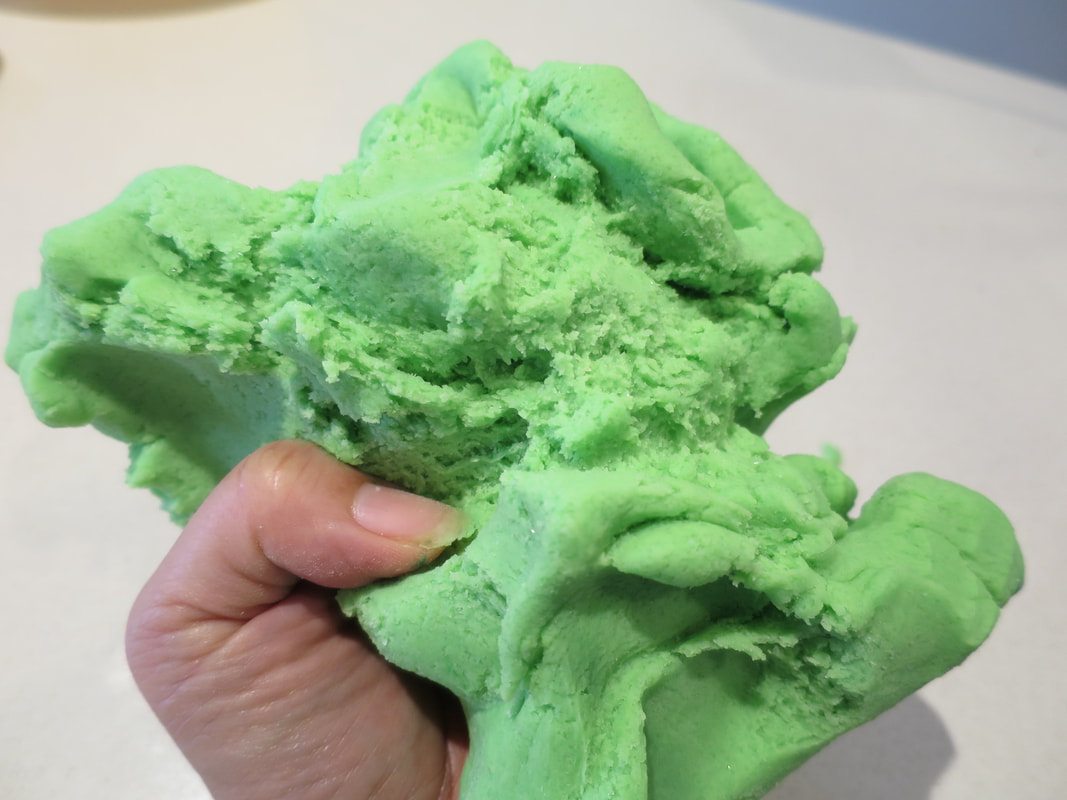
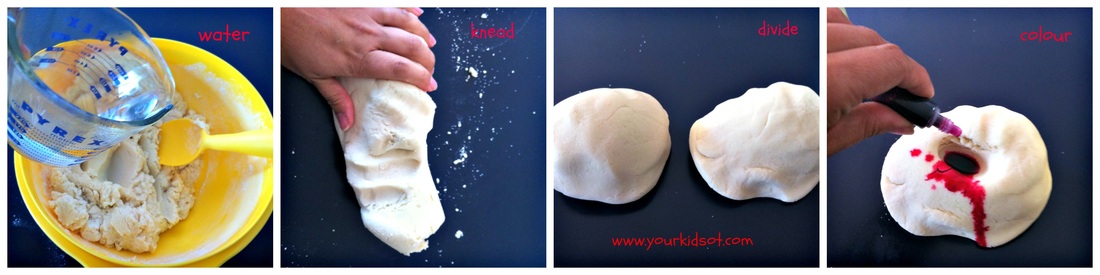
Making playdough is a great way to get the kids in the kitchen. Children of all ages will love measuring, pouring, mixing and kneading. Preparation is the key if you don't like mess in the kitchen or get stressed with your kids in the kitchen.
Older children may be able to assist with obtaining the equipment needed using the list or photograph provided. Adult supervision is required when pouring the boiling water. You may also like to add extra oil or water in the final stages depending on the humidity on the day of making it.


This recipe is available as a free instant pdf from the Your Kids OT Shop. You will find a child friendly layout which will also be used for future recipes you will find at Your Kids OT. The playdough recipe includes step by step instructions on a single A4 page version as well as a larger three A4 page version with larger photographs.
Have you made playdough before? Make some this weekend!
|
AuthorHi, I'm Cindy and I am an Occupational Therapist. I enjoy working creatively with children to see them reach their potential. Read more about me here. 
SEARCH THIS SITE

Archives
May 2024
Categories
All
Popular Posts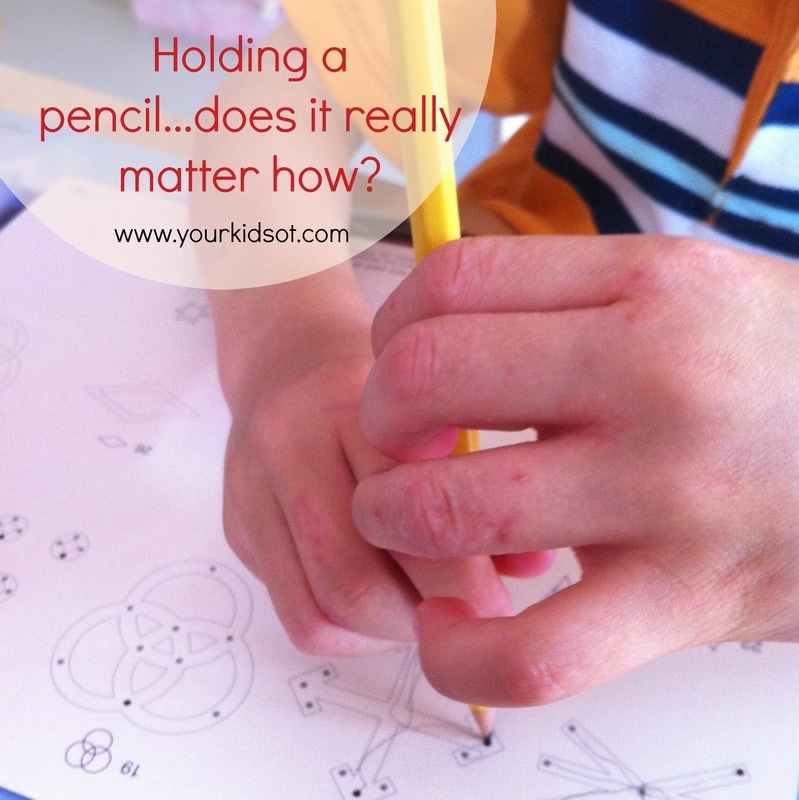

 |


 RSS Feed
Join the YKOT e-newsletter!
Subscribe to get our latest content by email and receive
the SHAPE ROADS PRINTABLE NOW!

Success! Now check your email to confirm your subscription and receive your free printable!
Join our Mailing List!
Subscribe to get our latest content by email and receive
the SHAPE ROADS PRINTABLE NOW as a thankyou!
Success! Now check your email to confirm your subscription and receive your free printable!
Disclaimer: The information on this site is general in nature and should be used for educational and entertainment purposes. The activities are safe for most children, however, you should consult an Occupational Therapist or health professional to address specific movement, sensory or other medical conditions. This blog does not replace formal therapeutic professional advice given by a health professional or medical practitioner. Reviews and endorsements of products will only be made based on my expertise and personal opinion; and deemed worthy of such endorsement. The opinions shared in sponsored content will always be my own and not that of the advertising company or brand. Content, advertising space or posts will be clearly identified if paid, affiliated or sponsored. Affiliate links may be found throughout this website in advertising. This means that if you follow through with a purchase from these links, Your Kids OT will receive a percentage of the sale. Your Kids OT undertakes to meet the requirements of the "Social Media Policy" as published by Australian Health Practitioner Regulation Agency (AHPRA). Further information about this policy can be found here.
Find meFollow me |

|
About me
AuthorHi, I'm Cindy and I am an Occupational Therapist. I enjoy working creatively with children to see them reach their potential. Read more about me here. 
|
Copyright © 2017 Your Kid OT